
MYSTICAL LIGHTS USER GUIDE
In addition to having the overlays as image les, with the version 2 update the Mystical
Lights overlays are now also available as Assets (.assets). Assets are an Anity le format
that store design elements which can be accessed from any document you have open in
any Anity app.
IMPORTING ASSETS INTO AFFINITY APPS
Learn how to import .assets into Anity apps by reading the installation guide here:
https://anity.serif.com/store/resources-install-guide/
ADDING OVERLAYS TO YOUR DOCUMENT
You can add the overlays to your document by either:
USING ASSETS
Installing the Asset les provided (see above) gives you access to the Mystical Overlays via
the Assets Panel (on desktop) or the Assets Studio (on iPad). Assets work in any Anity
app, but we recommend using Anity Photo for the Mystical Lights overlays.
Add any of the Mystical Lights overlays to your document by simply dragging and
dropping the thumbnail.
USING IMAGES
Open or import the provided image overlays into any app (we recommend Anity Photo)
by either:
1. Opening your image overlay.
2. Dragging and dropping your image overlay from the relevant Explorer (Windows) or
Finder (macOS) window.
3. Import an image overlay in any Anity app by using the Place Image Tool.
Once you have your overly image on your page, here are some tips to help you use them in
Anity Photo.
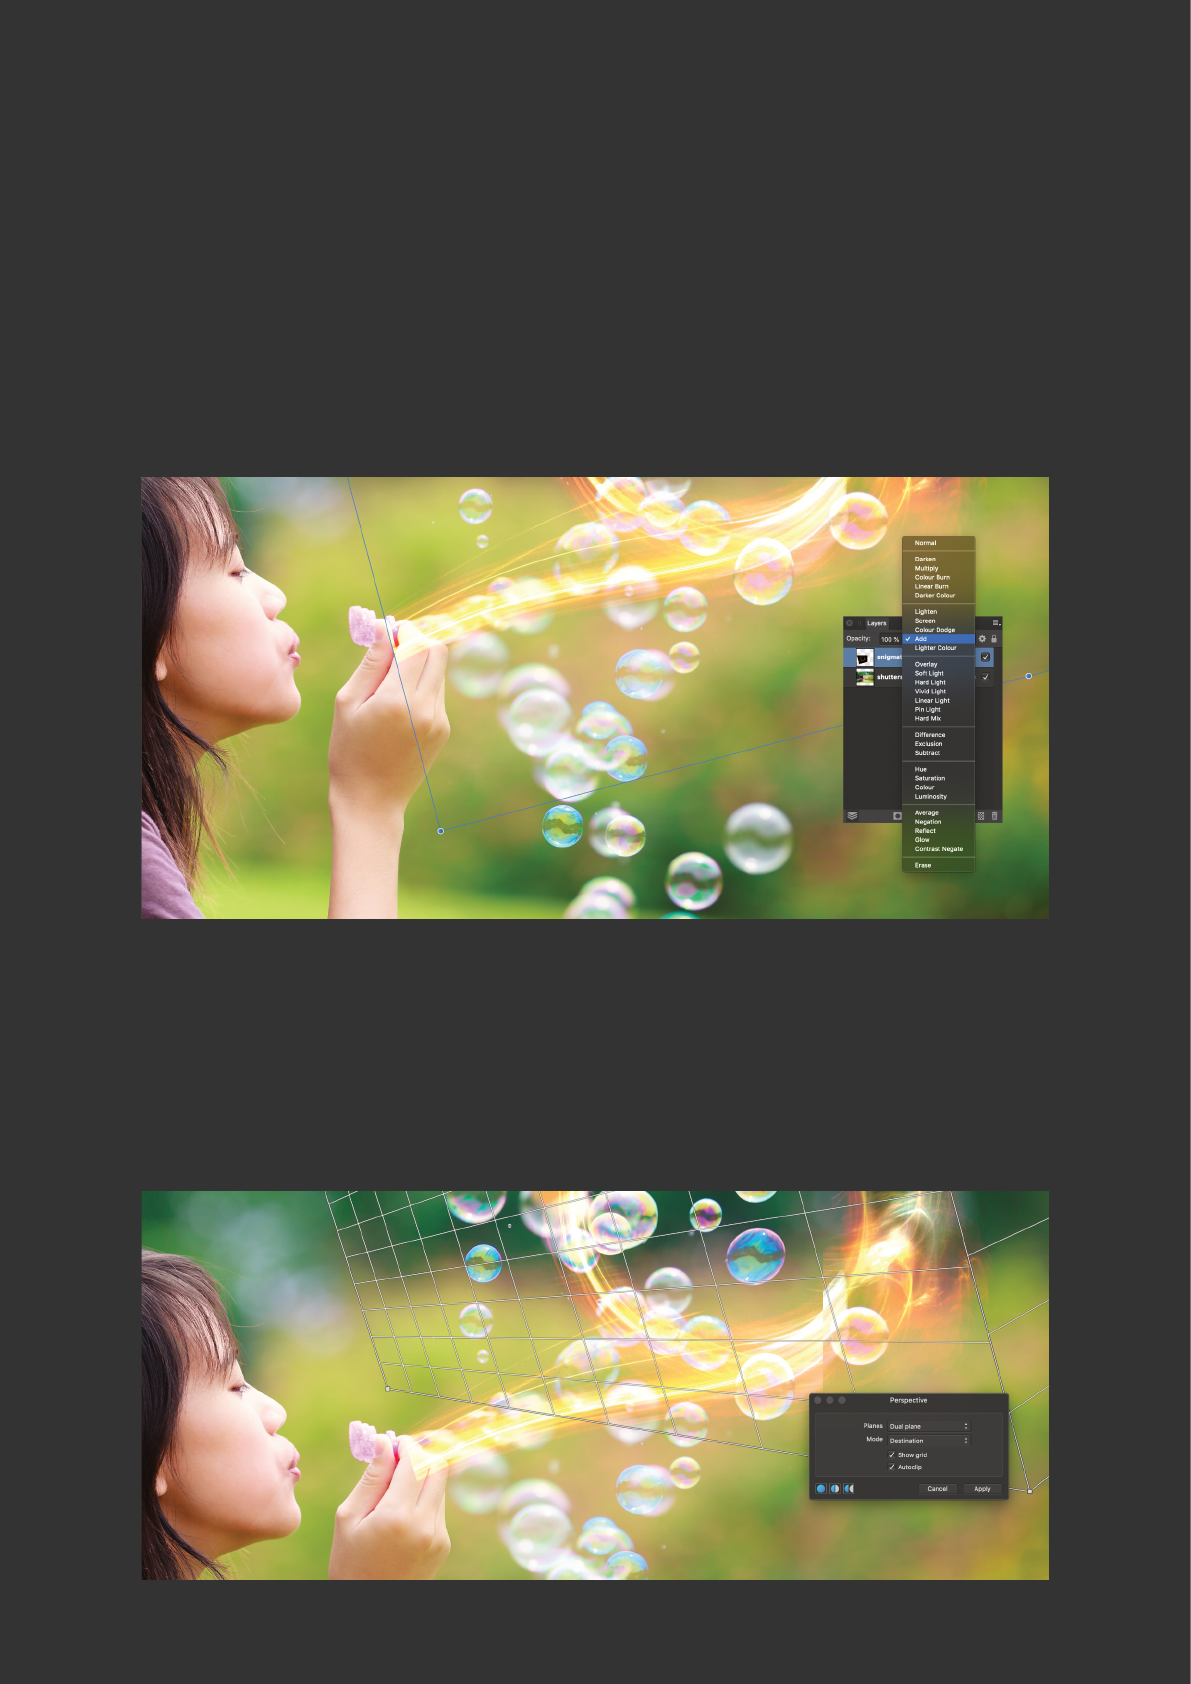
BLENDING AN OVERLAY IMAGE WITH A PHOTO
1. Make sure your overlay image is in the layer above your photo, and make sure the layer
containing the overlay is selected.
2. Select a Screen or Add Blend Mode, adjusting the Opacity of the layer too if needed.
TRANSFORMING OVERLAY IMAGES
1. Use the Move Tool to select, move, rotate and resize your overlay image,
2. Try using the Perspective Tool to make modications to the perspective of your
overlay image.
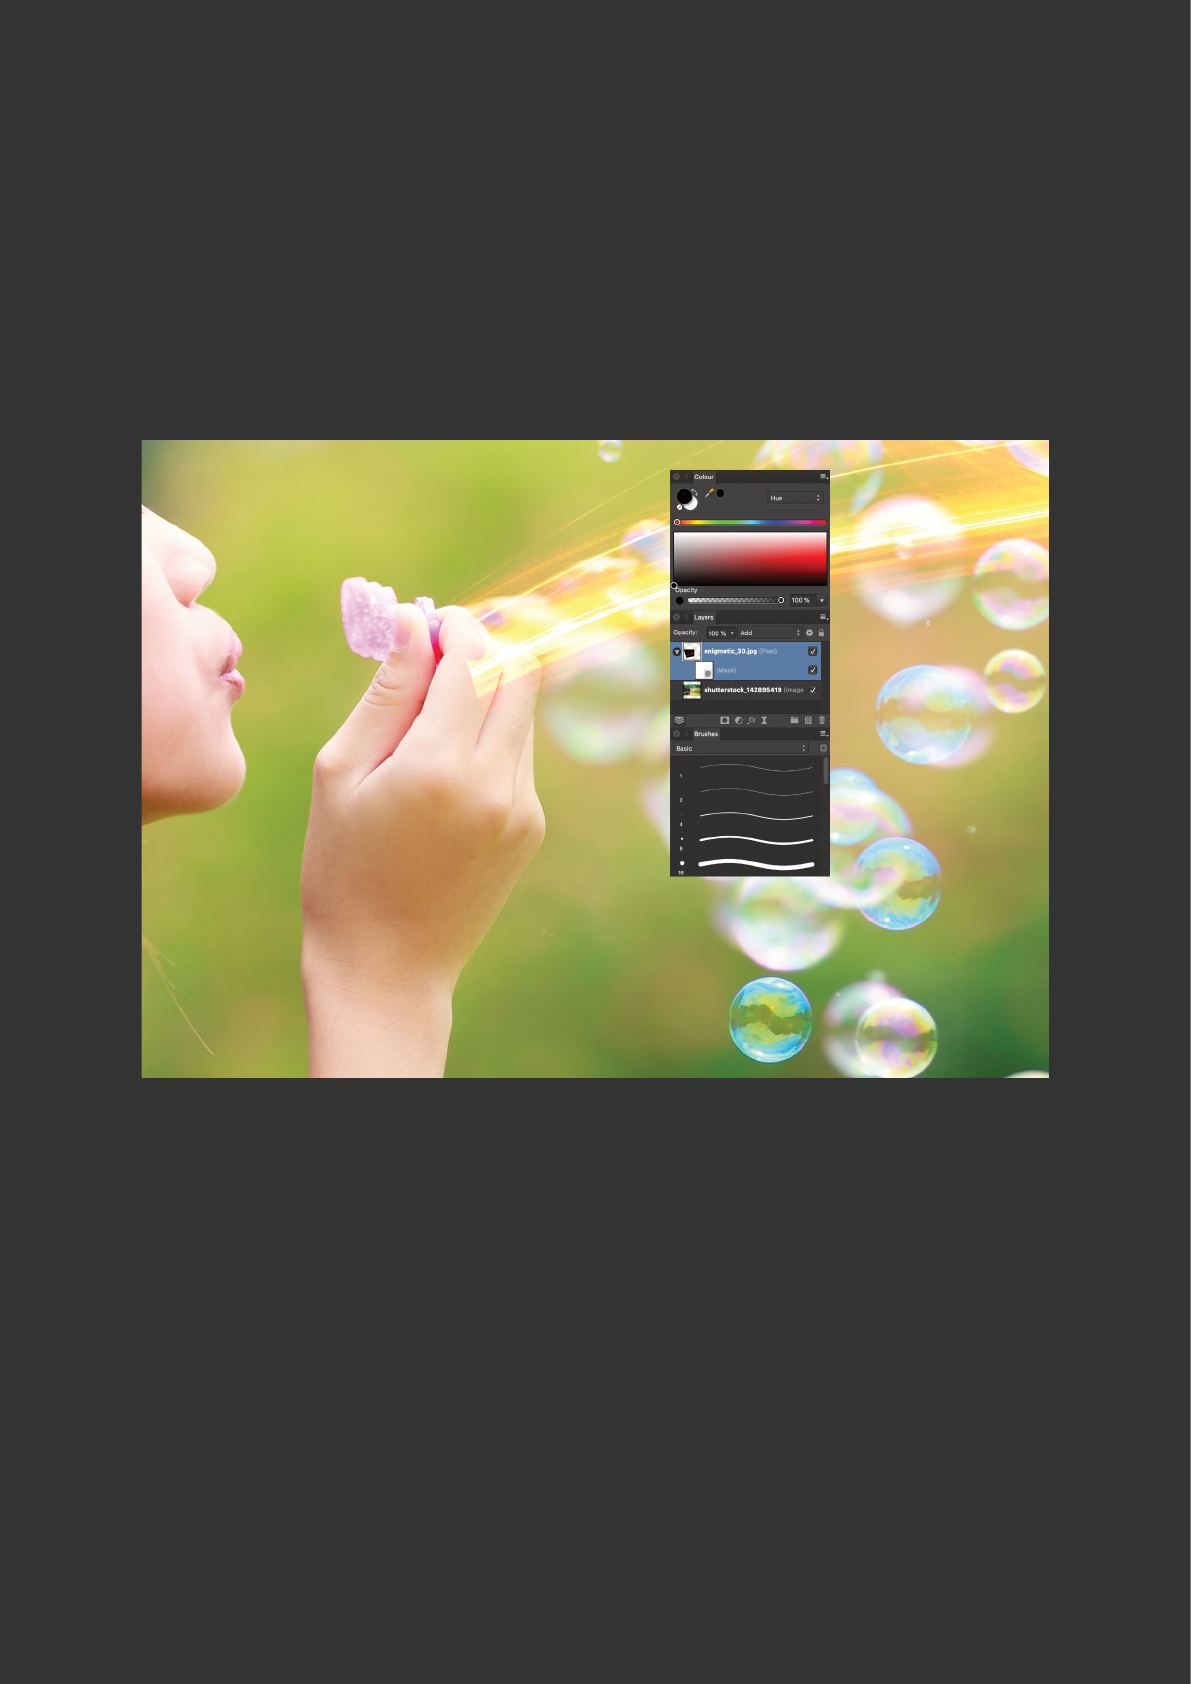
USING MASK LAYERS
1. With your overlay image selected, add a Mask Layer (via the Layers Panel/Studio).
2. Select the Paint Brush Tool and chose a suitable brush and brush settings. Make sure
your brush colour is set to black.
3. Paint over the parts of the overlay image you want to erase.
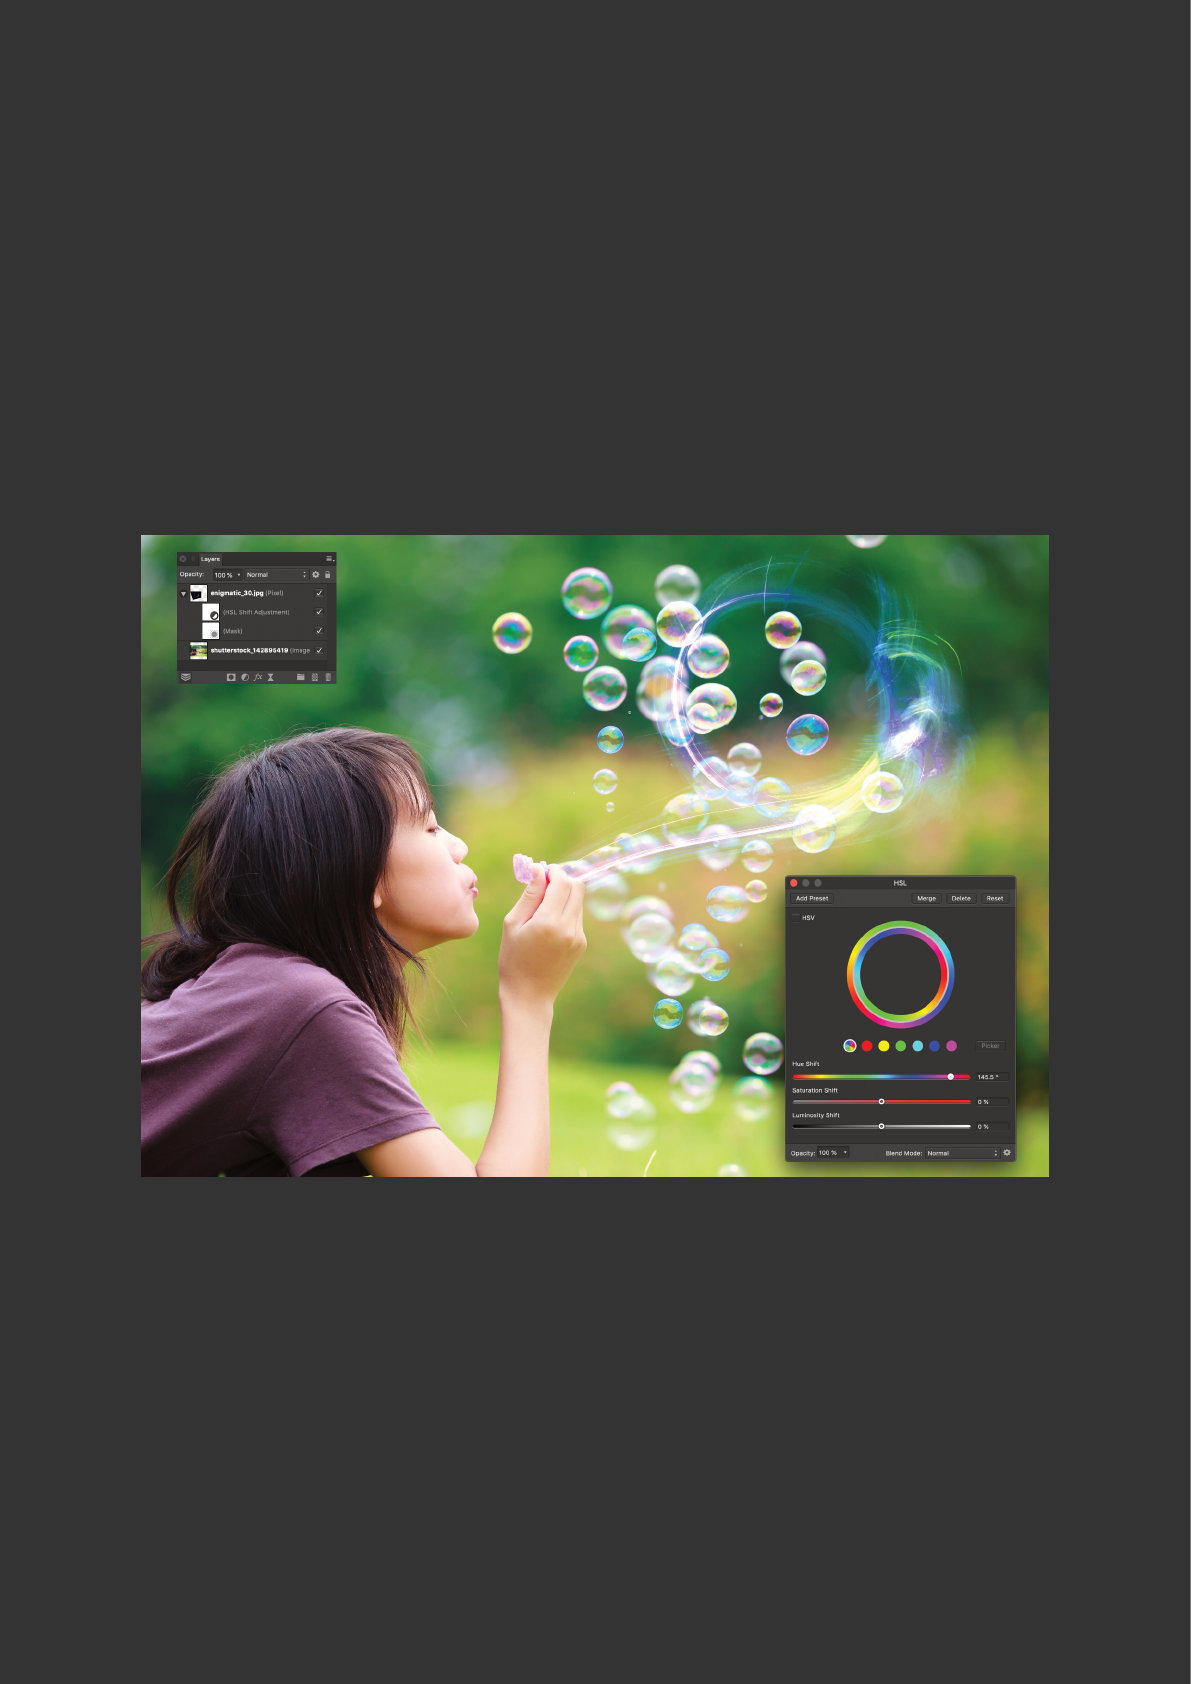
ADJUSTING COLOURS OF YOUR OVERLAY IMAGE
You can use a HSL Adjustment Layer to adjust the colours of your overlay.
1. Select the layer containing the image overly and add a HSL Adjustment Layer.
2. Clip the HSL Adjustment Layer to your image overlay layer.
3. Use sliders in the HSL window to tweak the colours of your overlay image. You can also
change the Blend Mode of the adjustment layer in this dialog.
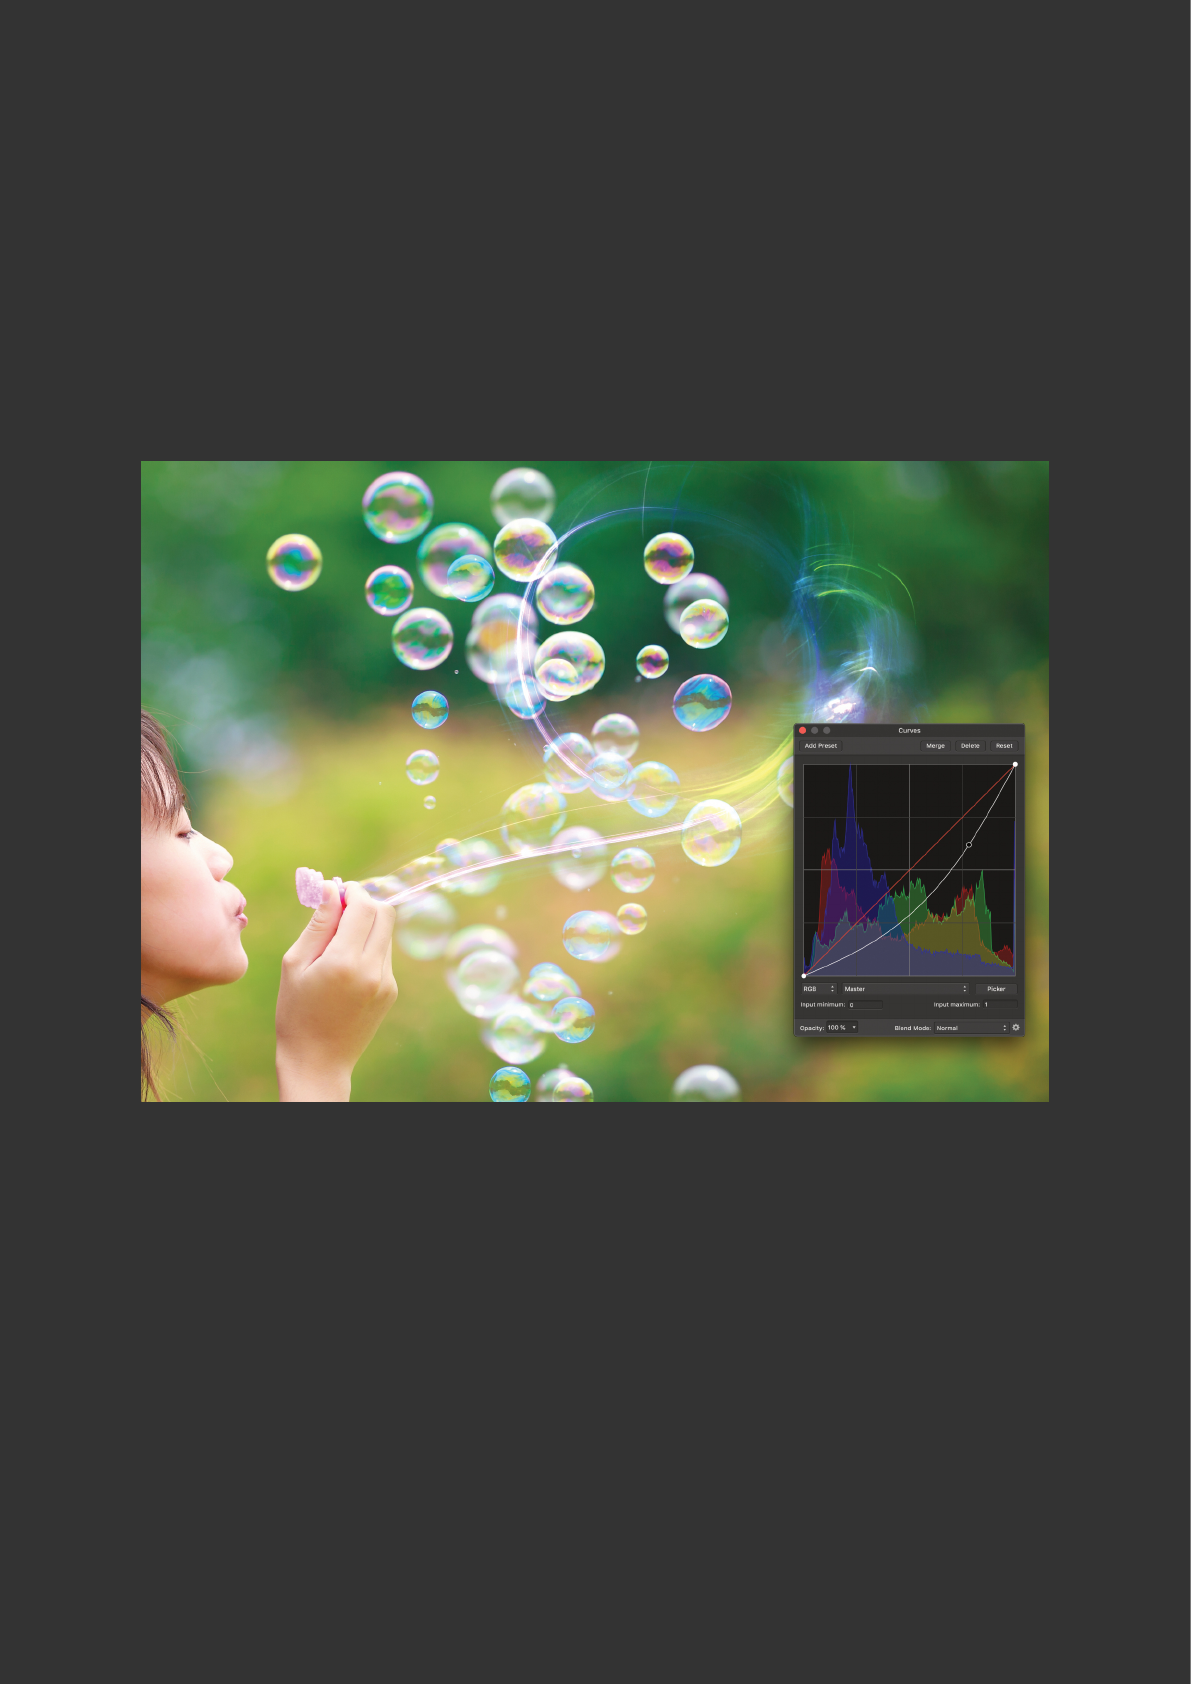
ADJUSTING TONES
You can use Curve Adjustment Layers to adjust the brightness of your overlay.
1. Select the layer containing the image overly and add a Curves Adjustment Layer.
2. Clip the Curves Adjustment Layer to your image overlay layer.
3. Adjust the curve in the Curves window to tweak the tonal range of the overlay.
You can also use this process to darken your background image, which may help you to
blend your images.
MYSTICAL LIGHTS MACROS
Version 2 of the 525 Mystical Lights - Overlay Collection also introduces a set of Mystical
Lights Macros.
Macros are sequences of operations that have been recorded to be used for both
corrective and creative eects in Anity Photo. The aim is to reduce workow processes by
automating steps.
IMPORTING MACROS INTO AFFINITY PHOTO
Learn how to import .macros into Anity Photo by reading the installation guide here:
https://anity.serif.com/store/resources-install-guide/
OVERVIEW OF MYSTICAL LIGHTS MACROS
• Screen blend mode – changes blend mode of selected layer to Screen
• Add blend mode – changes blend mode of selected layer to Add
• Rotate Left – rotates current layer to the left
• Rotate Right - rotates current layer to the right
• Flip Horizontal – ips current layer horizontally
• Flip Vertical – ips current layer vertically
• Glow – creates a glowing eect from the current layer. For best eects, use on an
overlay image layer.
• Picture Brightness Reduce – Creates a correction layer with a curve that reduces the
brightness of the lower layer and makes the higher layer brighter.
• Overlay Prepare – Select an overlay image layer before running this macro. This macro
will change the blend mode of a selected layer to Screen and create a group of settings
to change the layer characteristics.
• Green To Cyan – creates a Channel Mixer correction layer with settings that change
green to blue.
• Contrast, Deep, Deep Mate and BW Presets – creates a group of 10 colour-correcting
presets. To reduce the impact on your image, lower the opacity of the presets group or
a particular preset.

STILL NEED HELP?
If you’re just getting started with Anity Photo and need more help, you can view
theocial Anity Photo tutorials:
For desktop: https://anity.serif.com/tutorials/photo/desktop/
For iPad: https://anity.serif.com/tutorials/photo/ipad/
I’m always happy to help and chat with interesting people!
For further support with the 525 Mystical Lights - Overlays Collection,
https://www.instagram.com/pro_addons/
