
Introduction
Congratulations on your newly completed book! You have some very exciting
days ahead.
The process of setting up your book on the KDP platform is complicated, but
doable. Take your time and do this slowly and methodically. Carefully read
the instructions here and the notes that Amazon have online regarding all the
topics involved (you will see many links in the KDP forms themselves and if
you click them they should open in another browser tab. Other notes will pop
up if you hover the cursor over it). You can save your progress and go and
have a cup of tea at any time. Grandchildren and children are useful.

What you’ll need
1. Your address – including your postcode – and phone number.
2. Your bank account name, number and the BIC/SWIFT of your bank (see
Payment & Banking section).
3. Your IRD number.
4. A le of the contents of your book in an easily accessible place
(desktop?) – a mobi le is preferable, but KDP can also use/convert
other types of les – .doc, .docx, HTML, ePub, RTF, Plain Text and KPF.
You can download a previewer program to see your book as it will
turn out on all devices here: https://www.amazon.com/gp/feature.
html?docId=1000765261
5. A JPG or TIFF of your front cover in an easily accessible place
(desktop?). This needs to be less than 50MB but they recommend it is a
minimum of 72 DPI (dots per inch).
6. Your ISBN (which you get free from the National Library in Wellington
https://natlib.govt.nz/forms/isn). This MUST be a mobi (Kindle) specic
number. Ensure you don’t use the same number as the paperback or
hardback.
7. A blurb for your book.
8. Five to seven keywords applicable to your book (see Tab 1 – Kindle
eBook details).
Signing Up
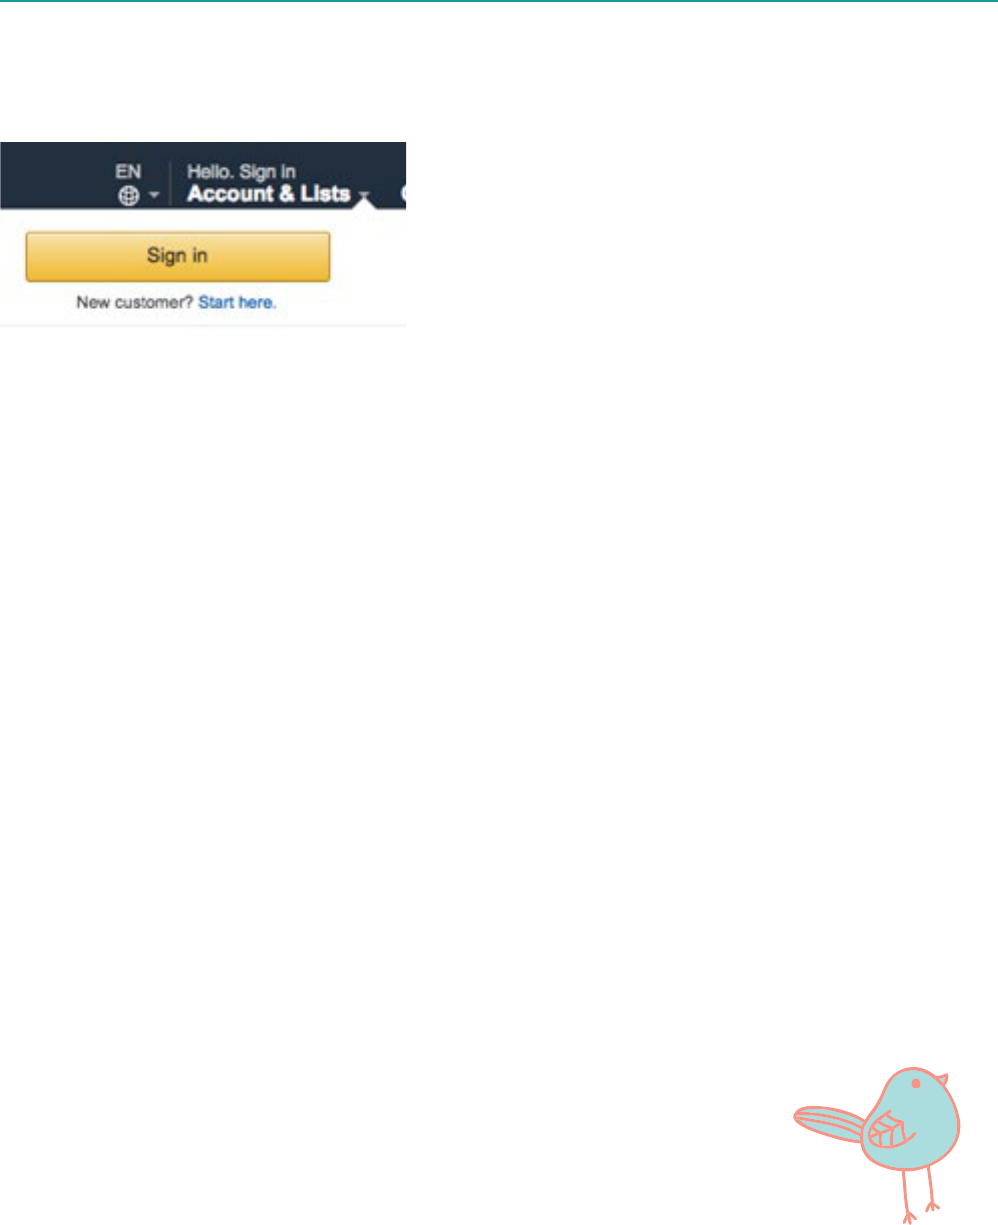
If you don’t already have an Amazon account, go to www.amazon.com and
hover your mouse over Hello. Sign in.
Click on Start here.
Enter your name, email address and a password that is over 6 characters
long. Enter the password twice.
Next, set up a KDP account here (use your Amazon details to sign in):
https://kdp.amazon.com/en_US
Then you’ll have to agree to their Terms and Conditions.
You will then be in your homepage – called Bookshelf.
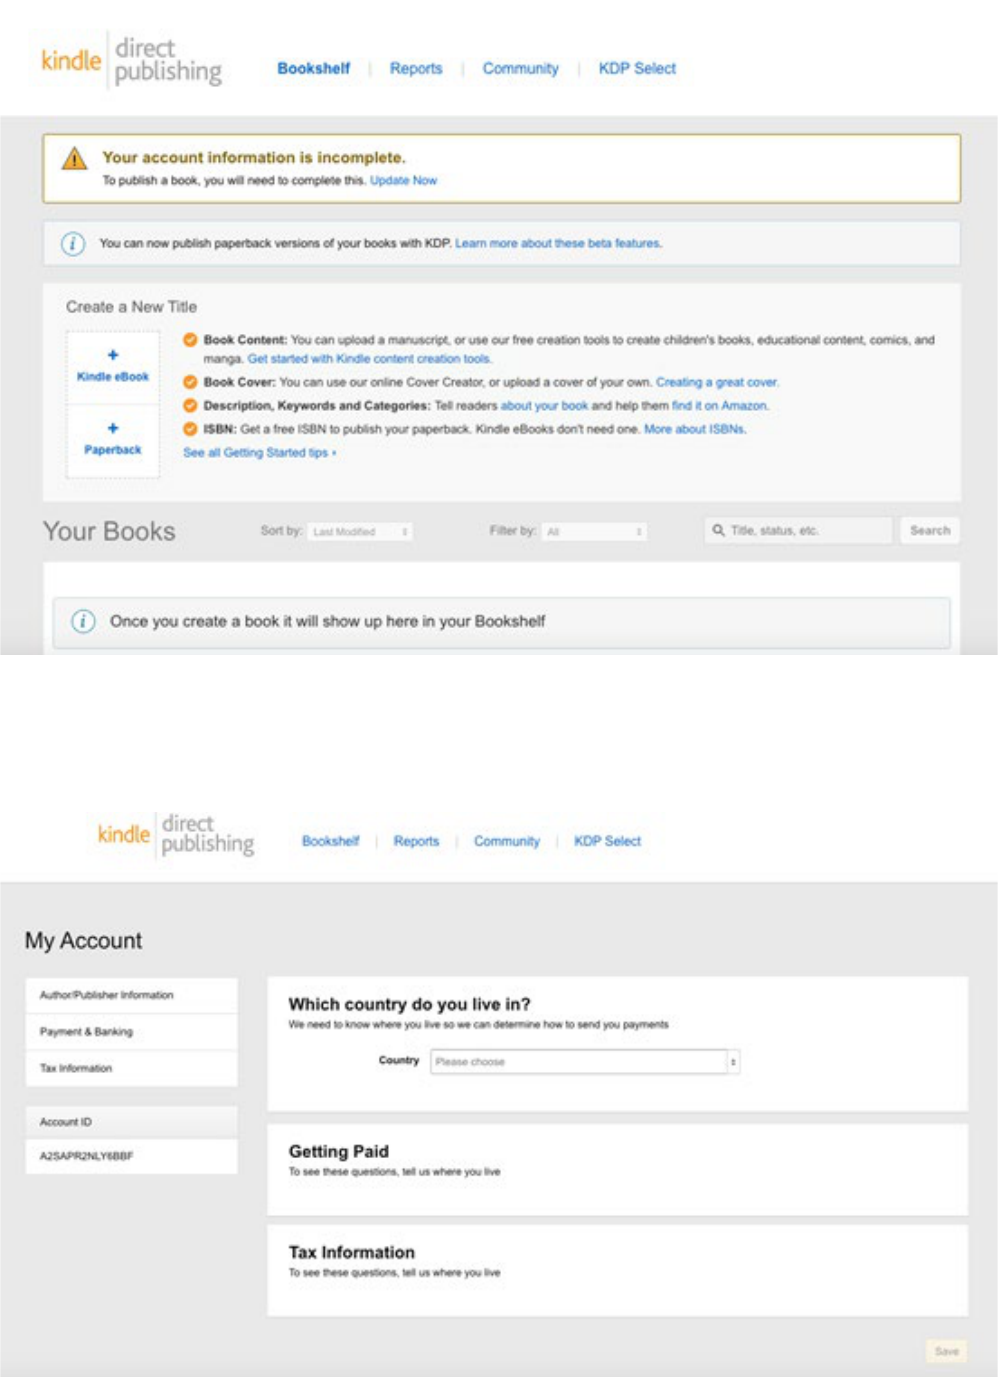
At the top there is a message: “Your account information is incomplete. To
publish a book, you will need to complete this. Update Now”
So, click on Update Now
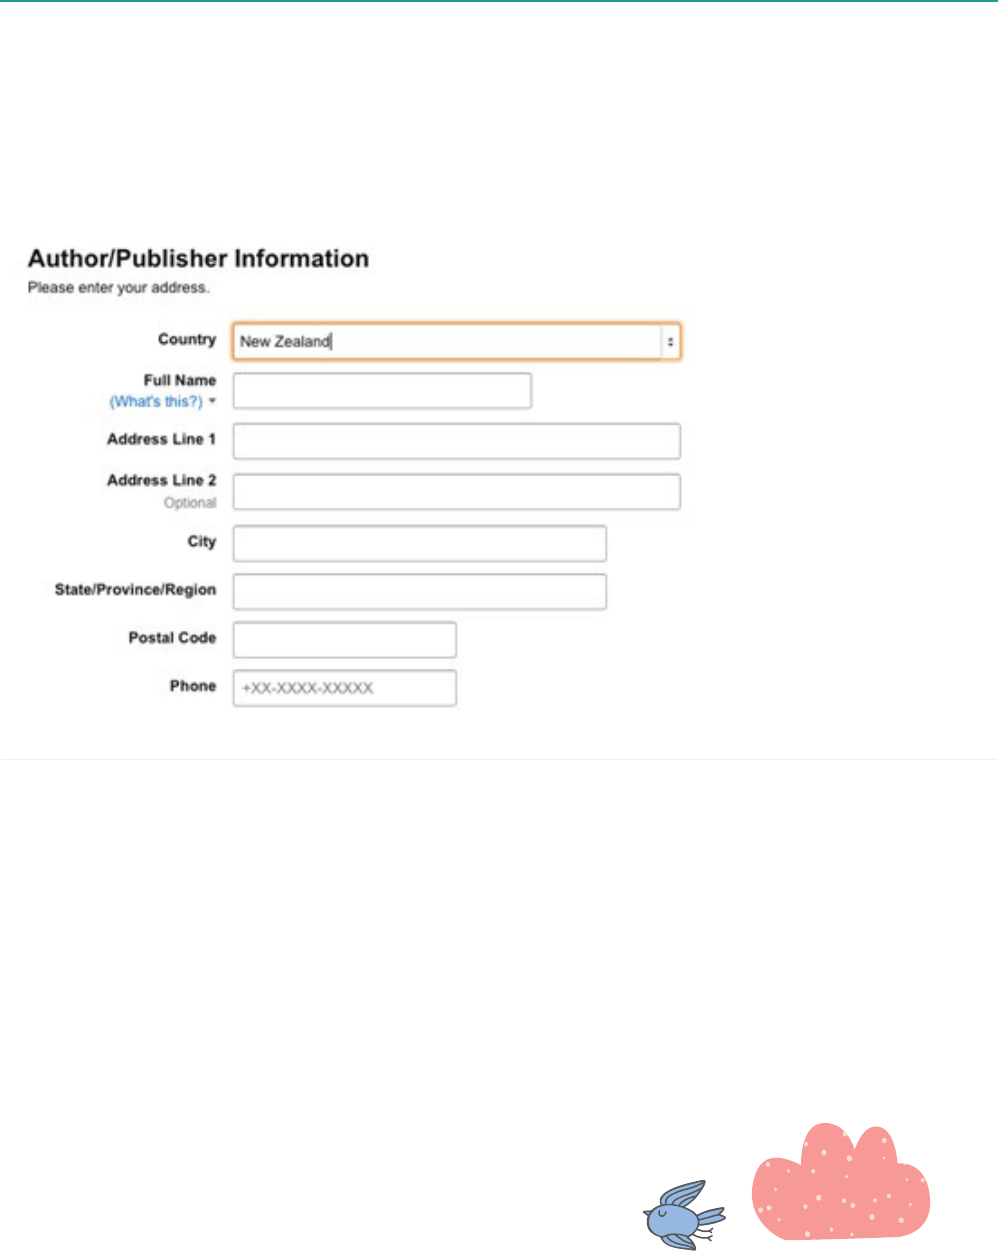
Author/Publisher Information section
Start with Which country do you live in?:
Choose the country and press enter.
The screen will change to:
The full name can be your publishing company or your rst and last name.
Address includes State/Province/Region – just put your region (eg.
Northland, Otago, etc)
If you don’t know your NZ Postal Code, you can nd it here:
https://www.nzpost.co.nz/tools/address-postcode-nder
You phone number should begin with +64.
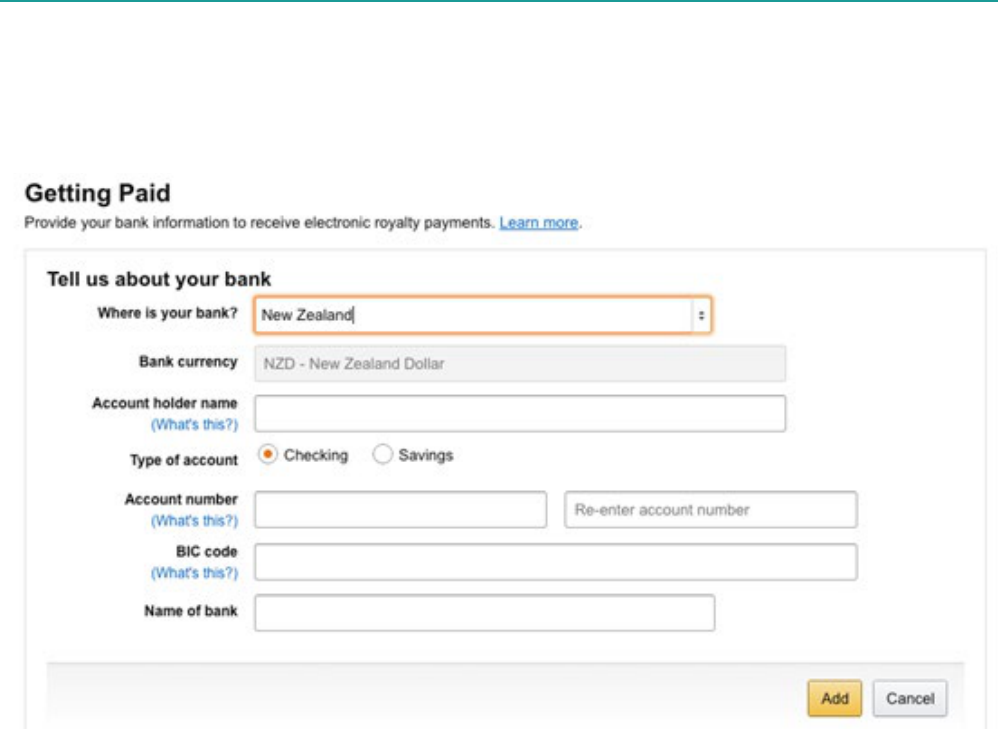
Payment & Banking Section
Under Getting Paid, ll in the country eld and press enter.
The screen will change to:
You DO need to put your bank account details in (they do not pay by cheque
anymore).
The Account holder name must be the correct name on your account.
Select either Checking or Savings. (Remember: checking account = cheque
account)
Your bank account number must have the full 15 or 16 digits beginning with
the bank code (eg. ANZ = 01, BNZ = 02). You must enter this correctly twice.

Your bank will be able to tell you their BIC/SWIFT code, or it will be on their
website.
Here are the main ones:
ANZ – ANZBNZ22
ASB – ASBBNZ2A
BNZ – BKNZNZ22
Citibank – CITINZ2X
HSBC – HSBCNZ2A
Kiwibank – KIWINZ22
Rabobank – RABONZ2W
TSB – TSBANZ22
Westpac – WPACNZ2W
Name of bank = ANZ, ASB, Trust Bank, etc.
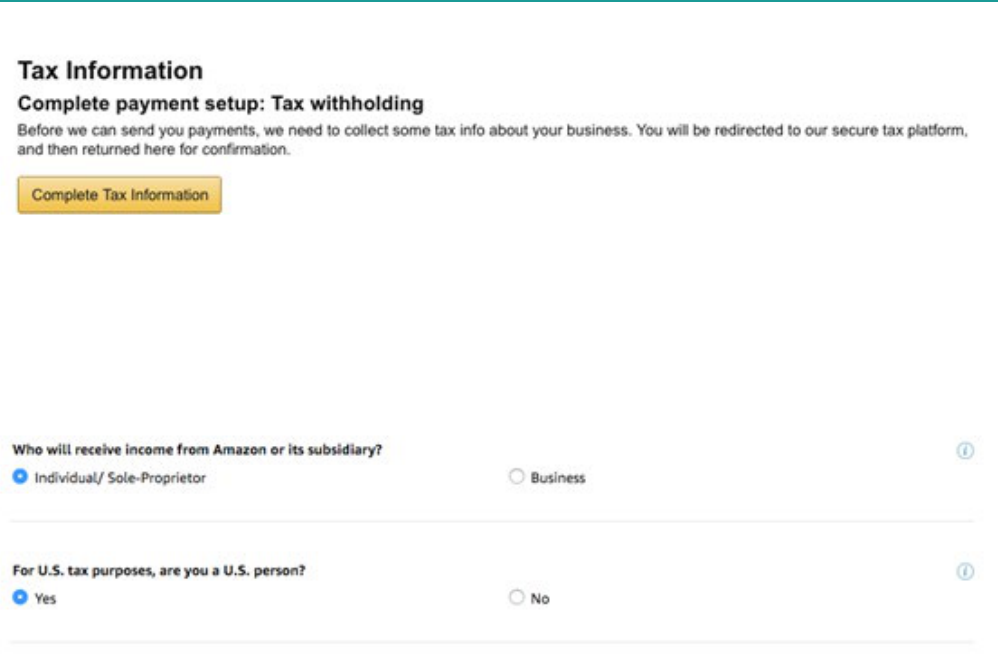
Tax Information
Click the Complete Tax Information button.
On the next page is a tax questionnaire.
At the top of the page are two questions:
Click Individual/Sole-Proprietor.
Under For US tax purposes, are you a US person? Tick No.
A Save and continue button will appear. Click it.
For Type of benecial owner, you will be an Individual.
Country of Citizenship will be New Zealand.
Enter your Full Name (as on your tax return).
Beginning with New Zealand, enter your address. NB – If you don’t put a
Postal Code in, it will say “Check this data. It does not appear valid” when you
click Save and continue. Either enter your Post Code or just tick “I conrm that
my address is valid.”
Mailing Address. Either click Same as permanent address or Other (and then
ll out your mailing address).
Are you an agent acting as an intermediary? Tick No.
For the US person test – individuals section – don’t tick any, unless they
apply.
Under Tax Identication Number tick “I have a foreign (non-U.S.) income tax
identication number” [NB - Amazon do accept NZ IRD numbers because NZ
has an active income tax treaty with the US].
Click Save and continue.
Read the Treaty Benets section and follow the instructions (leave the
country as New Zealand and tick the box underneath).
Enter your IRD number under Foreign (non US) Tax Identication Number
(TIN).
It will ll in the W-8BEN form for you – using the information you have
provided. Check the details are correct before clicking on Save and continue.
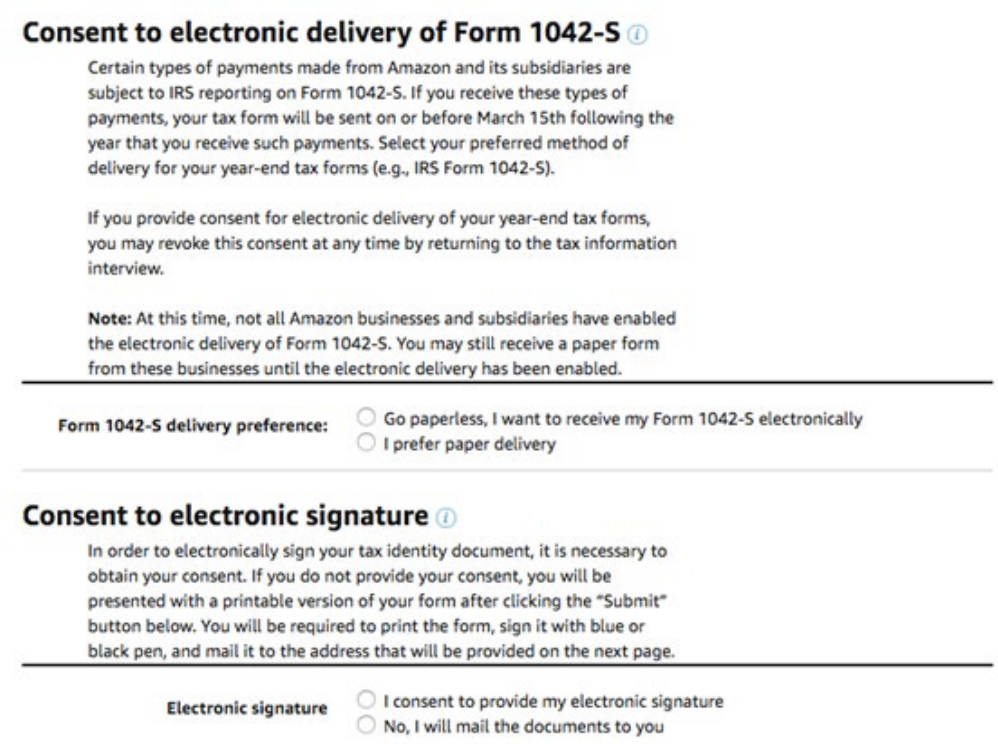
You will then see this:
Click Go paperless.
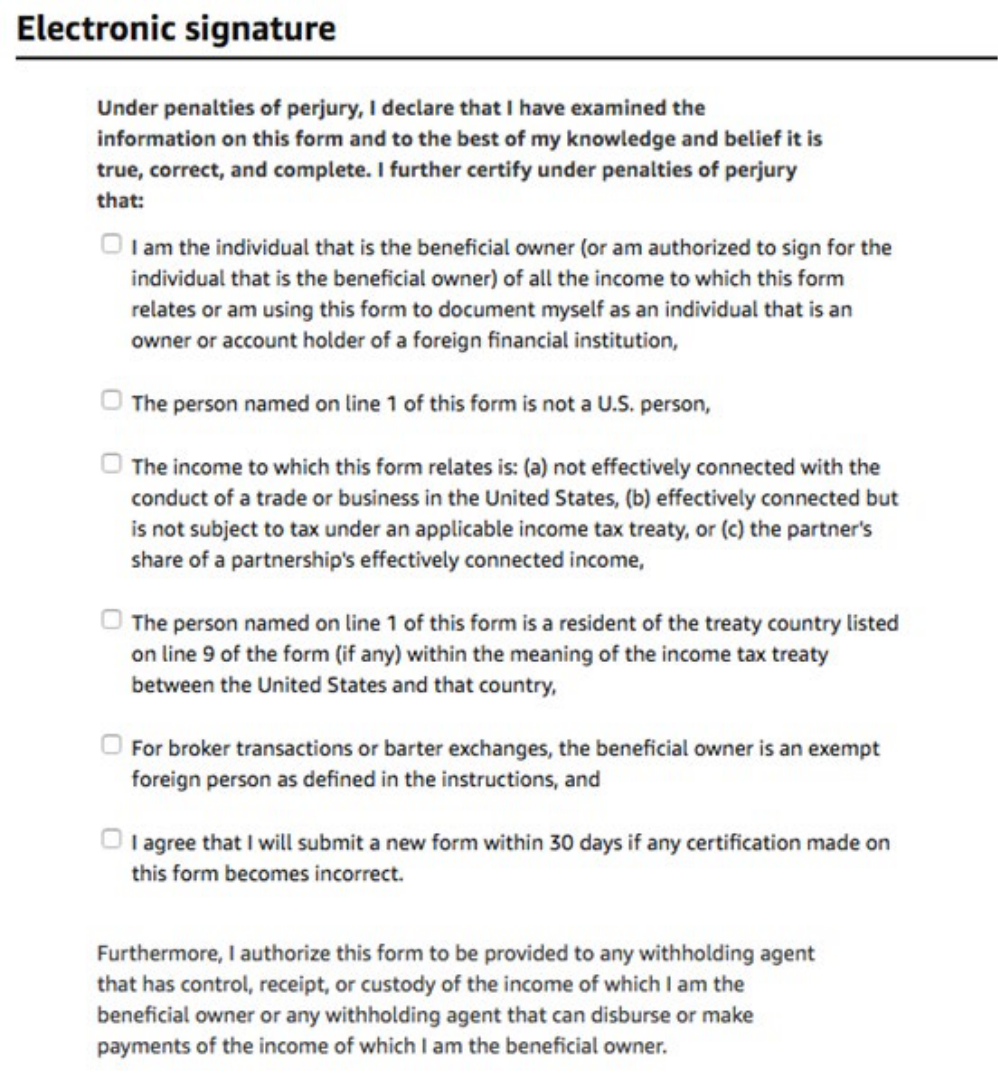
If you consent to provide your electronic signature, you will see this pop up:
Read and tick all the statements.
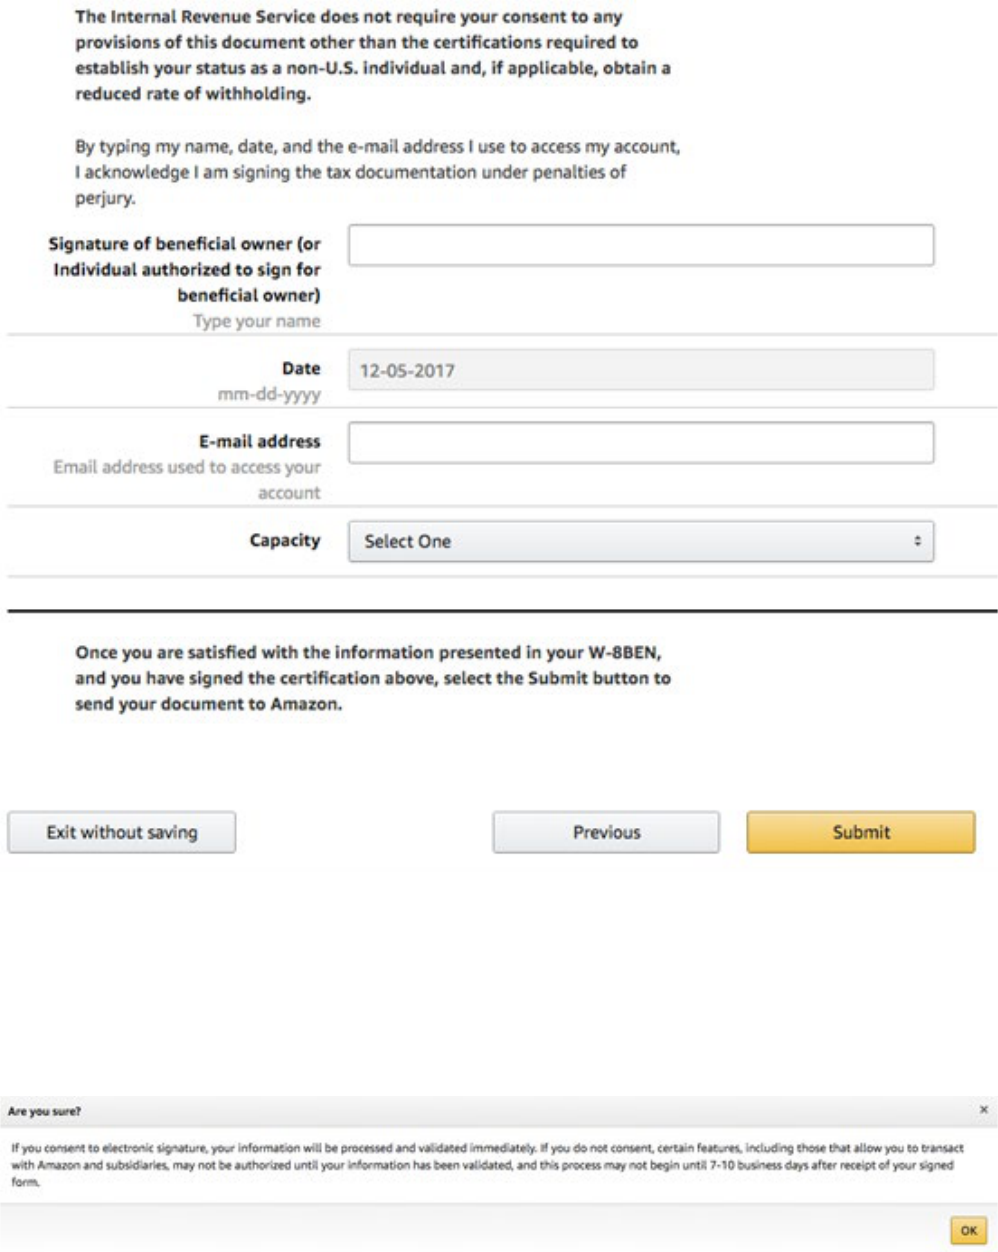
Type in your name, the date (remember, the Americans list it backwards –
month rst), your email address and select Individual from the drop down list.
If you choose to ‘snail mail’ the documents to them, this will pop up:
If you are satised that everything is correct, click on Submit.
If you chose to snail mail the form, a printable version will then pop up and
you must print that o, check it, sign it with a blue or black pen and send it o.
Once that’s all in, you can start entering your book. If you chose to ‘snail mail’
your tax form, you can still begin entering your book, but you will not be able
to publish it until they have processed your form.
Entering your book
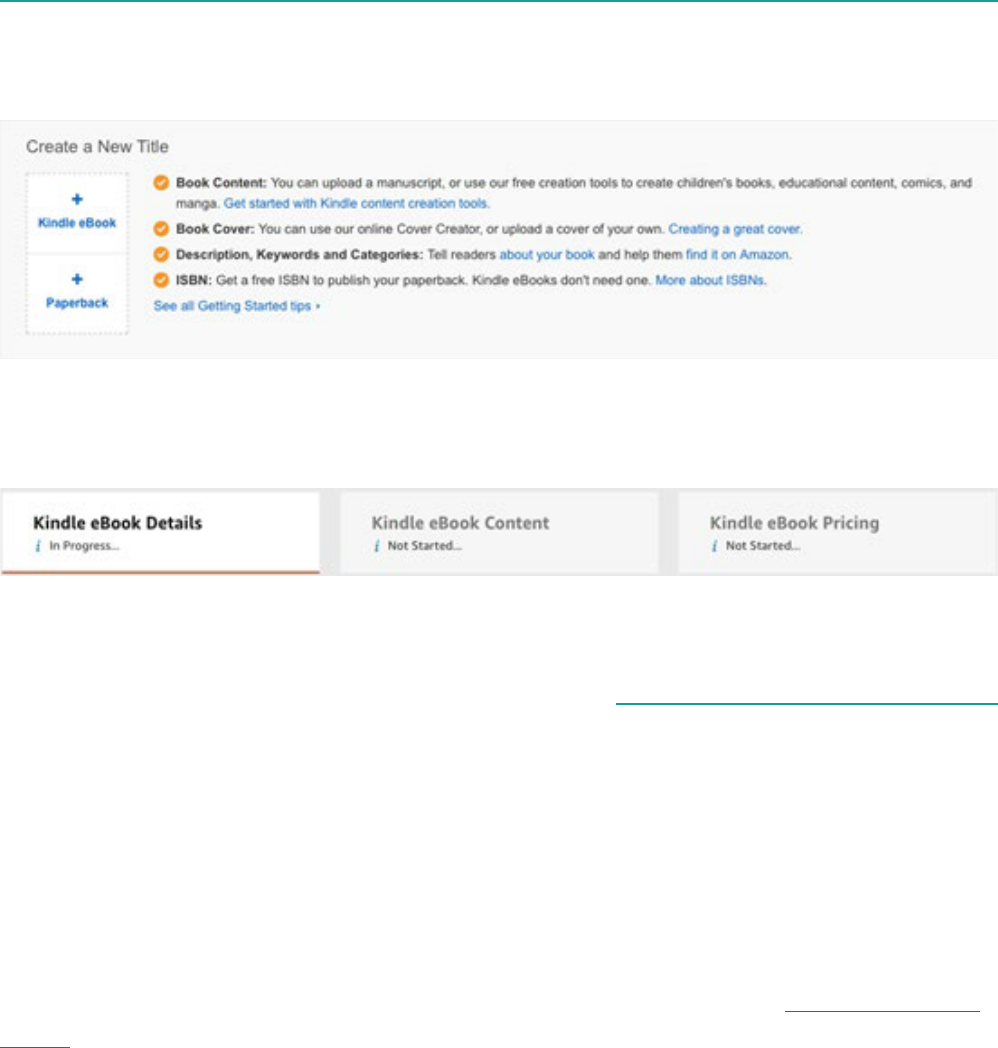
Tab 1 – Kindle eBook Details
On your home page (Bookshelf):
Click on ‘+ Kindle eBook’.
You will be taken through to a page with three tabs at the top:
Choose the Language your book is in. There is no ‘UK English’ or ‘NZ English’
option – just ‘English’.
Enter the Title for your book. The second part of this is for any subtitle you
might have and is optional. Examples of a subtitle are “A Novel” or “A John
Smith Thriller” or “How you can go from zero to hero in 5 easy steps.”
Be aware that Amazon require you to only put in here what is actually on the
cover. Format it normally (ie. Not all capitals).
(Optional) If your book is one of a Series, enter that in the next section.
Otherwise, leave it blank.
(Optional) If this is not the rst Edition of your book, enter that next. Otherwise,
leave it blank.
You will need to complete all three tabs in order to publish your book.

Author. Denitely put your name here. Other Contributors must be put in the
next section. If it is just you, leave the Contributors section blank.
Next is the Description. Your blurb goes here. It is limited to 4000 characters.
You have the option here of including html script to make it look nicer. Html
script is put before and after the text that you want to format with it.
To make the text bold put <strong> before the text and </strong>
afterwards.
To make the text italics put <i> before the text and </i> afterwards.
To make the text underlined put <u> before the text and </u>
afterwards.
For instance, to make your text look like this:
When you are at peace with yourself, any place is home.
You need to enter this:
When you are at <strong>peace</strong> with yourself, any <i>place</i>
is <u>home</u>.
Tick ‘I own the copyright and I hold the necessary Publishing Rights.’
Keywords are optional but necessary if you want anyone to nd your book.
They can be phrases. Eg. Magical Realism, World War 1 veterans. Fill all the
seven elds, if you can, with terms or phrases that you would enter into a
search eld to look for your book.
Do not put:
• the title
• your name
• words such as ‘free’ or ‘on sale’
• too-general terms, such as ‘book’
• subjective claims, like ‘best book ever’
Amazon has more guidelines/rules here
https://kdp.amazon.com/en_US/help/topic/G201298500

You can, and should, choose two appropriate Categories for your book. Note
that, if you subsequently discover a category that is not available on the very
limited list they provide here, you can request that they add your book to this
category by using the Contact Us button in the Help section and selecting
‘Book details’. Authors do this all the time. Amazon are quite responsive.
(Optional) If you are publishing a children’s book, enter the Age and Grade
Range. NB – This uses only the US grade range.
Tick either ‘I am ready to release my book now’
or ‘Make my Kindle eBook available for Pre-order.’
If you choose Pre-order, be aware that pre-orders do not count for sales on
the release date. They will retain the date they are actually ordered. In other
words, pre-orders DO NOT elevate your release date sales numbers.
Pre-orders must be set up in KDP four (4) days or more before your release
date.
Press the Save and Continue button.
This is where you upload your Manuscript.
But rst – DRM (Digital Rights Management). This is supposed to protect
your content from pirates. It can’t protect it from them all, however and it can,
unfortunately, also make it dicult for your paying readers to access your
book as well, as it can prevent them reading it on multiple platforms (eg. Both
their Kindle device and their Smart Phone). NB – lots of people read from
both their Kindle device and their phones.
Important point: Once your book is published, you can’t change its DRM
setting.
Press the ‘Upload eBook manuscript’ button and browse to the (mobi) le of
your book and select it. It will take a few minutes to process your le, during
which you can carry on lling in the rest of this page. But do come back to this
section, before you go on, as they check your le and helpfully list possible
spelling errors, which you should go through.
Tab 2 – Kindle eBook Content

It is highly advisable to use the ‘Launch Previewer’ button to see how your
book will look. Have a ick through to make sure it is laid out as you want it to
be.
•Use the < and > buttons on the virtual device to go back and forth
in it.
•Change the device you’re seeing it on using the control at the top right
(tablet, phone, Kindle E-reader).
•Change the font size.
•Use the Table of Contents at the top to go to the Beginning (usually just
after the Contents page), the Cover and the Table of Contents. The NCX
View will give you a list of the contents, including each chapter, so you
can navigate to, say, chapter three.
Don’t be alarmed by any nearly empty pages. The text has to be uid
because people can change the font size and font.
To get back to the publishing pages from the Previewer, select ‘Book Details’
in the top left hand corner, next to the house.
Enter your Kindle eBook ISBN. You can get this from the National Library
(https://natlib.govt.nz/forms/isn). You don’t need to type in the dashes.
(Optional) Enter your Publisher. This is either:
• Your name
• Your publisher’s name, or
• Your own independent company name.
Press the Save and Continue button.

Tab 3 – Kindle eBook Pricing
The rst checkbox is for KDP Select Enrolment.
The upside of enrolling in KDP Select is that you get 70% royalty from your
book, rather than the usual 35%. Your book will also be included in the Kindle
Unlimited library, where their paying subscribers can read your book. You will
be paid a proportion of the Kindle Unlimited prots depending on how many
pages of your book their subscribers read.
The downside is that you can’t put your book on any other platforms – you
are exclusive to Amazon/Kindle.
You can take your book out of KDP Select after each 90 day period is up. For
each 90 days you are in KDP Select, you can use the Kindle Countdown Deals
or the Free Book Promotion for up to 5 days per period.
Click All Territories (Worldwide rights).
Royalty and Pricing.
Pressing the View Service button under KDP Pricing Support (Beta) will give
you suggested pricing for your book based on similar books. They may not
be able to give you any information on this.
Select the 70% royalty option if you enrolled in KDP Select, otherwise select
35%.
Primary Marketplace should be set to Amazon.com or Amazon.com.au,
depending on where you expect most of your sales to come from.
Enter your List Price in US dollars.
NB - If you are enrolled in KDP Select, you can’t price your book below
US$2.99 or above $9.99.
The prices for the other Amazon markets will be automatically calculated
from the US price.
Matchbook – you can give readers who purchase the paperback of your
book the option to buy the eBook of it for a discounted price if you select this
box. You will then be given various options to charge them.
Book Lending – You can allow your customers to lend your book to friends
for a maximum of 14 days if you select this box. This is locked at ticked if you
are enrolled in KDP Select. You have to allow lending in this case.
You can either select the Save as Draft button or bite the bullet – if you are
happy with everything – and select the Publish Your Kindle eBook or Submit
for Pre-order button.
They warn you that it will take about three days for your book to show up on
Amazon, but it can be as little as 24 hours. They will send you an email when
it happens.
If you need to change something in your book (eg. You see those spelling
errors that you missed the rst time), you can go into your book again from
your Bookshelf page and re upload a new le. It will, again, take 24-36 hours
to show up on Amazon.
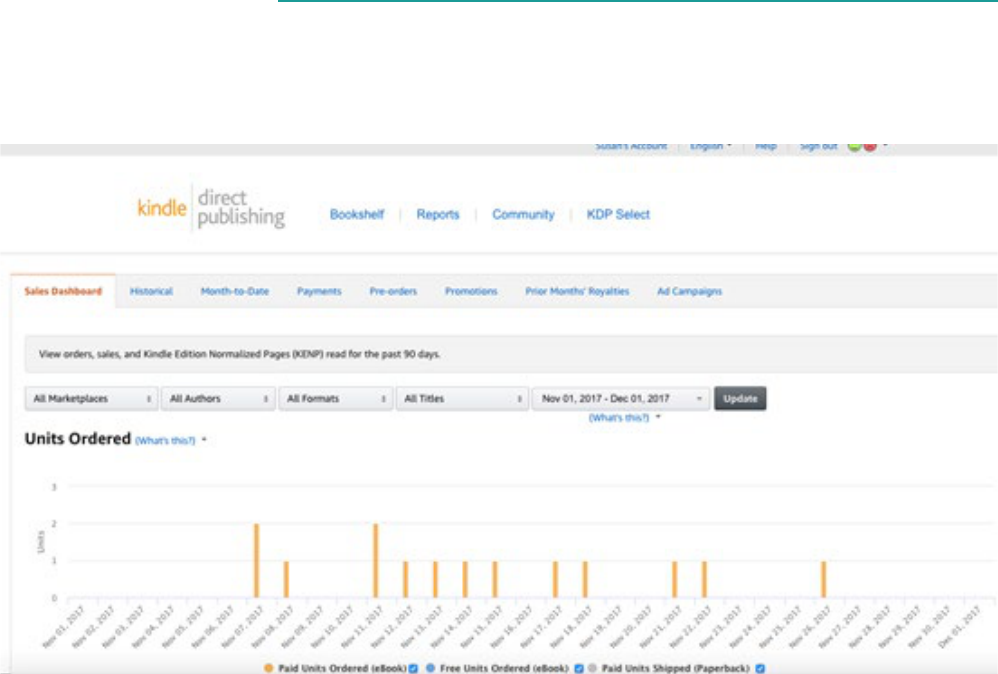
Once your book has begun selling, you can click on Reports and you will see
something like this:
As you can see, there are more reports to look at on the other tabs –
Historical, Month-to-Date, etc.
Afterwards:
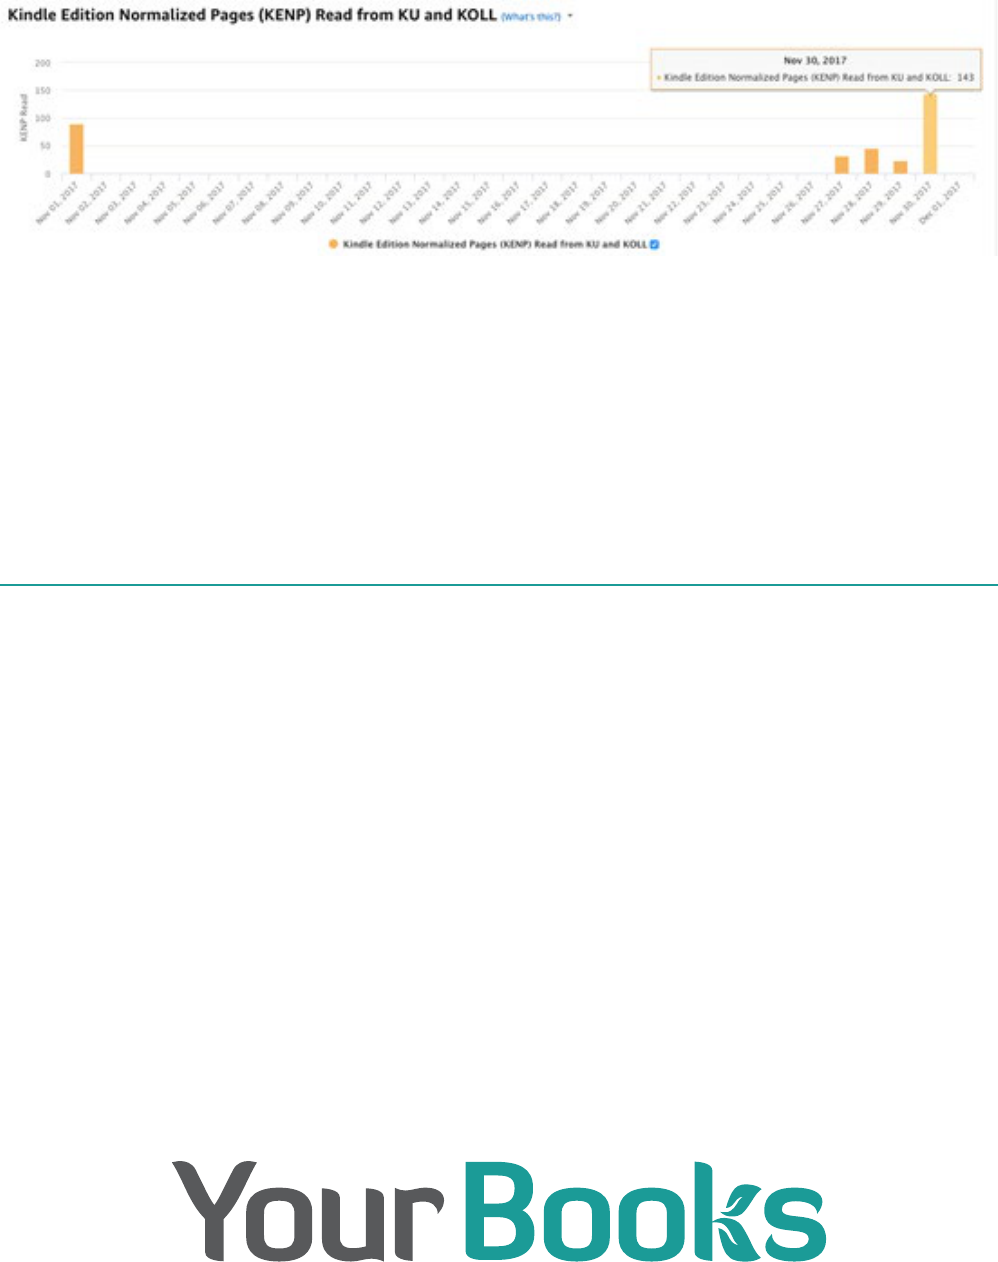
And farther down are the gures for Kindle Unlimited – the number of pages
people read:
My advice? Don’t look at your sales gures too often.
Be aware that, since Amazon doesn’t have EFT payments set up properly yet
for NZ, royalty payments will have to accumulate up to US$100 or AU$100,
etc. before a wire transfer will come through to you.
In other words, there will be a delay in payments. Hopefully Amazon will sort
this out in the near future.
