
Collaborate Ultra Troubleshooting
Accessing Collaborate Ultra
Connection Error: Spinning Purple Wheel
If you are trying to connect to a session and, instead of loading, you see a spinning purple wheel, check your cookie settings.
Collaborate Ultra requires cookies in order to work properly. Check your browser settings to ensure that your browser is set to allow
third party cookies.
• Firefox Enable Cookies
• Chrome Manage Cookies
Connection Error: A03 Connection Error
An A03 Connection Error typically means that the session was not found or the token not valid. In some instances the user may have
been sent a "join" link instead of a "guest" link. A join link will have "join" in the URL and cannot be reused. Please ask the moderator
to re-send the guest link. If you are joining a Collaborate session from within AC BlackBoard system, click on the session link within
the course.

General Collaborate Ultra Troubleshooting
Browser Settings
• For the best experience, make sure that you are using Google Chrome, as it is the most compatible with Collaborate Ultra.
• Check that your browser is fully up-to-date.
• Check the browser’s microphone and webcam settings to make sure the correct input is selected and that Collaborate Ultra has not
been blocked.
• Clear your browser’s cache
.
• Make sure your browser allows third-party cookies.
Settings for Your Computer
Make sure that the correct audio/video input/output is selected on your computer. The easiest way to test is to try using different
programs. Are you able to play sound on your computer? Can you use the microphone/webcam in a different program (such as
Teams or Zoom)?
Restart Your Computer
Restarting your computer can often solve a host of technological issues. When in doubt, try restarting.
Check Your Network Settings
For the best experience, use a strong internet connection.
Try Another Internet Connection and Computer
Trying another internet connection and/or computer will help to narrow down the issue. Are you able to access your Collaborate
Ultra session on a different computer or a different network?
Audio and Video Issues
Are you unable to hear the speaker or are people unable to hear you? Is your video not turning on or showing a blank screen?
• Close out any other applications or browser windows, especially any that may use your camera or microphone.
• Use the Google Chrome
browser, as it is the most compatible with Collaborate Ultra. Certain older versions of Firefox are known to
have audio issues.
• Check that your browser is fully up-to-date.
• Check your Audio and Video Setup
to make sure your microphone is set up properly.
• Check the browser’s microphone and webcam settings to make sure the correct input is selected and that Collaborate Ultra has not
been blocked.
• Hearing an echo? As a best practice, we recommend using headphones for audio, as this will help to reduce background noise and
echoes. The headphones that come with most cell phones will work nicely.
• Clear your browser’s cache
.
• When in doubt, try restarting your computer.
If your audio is still not working properly, try calling into your session
using the session phone number and PIN.

Application Sharing Issues
Are you having trouble sharing content with your participants? Are you getting a message saying that the application sharing is
starting but it does not start sharing?
• Check your browser. Application sharing is only compatible with Google Chrome and the most recent versions of Firefox
.
• Check that your browser is fully up-to-date.
• If you see the message that Application sharing is starting but the screen does not start sharing, stop and restart the application
sharing.
• If you are using Chrome, make sure that the Desktop Sharing extension has been installed. You may need to uninstall and reinstall
the extension. See Application Sharing Issues
for more information.
• Check your browser settings to make sure that the browser has permission to share your screen or application.

Clearing your browser's cache
Your browser's cache is a temporary storage folder on your computer where recently visited web pages are stored to save time and
allow pages to load faster when you are surfing the internet. Occasionally, some saved information can become outdated and cause
browsing problems. Clearing the cache replaces the outdated information by reloading pages directly from the web server, thus
providing you a fresh copy of the web page.
Internet Explorer (Windows)
1. Open Internet Explorer.
2. At the top of the window, click Tools > Internet Options.
3. Under Browsing History, click Delete.
4. A Delete Browsing History window will appear. You can check the Temporary Internet Files and website files, Cookies and website
data and History choices, then click the Delete button.
5. When this is finished, you can click OK to exit to the main window.
Edge
1. Open Edge.
2. Click the Settings icon.
3. Click Settings from the menu that opens.
4. Click on the Choose what to clear button under the Clear browsing data heading.
5. If they aren't already chosen, click on the boxes before Choose Browsing History, Cookies and saved website data, Cached data and
files and Tabs I've set aside or recently closed.
6. Press the Clear button.
Firefox (Windows)
1. Open Firefox.
2. Go to Tools > Options.
3. Choose Privacy & Security from the menu on the left.
4. Under Cached Web Content, click the Clear Now button.
5. Close the Options tab.
Firefox (Mac)
1. Under the Firefox menu, click Preferences.
2. Click on Privacy & Security, then scroll to Cookies and Site Data.
3. Click on the Clear Data button.
4. Make sure the the Cookes and Site Data and Cached Web Content fields are checked, and click the Clear button.
5. In the window that pops up, click the Clear Now button.
Safari
1. Go to the Develop menu and click on Empty Caches.
Note: If you don't see Develop in the menu bar, do the following:
• Go to the Safari menu, and click Preferences
• In Preferences, find and click on the Advanced tab.
• At the bottom of the window in the Advanced tab, make sure the box labeled Show Develop menu in menu bar is checked

Chrome (Windows and Mac)
1.Click the More icon on the toolbar:
2. Choose the More Tools option on the dropdown menu.
3. Click on Clear browsing data.
4. In the box that opens, you can check the items that you want to clear, and you can also choose how far back you want to clear
the cache. The most common items to clear are:
• Browsing history
• Download history
• Cookies and other site and plug in data
• Cached images and files
5. Click on the Clear data button.
Blackboard Collaborate Ultra: Audio and Video Setup
Audio and Video Setup
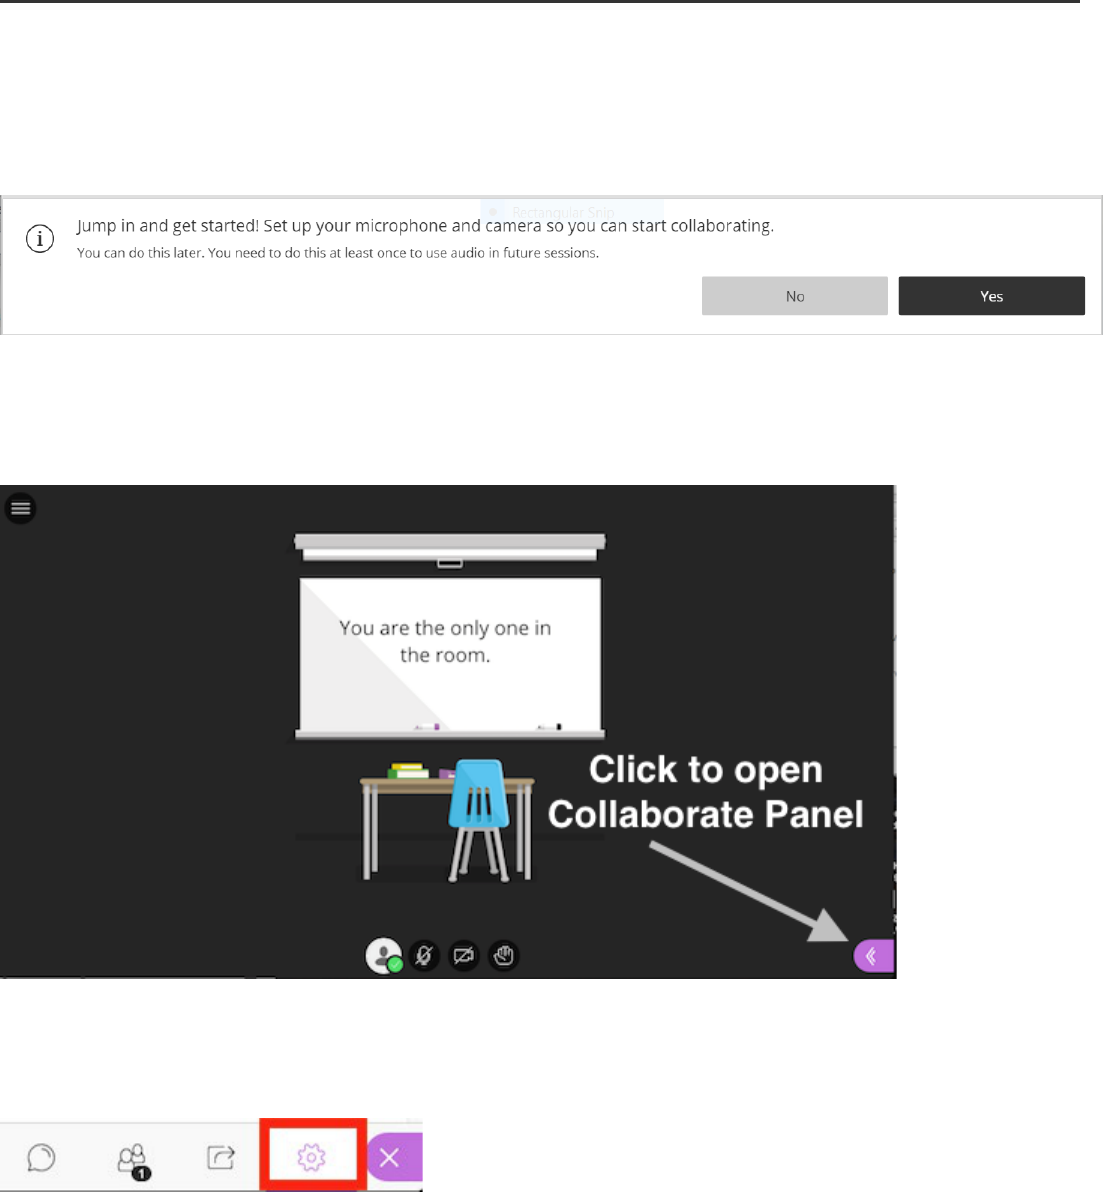
When you first join a Collaborate session you will be prompted to set up your audio and video.
If you do not set up your audio and video when prompted, you can set up audio and video at any time in My Settings. To access
your My Settings area, open the Collaborate Panel on the lower right side of the screen.
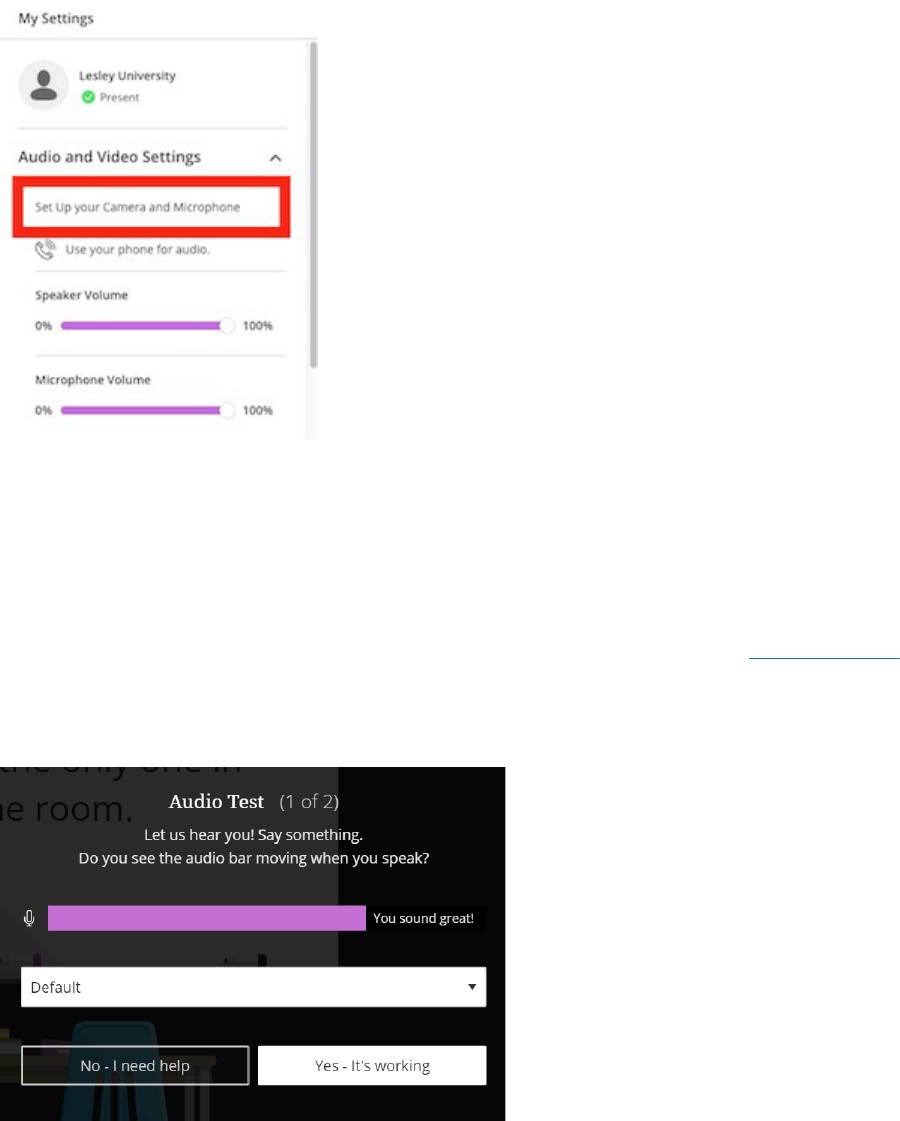
Click the My Settings button at the bottom of the page.
This will open your My Settings. Click Select Set Up your Camera and Microphone to set up your audio and video.
Audio will play over your computer's speakers or your headphones. As a best practice, we recommend using headphones for audio, as
this will help to reduce background noise and echoes. The headphones that come with most cell phones will work nicely.
If your audio is not working correctly, you may use your phone for audio. To learn more, see Call Into a Session.
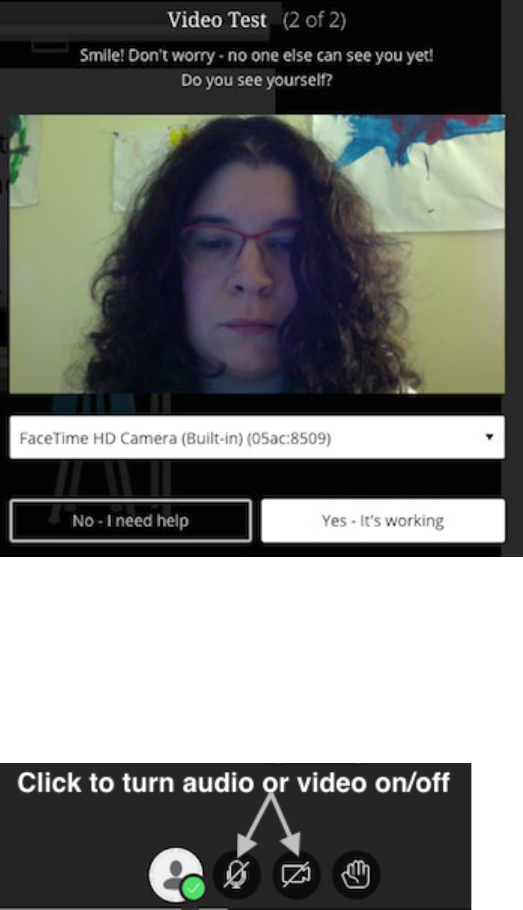
When prompted, choose the microphone you want to use. Select Yes - it's working to proceed.
Choose the camera you want to use. Collaborate tells you that you look great when it is receiving your video. Select Yes, it's
working to proceed.
By default, your audio and video feeds are hidden and muted after you complete the setup. Select the microphone and camera icons to
begin full meeting participation. Alternatively, with your keyboard, press Alt + M to turn your microphone on and off. Press Alt + C
to turn your camera on and off.
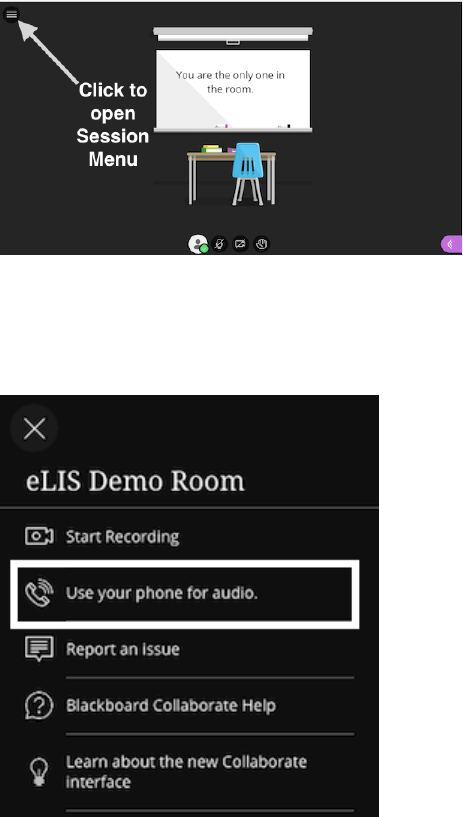
Call Into a Session
Open the Session Menu on the upper left side of the screen.
Select Use your phone for audio.
Call the number listed and enter the personal identification number (PIN).
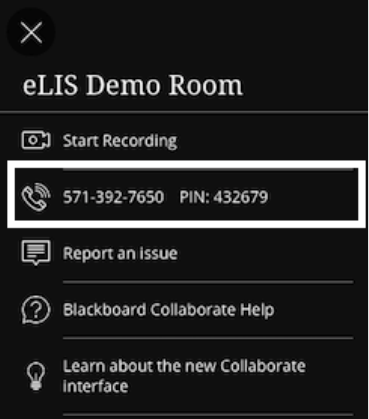
Please note that your PIN is unique to you. When you enter the PIN, the audio from your phone is paired with your avatar in the
session. This helps everyone keep track of who is speaking. You will not be able to use the PIN in another session or share your PIN
with another user. Once your session ends, the PINs will no longer work.
By default, your audio is muted when you first call in. Turn your audio on and off in your browser by selecting the phone icon.
