page . 1Last update 01/19/2017
Guide to Editing
Documents Online
Table of content
• “About editing documents online”
• “Online editing tools”
- “General tools”
- “Track changes tools”
- “Data dialog tools”
• “Copying, cutting, and pasting”
• “Opening ofine documents online”
• “Check variance and generate nal”
• “Additional resources”
About editing documents online
When you edit your documents online, you will be using the online editor. An online editor
is an interface for editing AIA Contract Documents stored in the cloud. You will need a
supported web browser and a connection to the internet to use the online editor. Using the
online editor you can freely edit both the standard AIA text and the various data elds in the
documents. If you need instructions on how to complete a document, please click the
button, which is located on the left of the online editor.
The online editor allows you to use dialogs (refer to the “Data dialog tools” section below)
while editing your draft documents to easily ll out your document. The dialogs interact with
the document, so information entered into the dialog automatically lls the document draft
AIA Contract Document is recognized by the dialog. Similarly, information entered into the
draft AIA Contract Document is recognized by the dialog. Entering data between the
chevrons ensures that it will be recognized by the dialog.
Note: The online editor is a great tool for making simple edits. For more complex editing,
we recommend that you work ofine to edit your document using Microsoft® Ofce
Word if you would like to perform advanced edits such as modifying tables, resizing
images, bullets, etc.
page . 2Last update 01/19/2017
Online editing tools
Below are the editing tools that are available for you to use within the online editor. The Home
tab will provide quick access to most of these toolbars. You will nd other toolbars in their
respective tab as noted.
General tools
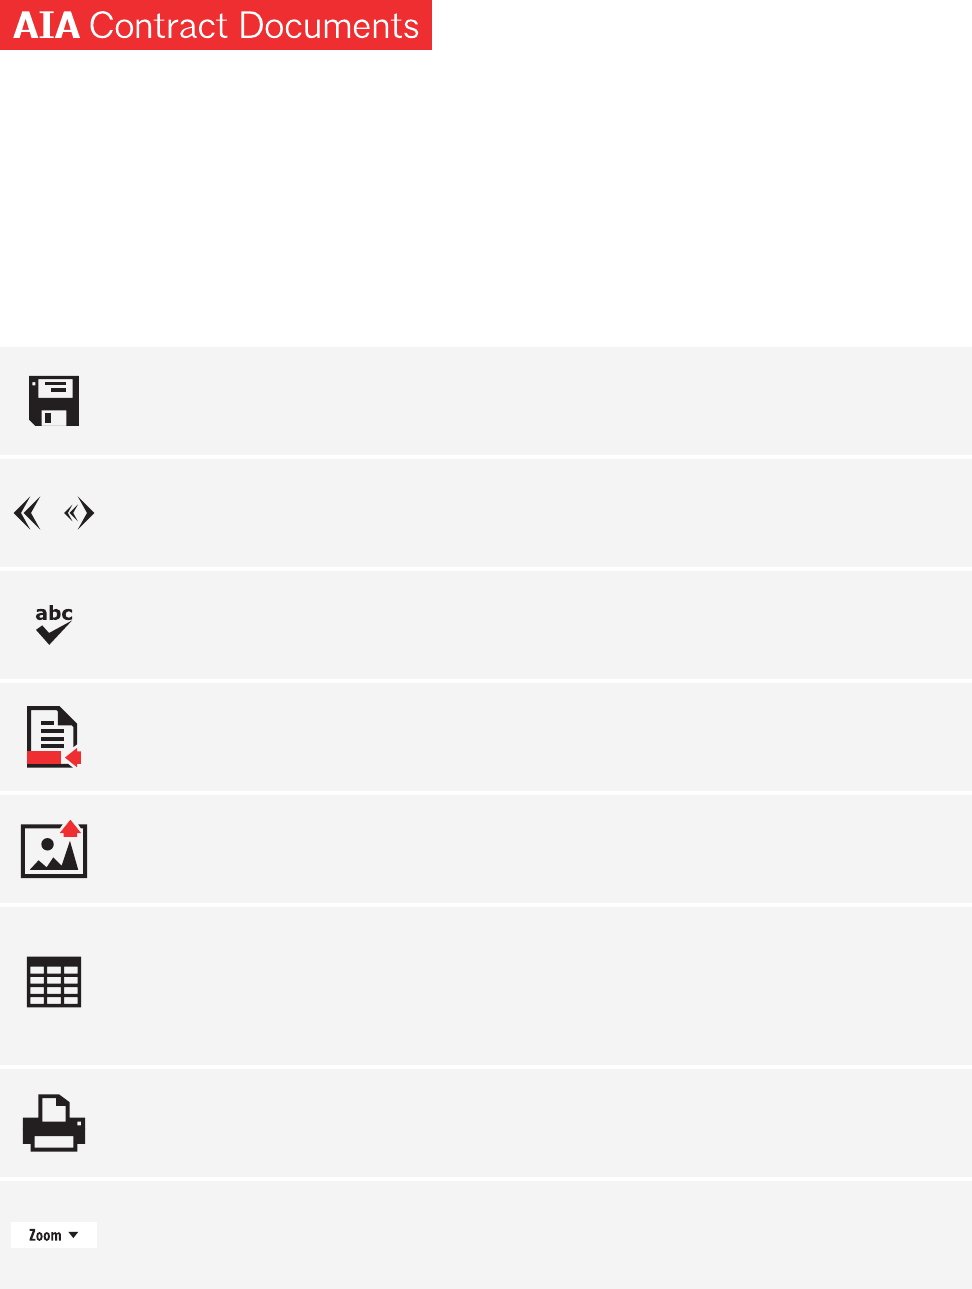
Save this document - Save changes to the document. If the document has not been
saved before, you will be prompted to save to a new or existing project.
Watch video (32 sec)
To move between the data elds in a document, you can either navigate directly into
a eld using your mouse, or you can use the “Go to Previous FillPoint” and “Go to
Next FillPoint” buttons on the AIA Toolbar. Watch video (25 sec)
Check spelling – Check the spelling of your document. You will nd this under the
Tools tab. Watch video (16 sec)
Add a note to the footer – Notes entered here will be displayed on the footer of each
page. You will nd this under the Insert tab. Watch video (34 sec)
Zoom – Is the view of your document too large or too small? Use this to change the
zoom level. You will nd this under the View tab. Watch video (14 sec)
Upload image – Use to upload images from your computer to the document (images
cannot be pasted to the online editor). You will nd this under the Insert tab.
Watch video (17 sec)
Insert table – Use this to create a table in the document. You can specify how many
rows and columns you would like to have. You will nd this under the Insert tab.
Print Preview – Preview your edits to the document.
Watch video (16 sec)
Note: For more advanced table edits, such as adjusting the width of a column or height of a
row, please work ofine to edit in Microsoft® Ofce Word.
Watch video (20 sec)
BUTTON FUNCTION
page . 3Last update 01/19/2017
Track changes tools
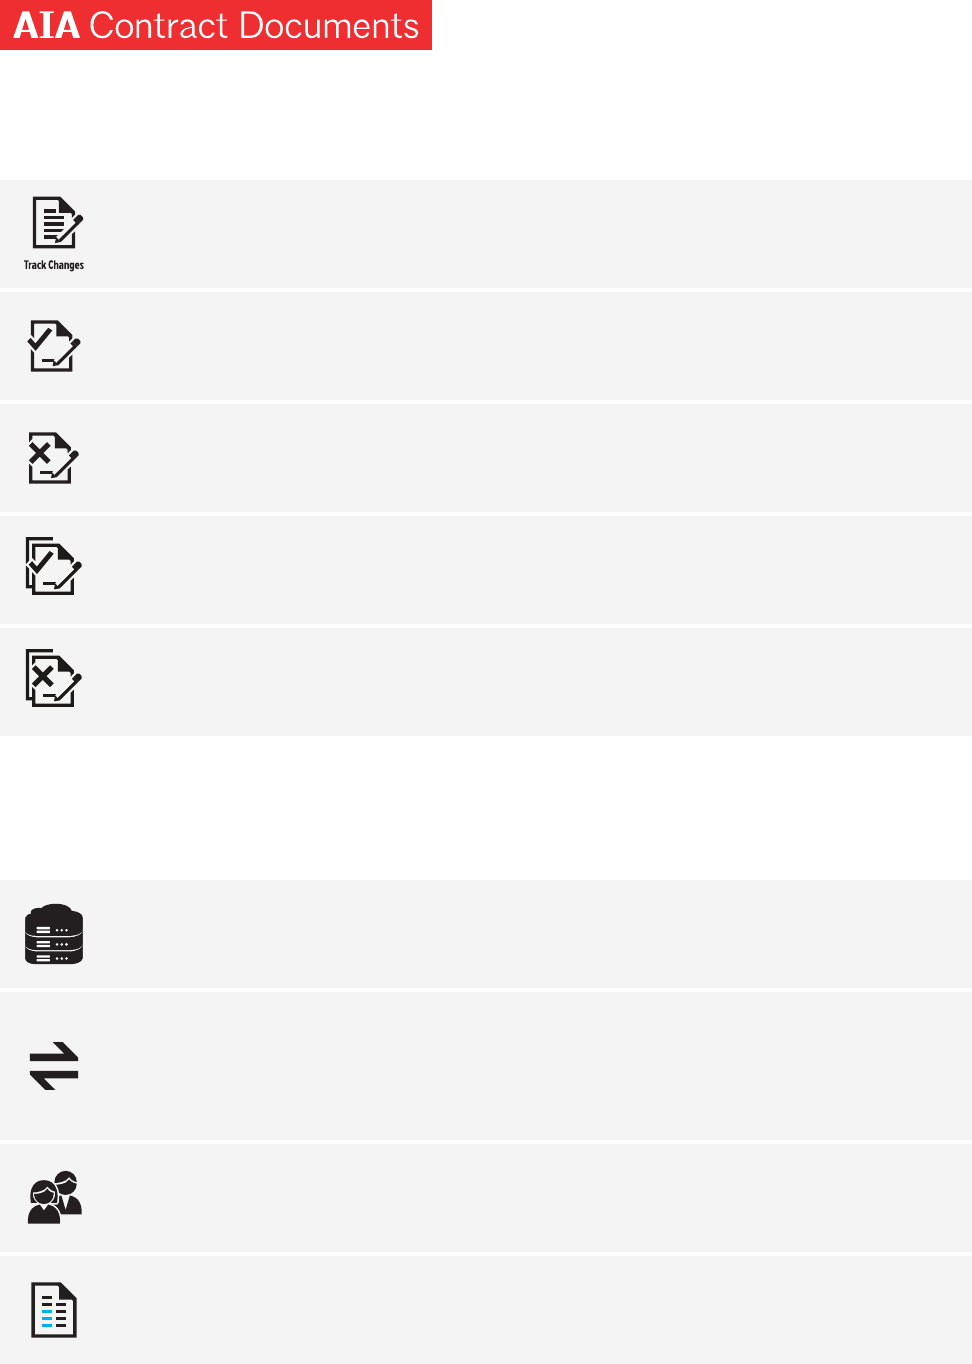
Toggle Track Changes on and off – By default, track changes is turned on. Use this
to enable and disable track changes. Watch video (38 sec)
Accept selected change(s) – Select the track change(s) you would like to accept in
the document and click on this button. Watch video (15 sec)
Reject selected change(s) - Select the track change(s) you would like to reject in
the document and click on this button. Watch video (13 sec)
Accept all changes – All track changes will be accepted.
Watch video (12 sec)
Reject all changes – All track changes will be rejected.
Watch video (11 sec)
Data dialog tools
BUTTON FUNCTION
Project Data – Use to enter project information and contract details.
Watch video (24 sec)
Sync Project Data – If you make a change to the contents of any of the project data
elds while editing a draft document, either directly in the document or through a
Data Dialog, there will be a discrepancy between the project data in the document
and the corresponding project data. Use this to synchronize your document and
project. Watch video (38 sec)
Project Team Data – Use to enter project team information.
Watch video (27 sec)
Document specic data – Use to enter specic document information.
Watch video (41 sec)
BUTTON FUNCTION
page . 4Last update 01/19/2017
Copying, cutting, and pasting
To perform actions like copy, cut, and paste, use the keyboard shortcuts below.
Due to the limitations of the web based technology, copying and pasting experience will be
different in the online editor compared to working ofine in Microsoft® Ofce Word. Below are
a few things to note when using copy and paste:
Copying and pasting text: If you are pasting text to the online editor (from copying outside
the online editor or inside), some font effects such as font, color, highlighting, and size will be
removed. You can reapply the formatting once pasted.
Copying and pasting images: Images cannot be pasted to the online editor. Use the upload
image toolbar.
Copying and pasting hyperlinks: URLs will be preserved. However, some font effects such
as font type, color, highlighting, and size will be removed. You can reapply the formatting once
pasted.
Copying and pasting list (ordered or unordered): When copying and pasting lists (e.g. bullets
and numbering) with multiple levels, the structure will not be preserved. It is best to remove the list
formatting prior to pasting and reapply the list formatting in the online editor.
Opening ofine documents online
If you started editing your document ofine using Microsoft® Ofce Word, we recommend
continuing to work ofine for the best experience and upload your document back to ACD5
when you are ready to nalize your document. However, if you would like to open your ofine
document online, below are a few things to note:
Text is not displaying after bulleted items: To work around this issue, open the ofine Microsoft®
Ofce Word document and copy and paste the bulleted items to the online editor. You may need to
re-apply formatting, please see about “Copying and pasting list (ordered or unordered)”
Text that do not have bold format ofine is displaying with bold format online: To work around
this issue, select the bold text and click on and this will unbold the text.
Windows
Keyboard shortcut Action
CTRL + C Copy
CTRL + X Cut
CTRL + V Paste
MAC
Keyboard shortcut Action
CTRL + C Copy
CTRL + X Cut
CTRL + V Paste
page . 5Last update 01/19/2017
Check variance and generate nal
After editing your document, you can either variance check it or generate a nal from it. Below
is the information about these two options.
Check variance - Variance checking is the process of comparing your edited Working Draft
(all A, B, C, and E-series documents, as well as G601 and G602) against the original AIA
master document and then generating a third document that notes the differences.
Watch video (3min 33sec)
Click the Check variances button on the left of the online editor and choose how you would
like to variance check the document:
• Clean in PDF - The additions to and deletions from the document are indicated in the
margin, parallel to where the changes occur. The details of the changes are appended to
the document in an Additions and Deletions Report (with page references). This document
is called a Checked Draft and is a locked PDF le.
• Comparative in PDF - All changes are noted in-line in the document, marking additions
with underlining and deletions with strike-throughs. This document is called a Checked
Draft and is a locked PDF le.
Note: Users with Documents-on-Demand Plus license should take advantage of the
Check variance function to preview completed documents prior to generating a nal and
consuming your license.
Generate nal - Once all collaboration is complete, and the document has been edited and
checked, you can generate a Final version. Final documents are always produced in read-only
PDF format, and can be printed and/or e-mailed. Watch video (2min 17sec)
Click the Generate nal button on the left of the online editor and choose how you would like
to nalize the document.
• Clean in PDF - All the additions to and deletions from the document are indicated in the
margin, parallel to where the changes occur. The details of the changes are appended to
the document in an Additions and Deletions Report (with page references).
• Comparative in PDF - All changes are noted in-line in the document, marking additions
with underlining and
Note: If you are a Documents-on-Demand Plus customer, you can only nalize a
document once. However, if you need to nalize a document again, go to the Template
Library, click More Actions and re-purchase your document again.

page . 6Last update 01/19/2017
Additional resources
• ACD5 Training Tools – We provide ACD5 training tools such as webinars, video
tutorials, and beginners guide to ACD5.
• Knowledge Base – Our Knowledge Base is searchable and includes information to
Getting Started and frequently asked questions on Document and Software.
• Customer Support Site – Need help? Find out all the ways you can get AIA Contract
Documents support.
