
Location Intelligence
Infrastructure Asset Management
Confirm
®
Microsoft App-V
v21.00b.AM
Information in this document is subject to change without notice and does not represent a commit-
ment on the part of the vendor or its representatives. No part of this document may be reproduced
or transmitted in any form or by any means, electronic or mechanical, including photocopying,
without the written permission of Confirm.
© 2020 Confirm. All rights reserved.
Products named herein may be trademarks of their respective manufacturers and are hereby re-
cognized. Trademarked names are used editorially, to the benefit of the trademark owner, with
no intent to infringe on the trademark.
Open Source Attribution Notice
The Confirm suite of products contain the following open source software:
• Feature Data Objects v 3.5.0, which is licensed under GNU Lesser General Public License,
Version 2.1, February 1999 with the unRAR restriction. The license can be downloaded from:
http://fdo.osgeo.org/licenceAndGovernance.html. The source code for this software is
available from http://fdo.osgeo.org/content/fdo-350-downloads
• MrSID software (specifically the mrsid32.dll) is used under license and is Copyright © 1995-2002,
LizardTech, Inc., 1008 Western Ave., Suite 200, Seattle, WA 98104. All rights reserved. MrSID
is protected by U.S. Patent No. 5,710,835. Foreign patents are pending. Unauthorized use or
duplication prohibited.
Patented technology in the Software was developed in part through a project at the Los Alamos
National Laboratory, funded by the U.S. Government and managed by the University of California.
The U.S. Government has reserved rights in the technology, including a non-exclusive, nontrans-
ferable, irrevocable, paid-up license to practice or have practiced throughout the world, for or
on behalf of the United States, inventions covered by the patent, and has other rights under 35
U.S.C. § 200-212 and applicable implementing regulations.
For further information, contact Lizardtech.
• NodaTime, version number 1.3.10, which is licensed under the Apache license, version number
2.0. The license can be downloaded from http://www.apache.org/licenses/LICENSE-2.0 . The
source code for this software is available from http://nodatime.org/.
• Chromium Embedded Framework, version 3, which is licensed under the New BSD License.
The license can be downloaded from http://opensource.org/licenses/BSD-3-Clause. The source
code for this software is available from http://code.google.com/p/chromiumembedded/down-
loads/list.
• Xilium.CefGlue, version 3, which is licensed under the MIT License (with portions licensed under
the New BSD License). The licenses can be downloaded from http://opensource.org/licenses/MIT
and http://opensource.org/licenses/BSD-3-Clause. The source code for this software is available
from http://xilium.bitbucket.org/cefglue/.
• D3 Data Driven Documentation, version 3.4.1, which is licensed under the New BSD License.
The license can be downloaded from from https://github.com/mbostock/d3/blob/master/LICENSE.
The source code for this software is available from http://d3js.org/.
• OpenLayers, version 2.12, which is licensed under the Modified BSD License. The license can
be downloaded from http://svn.openlayers.org/trunk/openlayers/license.txt. The source code for
this software is available from http://trac.osgeo.org/openlayers/browser.
• OpenLayers, version 3, which is licensed under the BSD 2-Clause Licence. The license which
can be downloaded from https://github.com/openlayers/ol3/blob/master/LICENSE.md. The source
code for this software is available from https://github.com/openlayers/ol3.
• Proj4js, version 1+, which is licensed under the Apache License, Version 2, January 2004. The
license can be downloaded from http://www.apache.org/licenses/LICENSE-2.0.html. The source
code for this software is available from http://trac.osgeo.org/proj4js/.
• requireJS, version 2.1.2, which is licensed under the MIT License or the New BSD License. The
license can be downloaded from https://github.com/jrburke/requirejs/blob/master/LICENSE. The
source code for this software is available from http://requirejs.org/.
• Apache Cordova, version 8.1.2, which is licensed under the Apache License, Version 2, January
2004. The license can be downloaded from http://www.apache.org/licenses/LICENSE-2.0.html.
The source code for this software is available from http://phonegap.com/download/.
• Xilium.CefGlue, version 75.1, which is unlicensed. The source code for this software is available
from https://gitlab.com/xiliumhq/chromiumembedded/cefglue.
• Chromium Embedded Framework, version 75.0, which is licensed according to the following
criteria:
Copyright (c) 2008-2014 Marshall A. Greenblatt. Portions Copyright (c) 2006-2009 Google Inc.
All rights reserved.
Redistribution and use in source and binary forms, with or without modification, are permitted
provided that the following conditions are met:
* Redistributions of source code must retain the above copyright notice, this list of conditions
and the following disclaimer.
* Redistributions in binary form must reproduce the above copyright notice, this list of conditions
and the following disclaimer in the documentation and/or other materials provided with the distri-
bution.
* Neither the name of Google Inc. nor the name Chromium Embedded Framework nor the names
of its contributors may be used to endorse or promote products derived from this software without
specific prior written permission.
THIS SOFTWARE IS PROVIDED BY THE COPYRIGHT HOLDERS AND CONTRIBUTORS
"AS IS" AND ANY EXPRESS OR IMPLIED WARRANTIES, INCLUDING, BUT NOT LIMITED
TO, THE IMPLIED WARRANTIES OF MERCHANTABILITY AND FITNESS FOR A PARTICULAR
PURPOSE ARE DISCLAIMED. IN NO EVENT SHALL THE COPYRIGHT OWNER OR CON-
TRIBUTORS BE LIABLE FOR ANY DIRECT, INDIRECT, INCIDENTAL, SPECIAL, EXEMPLARY,
OR CONSEQUENTIAL DAMAGES (INCLUDING, BUT NOT LIMITED TO, PROCUREMENT
OF SUBSTITUTE GOODS OR SERVICES; LOSS OF USE, DATA, OR PROFITS; OR BUSINESS
INTERRUPTION) HOWEVER CAUSED AND ON ANY THEORY OF LIABILITY, WHETHER IN
CONTRACT, STRICT LIABILITY, OR TORT (INCLUDING NEGLIGENCE OR OTHERWISE)
ARISING IN ANY WAY OUT OF THE USE OF THIS SOFTWARE, EVEN IF ADVISED OF THE
POSSIBILITY OF SUCH DAMAGE.
The source code for this software is available from http://opensource.spotify.com/cefbuilds/in-
dex.html#
November 27, 2020


Microsoft App-V
Overview
Microsoft Application Virtualization (App-V) is an application virtualization solution from Microsoft. It
helps businesses to provide their end users with access to virtually any application, anywhere without
installing applications directly on their computers. Here we will follow these three basic steps for the
virtualization of Confirm Client application.
1. Install the Microsoft App-V Sequencer on a computer.
2. Use the Microsoft App-V sequencer to create virtual application package of Confirm Client.
3. Deploy the virtual package on Microsoft App-V Client.
This document covers setting up the Sequencer workstation, walkthrough to create virtual application
for Confirm Client, and walkthrough to deploy the package, using Microsoft App-V.
App-V Package Creation
App-V Sequencer
The App-V Sequencer is a component of the App-V suite used to convert standard applications into
virtual packages for deployment to computers running the App-V Client. It analyses the application for
the resources that it requires and creates the system guard runtime environment that it will require.
Most importantly, the sequencer translates file and registry references into user, machine, and operating
system neutral references.
Prerequisites for App-V Sequencer Workstation
Follow the link for information. http://technet.microsoft.com/en-US/library/jj713458.aspx
Prerequisites for Confirm Client
• Visual C++ 2013 x86 / x64
• Visual C++ 2015 x86 / x64
• MapXtreme Redistributable
Install App-V Sequencer
• Pre Windows 10 http://technet.microsoft.com/en-us/library/jj713464.aspx
• Windows 10 https://docs.microsoft.com/en-us/windows/application-management/app-v/appv-
getting-started
Package Creation Walkthrough
This section outlines the sequencing process of Confirm Client application.
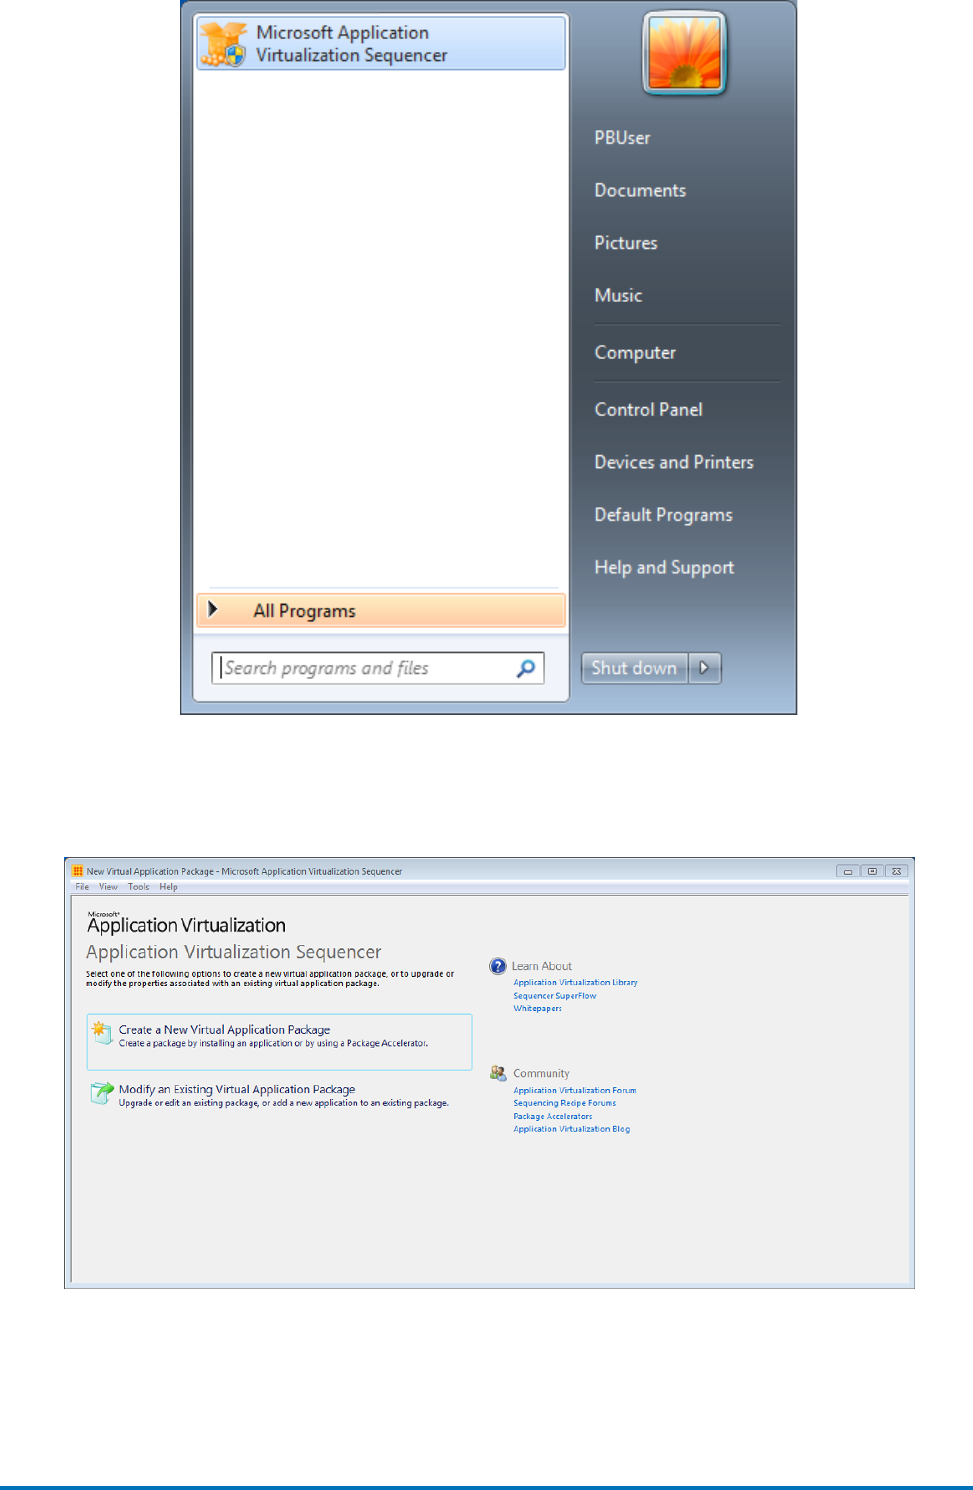
Start Microsoft App-V Sequencer
Launch ‘Microsoft Application Virtualization Sequencer’ from ‘Start’ menu.
6 of 20Confirm
| Microsoft App-V |
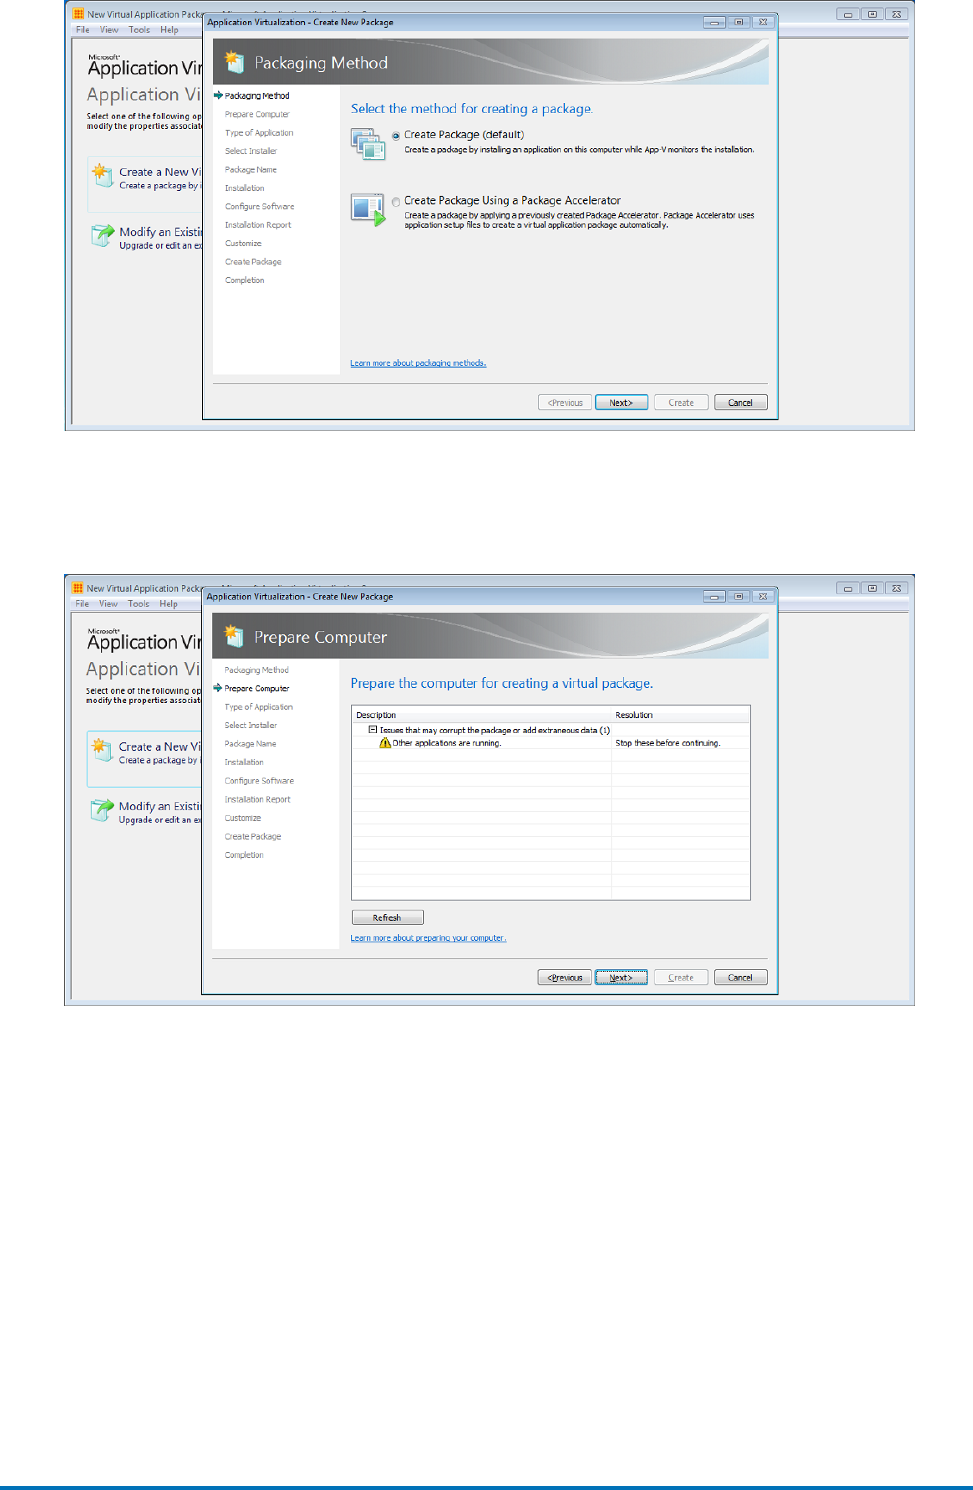
Welcome Screen
Select ‘Create a New Virtual Application Package’ to create a new virtual application package.
Packaging Method
Select ‘Create Package’ option to create a new package.
7 of 20Confirm
| Microsoft App-V |
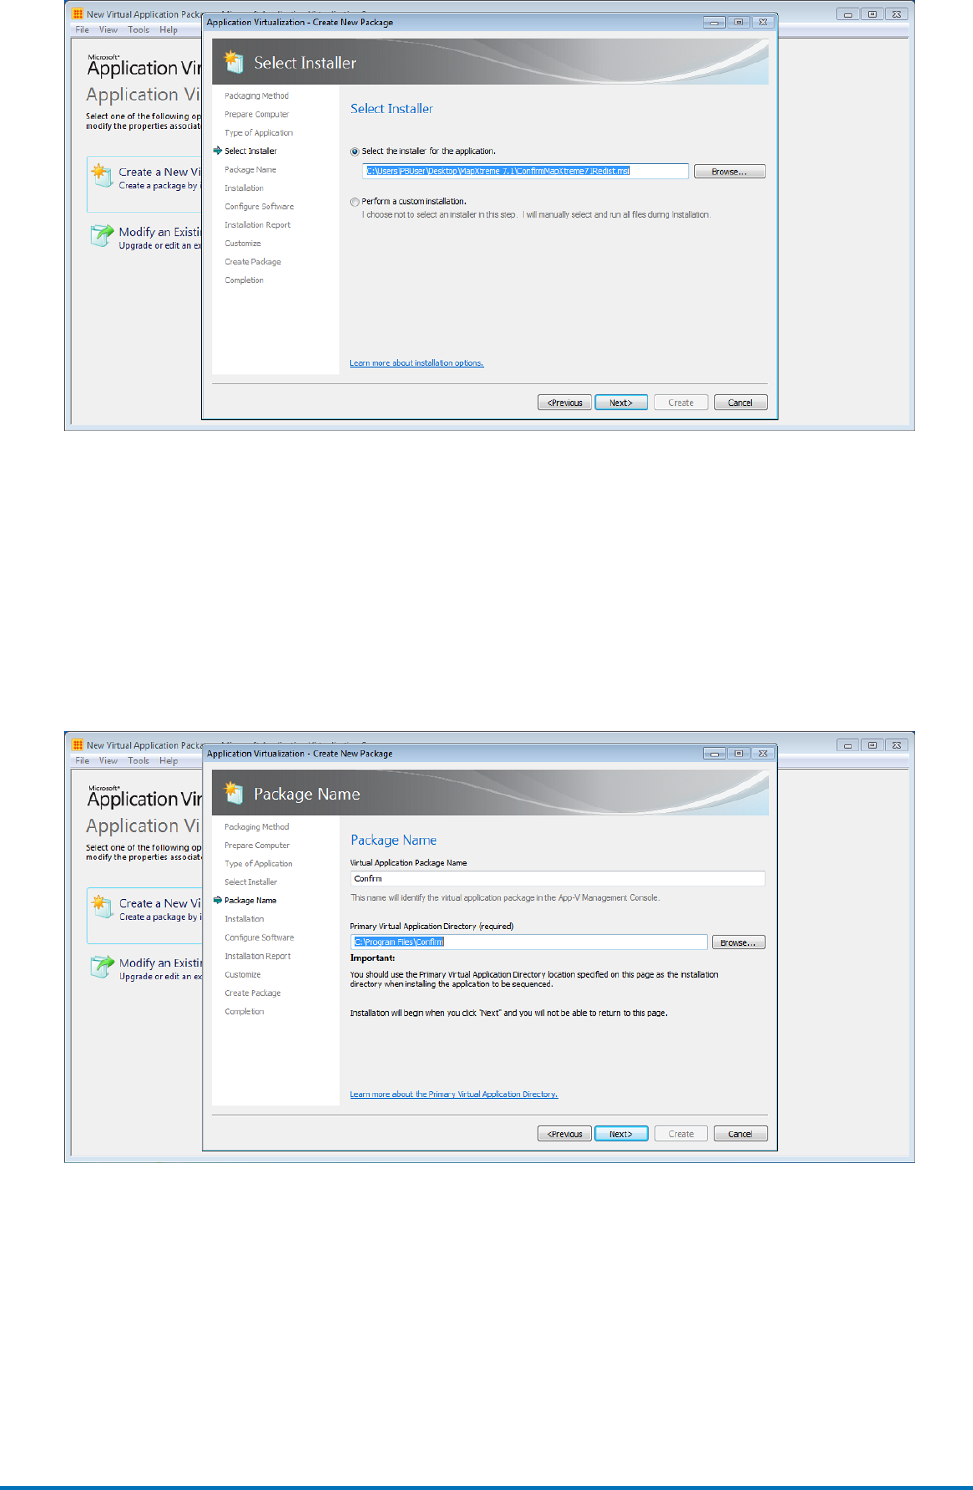
Prepare Computer
This process examines and prompts for any running processes that might prevent successful sequencing.
Stop all the running processes to continue creating the package. Click ‘Refresh’ button.
8 of 20Confirm
| Microsoft App-V |

Type of Application
Select ‘Standard Application’ to continue creating the package.
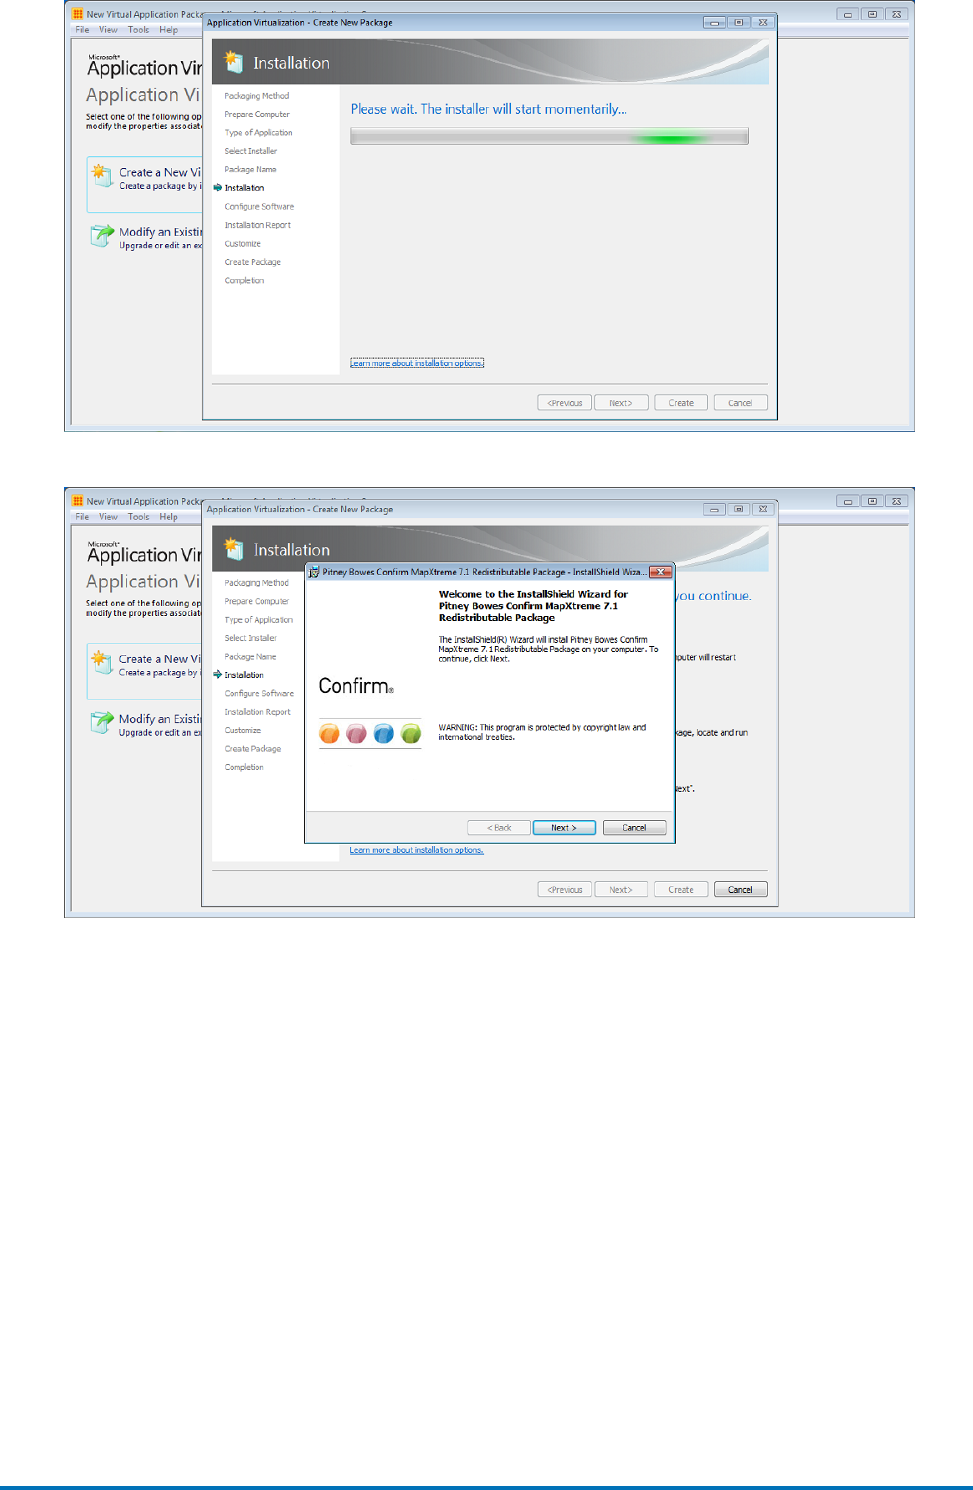
Select Installer
Select ‘Confirm MapXtreme’ installer file to have the sequencing wizard automatically launch the installer
wizard.
9 of 20Confirm
| Microsoft App-V |
Package Name
Specify unique name for the package under ‘Virtual Application Package Name’. This name is independ-
ent of the ‘Primary Virtual Application Directory’. This name will identify the virtual application package
in the App-V Management Console. Save the package in a directory named for the package name is
recommended.
Specify directory under ‘Primary Virtual Application Directory’ that will contain all files for the sequence.
It is recommended to define the application’s default installation directory (example C:\Program
Files\Confirm).
Installation
Install MapXtreme using the steps documented when locally installing it.
10 of 20Confirm
| Microsoft App-V |
Run additional Installers.Click ‘Run…’ button after the completion of MapXtreme installer; select the
next (Confirm Client) installation program. Install ‘Confirm Client’ using the steps documented when
locally installing it.
11 of 20Confirm
| Microsoft App-V |
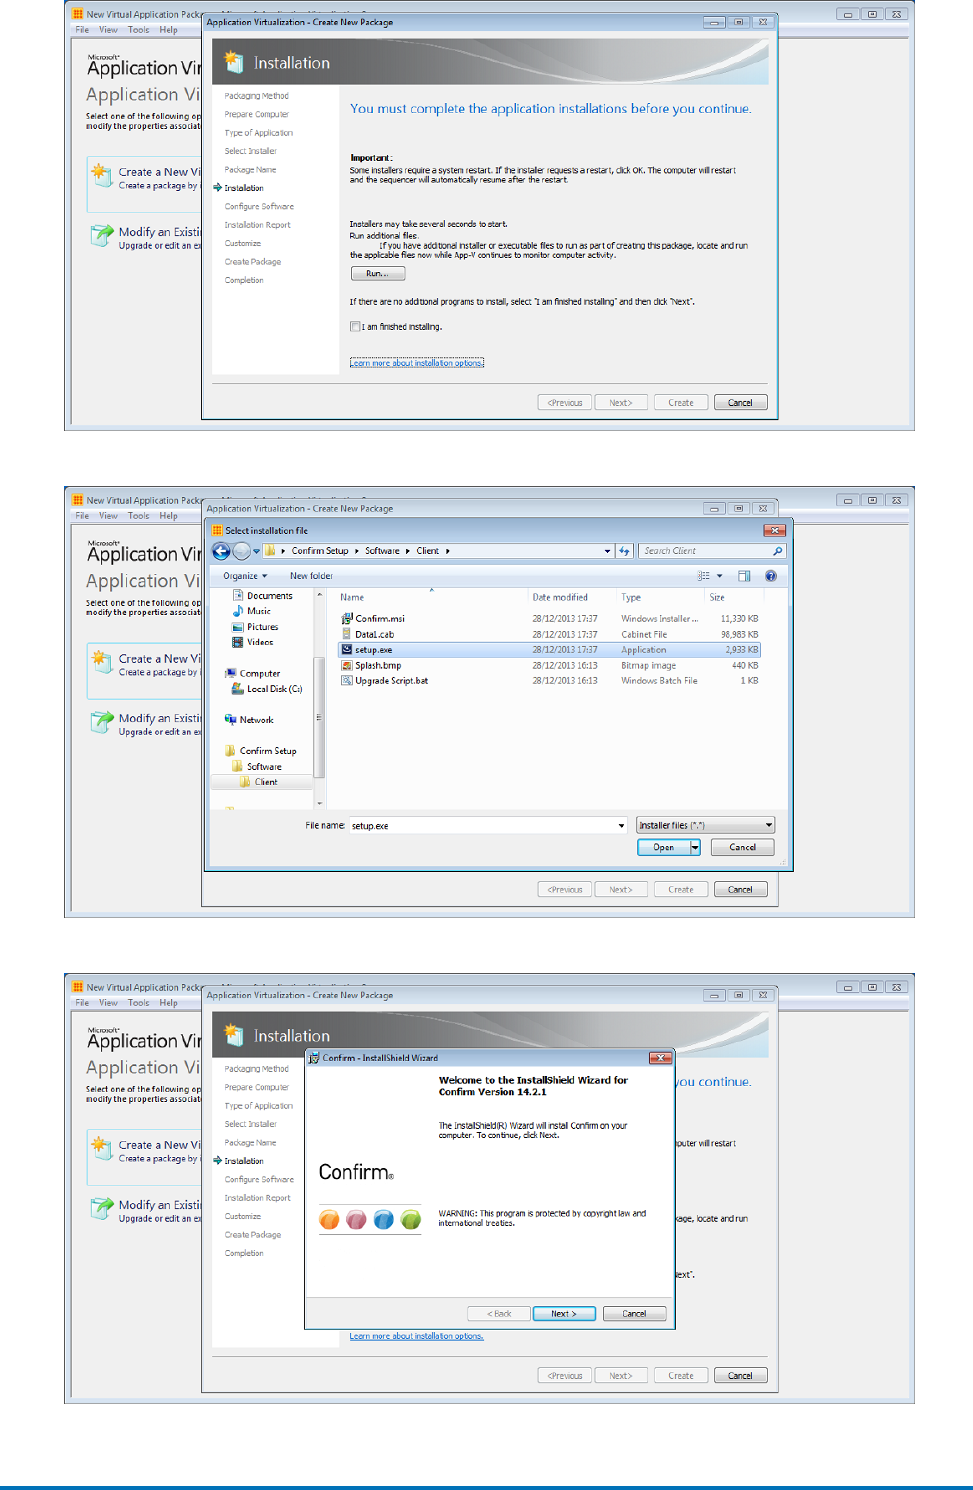
12 of 20Confirm
| Microsoft App-V |

Select ‘I am finished installing’ tick box once ‘Confirm Client’ installation is complete and then click
‘Next’.
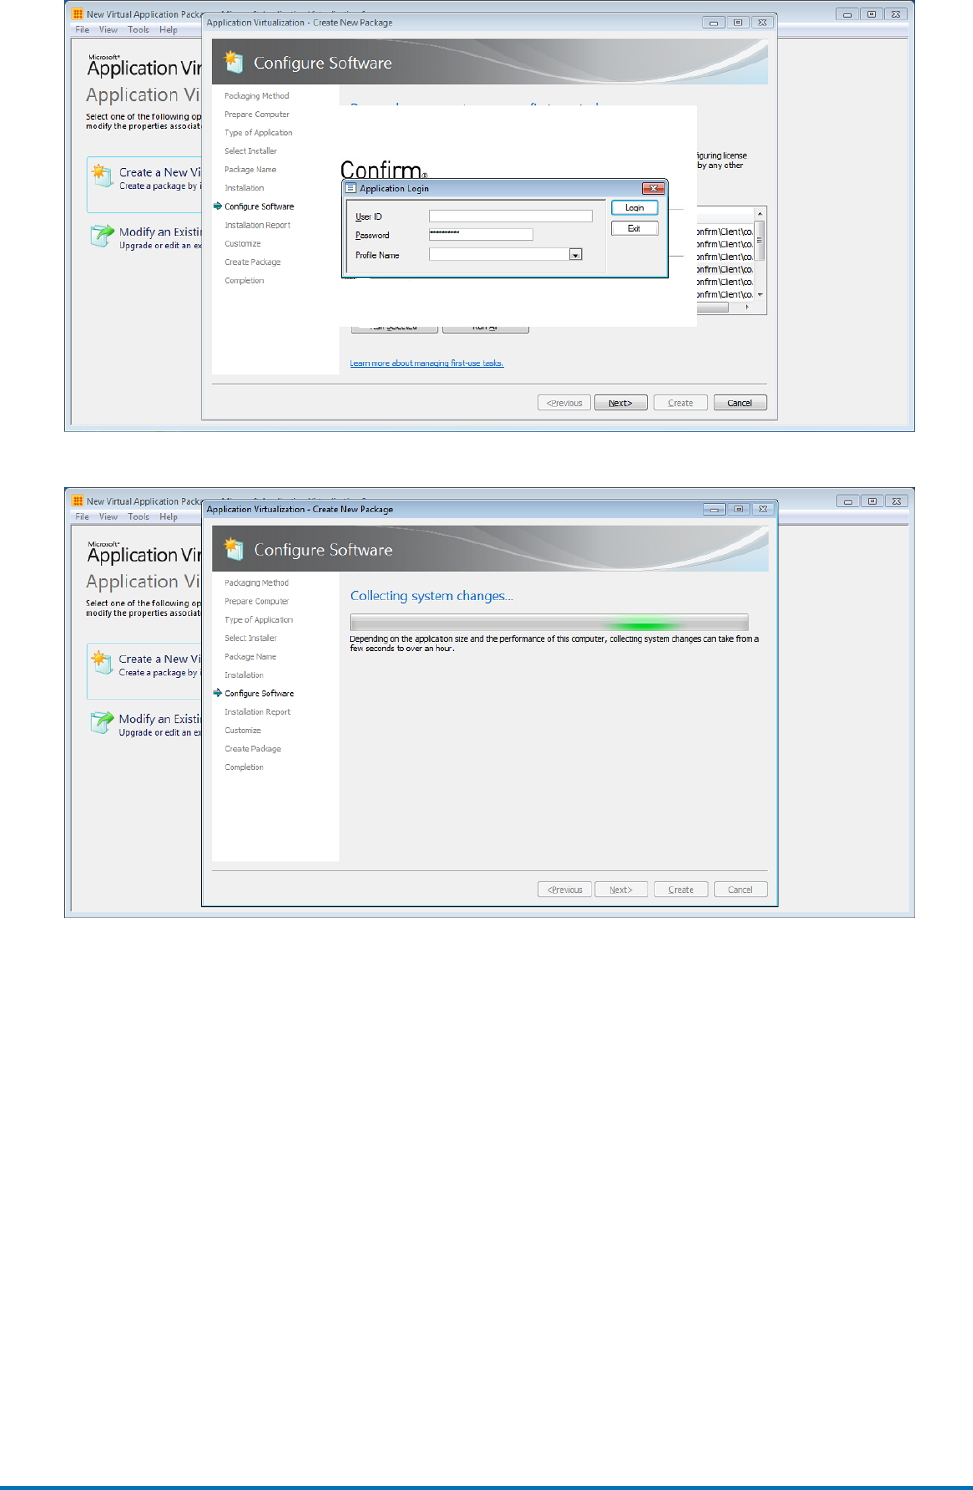
Configure Software – Confirm Client
At this stage, execute the Confirm Client application(s) at least once by selecting the application and
clicking the “Run Selected” or “Run All” buttons (multiple executions are recommended to ensure any
second-run tasks are executed). It is during this execution the following can be configured. Once both
configurations are done, exit the application and continue with next steps of sequencing
• dbconfig.cfg file : Configure dbconfig.cfg from Database Setting screen.
• Registry entries: On dbconfig.cfg file is configured, login to all the flavors of Confirm once, automatically
creates/configures the registry entries behind the scene.
13 of 20Confirm
| Microsoft App-V |
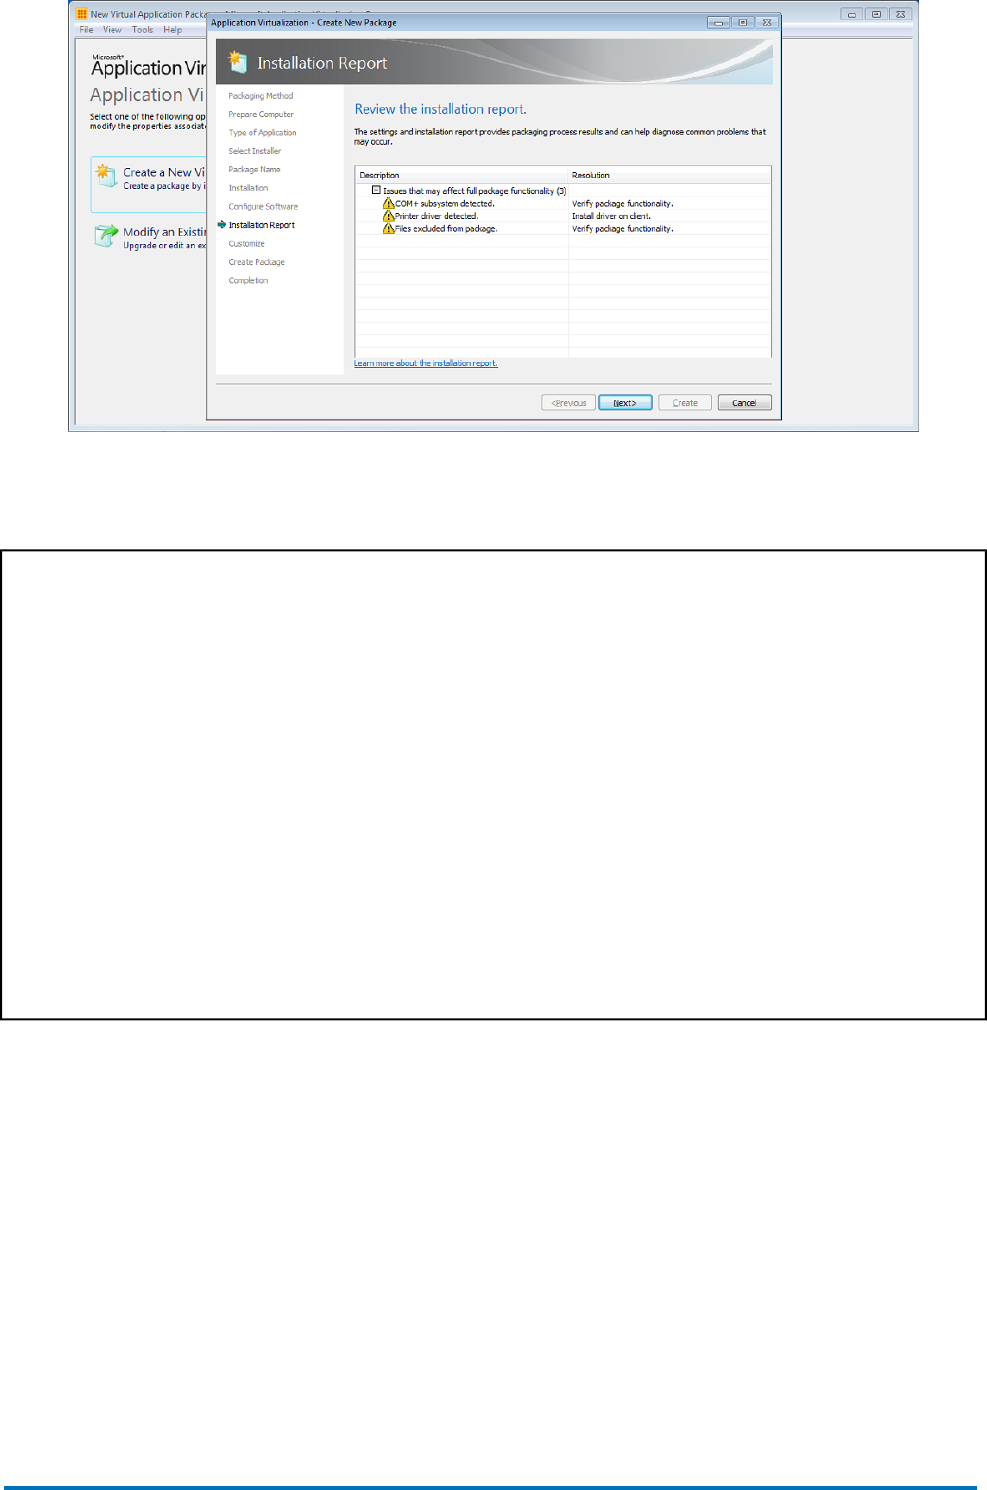
Installation Report
The Microsoft App-V Sequencer lists the issues discovered during sequencing in the Installation Report
page. It also displays the diagnostic messages categorized into Errors, Warnings, and Information de-
pending on the severity of the issue. Double click an item to see detailed information about the issue
as well as suggestions for resolution.
14 of 20Confirm
| Microsoft App-V |
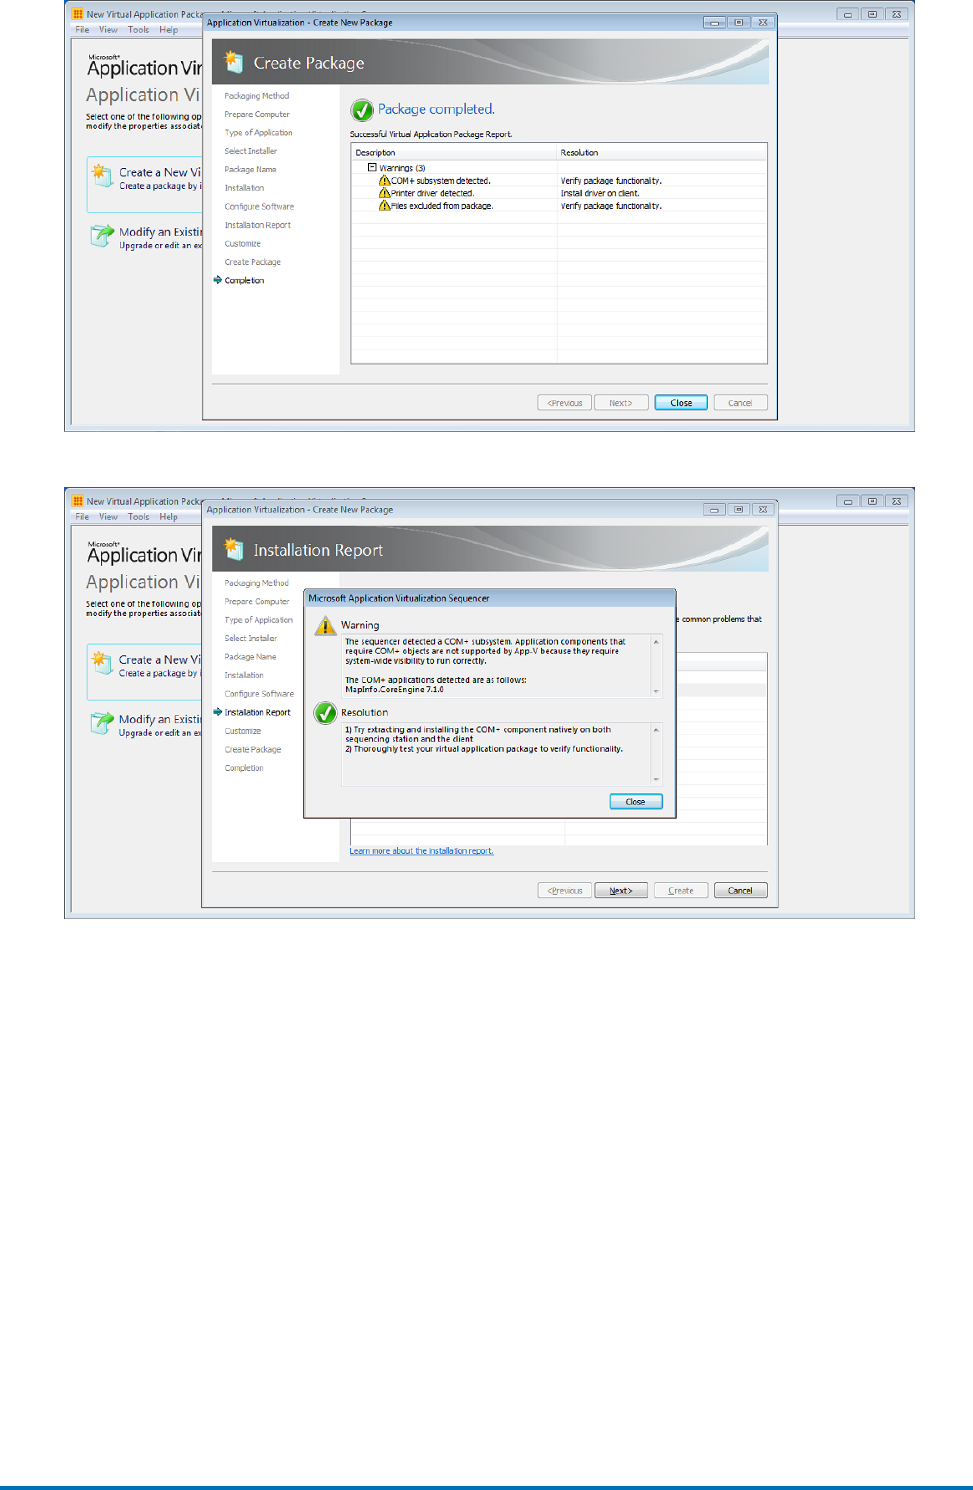
We may ignore these three warnings and continue creating the package.
Customize
Select ‘Stop now’ once the application configuration is complete.
15 of 20Confirm
| Microsoft App-V |
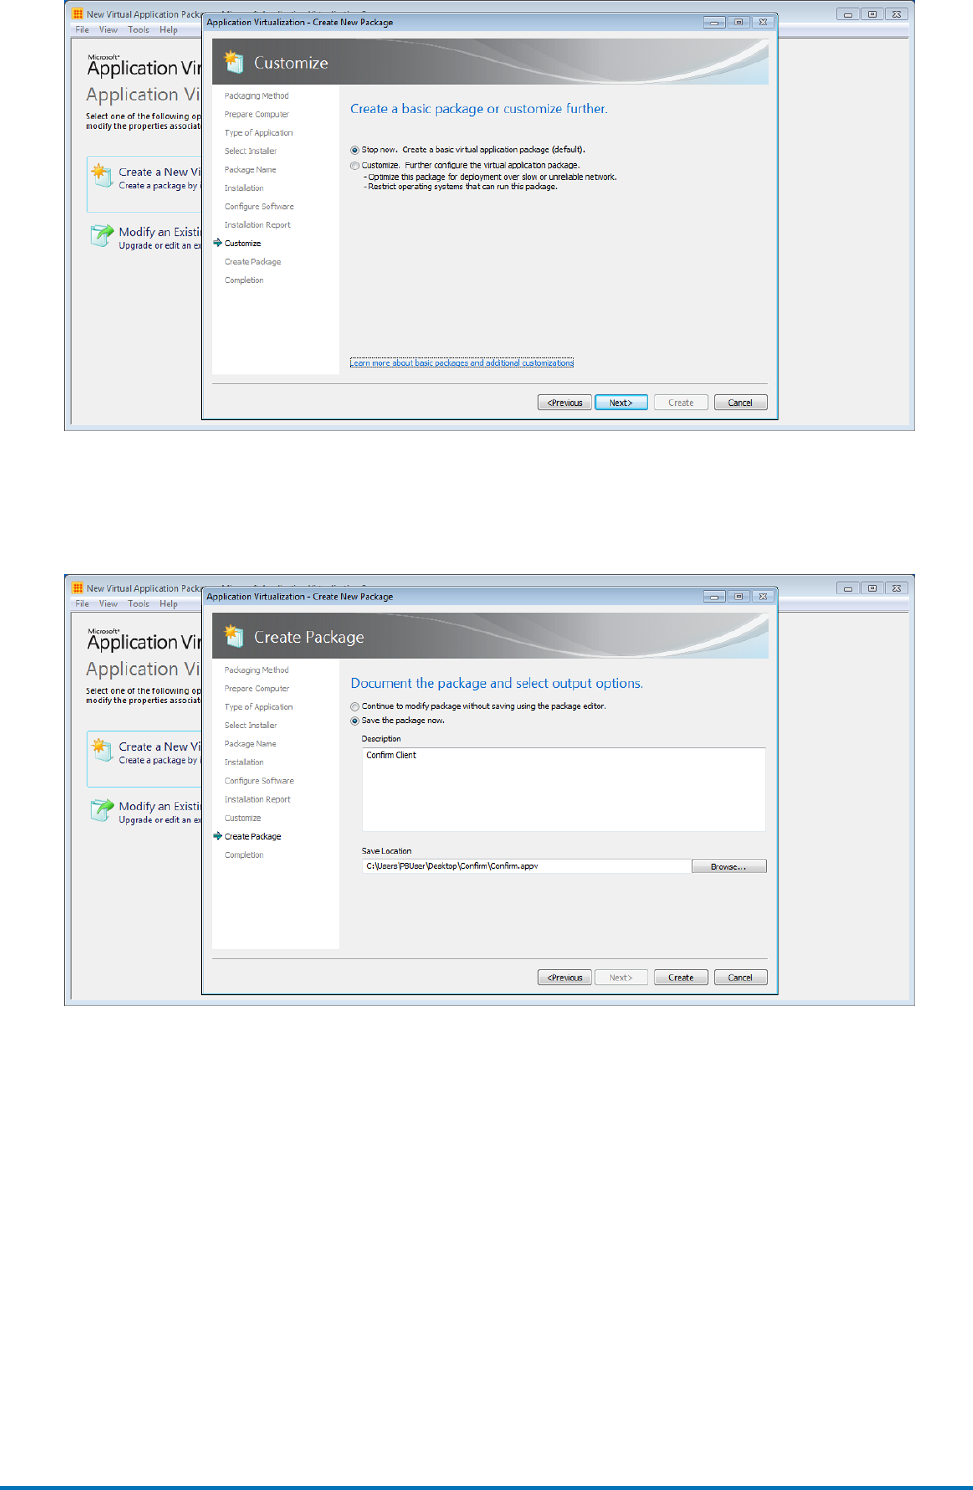
Create Package
Specify a save location and utilize the package name as the directory (Example: \Desktop\Confirm).
Create Package – Completion Report
The Microsoft App-V Sequencer lists the diagnostic messages categorized into Errors, Warnings, and
Information depending on the severity of the issue. Double click an item to see detailed information
about the issue as well as suggestions for resolution.
16 of 20Confirm
| Microsoft App-V |
App-V Package Files
Following files are created when sequencer is used to create a package of Confirm Client application.
This Windows Installer (.msi) file is created by the
sequencer and is used to install the virtual package
of Confirm Client on target computers.
.msi file
In this file, the sequencer saves all issues, warn-
ings, and errors that are discovered during sequen-
Report.xml file
cing of Confirm Client application to create a virtual
package. It displays the information after the
package has been created. This report can be used
for diagnosing and troubleshooting.
This is the virtual application file of Confirm Client
application.
.appv file
The deployment configuration file determines how
the virtual Confirm Client application will be de-
ployed to target computers.
Deployment configuration file
The user configuration file determines how the vir-
tual Confirm Client application will run on target
computers.
User configuration file
App-V Package Deployment
App-V Client
The Microsoft Application Virtualization (App-V) client is the component that runs a virtualized application
on a target computer. The client enables users to interact with icons and to double-click file types, so
that they can start a virtualized application.
Prerequisites for App-V Client
Follow the link for information.
http://technet.microsoft.com/en-us/library/jj713458.aspx
Install Microsoft App-V Client
Follow the link for information
17 of 20Confirm
| Microsoft App-V |
http://technet.microsoft.com/en-us/library/jj713460.aspx
Uninstall Microsoft App-V Client
Follow the link for information
http://technet.microsoft.com/en-us/library/jj684291.aspx
Package Deployment Walkthrough
This section outlines the deployment of virtual package (Confirm Client) using Windows PowerShell
3.0.
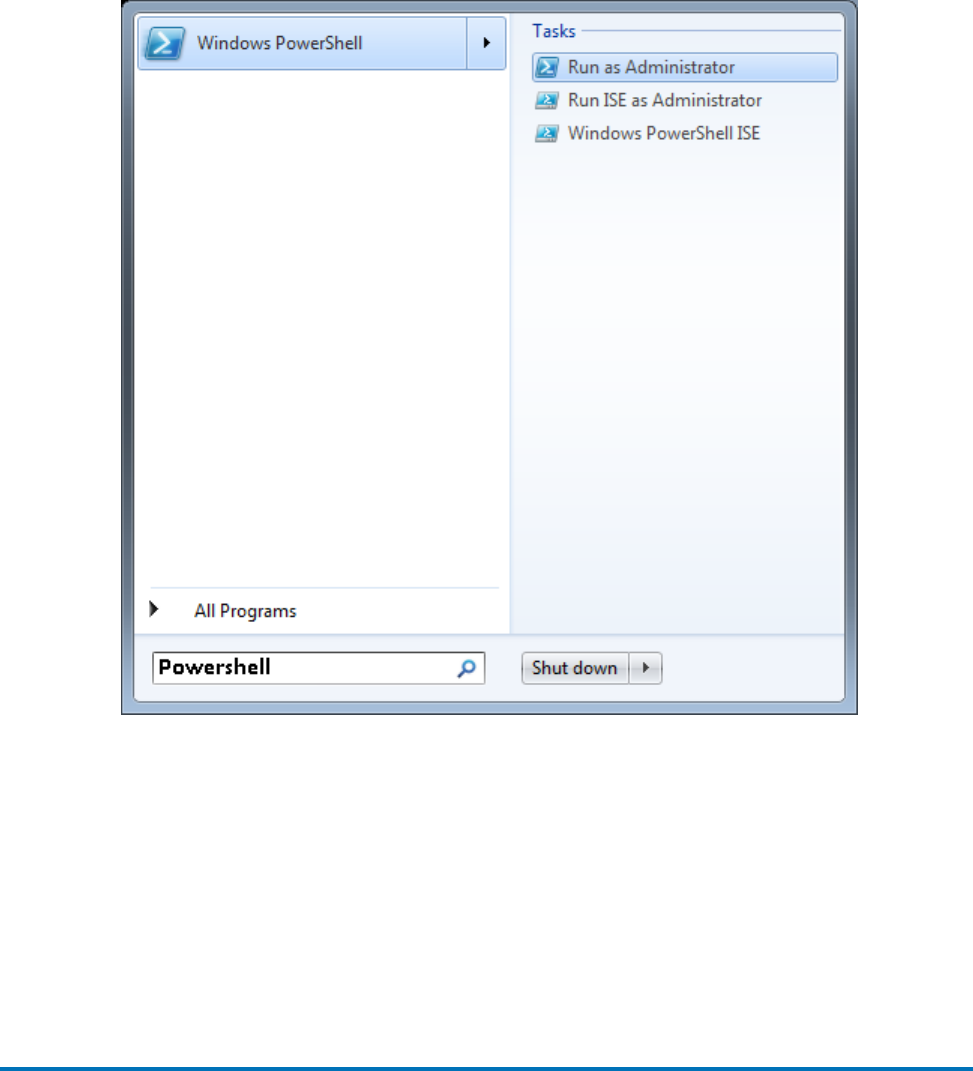
PowerShell Console
To open a PowerShell console, click Start and type PowerShell. Run Windows PowerShell as Adminis-
trator.
Changing the Windows PowerShell Script Execution Policy
Execute the command to allow all Windows PowerShell scripts to run.
Command: Set-ExecutionPolicy Unrestricted
Install App-V Client Cmdlets
Execute the command to install App-V cmdlets.
Command: Import-Module AppvClient
Add the package to App-V Client
Execute the command to add Confirm Client application package to Microsoft App-V Client.
18 of 20Confirm
| Microsoft App-V |
Command: : Add-AppvClientPackage -Path '{full path of Confirm Client virtual package}’
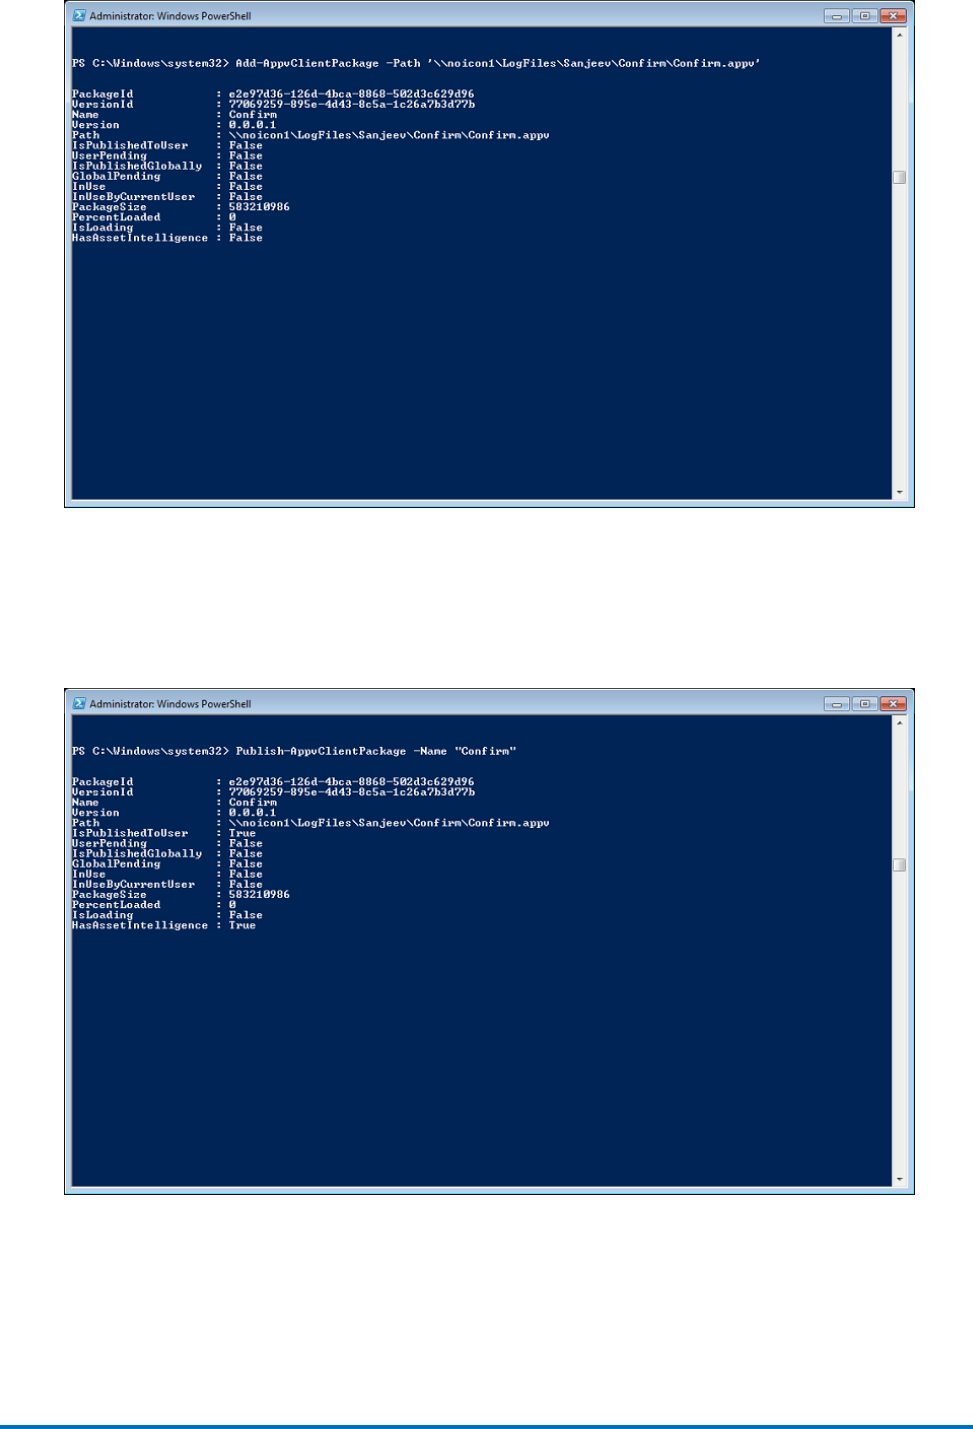
Publish the package
Execute the command to publish a package to the current user.
Command: Publish-AppvClientPackage -Name " {name of Confirm Client virtual package}" -Global
Remove the package
Execute the command to remove the already published package when needed.
Command: Remove-AppvClientPackage -Name "{name of Confirm Client virtual package}"l
19 of 20Confirm
| Microsoft App-V |
FAQ
1. What is the need for virtualization?
It provides the agility, scalability, cost-saving required in today’s business scenarios. It reduces
• Infrastructure downtime.
• Saves time and resources that are spend deploying/providing operating systems to users.
• Saves troubleshooting time for application installations.
• Multiple version of the same application can be deployed on one machine.
2. Can I do sequencing on a physical machine?
Yes, sequencing can be done on a physical machine. But, this is recommended to sequence using
a virtual machine. This is due to starting over to correct a mistake. Thus, the sequencing workstation
needs to return to a clean configuration several times. Using a virtual machine is strongly advised
to allow the use of snapshots and/or undo disks. After sequencing a virtual application package, the
machine can be reverted to a clean state.
3. I am getting error when launching .Net screens of the Confirm client?
You need to check whether both 32 bit and 64 bit of the Microsoft Visual C++ Redistributable is in-
stalled on the machine. If yes, ideally you should remove the 32 bit Microsoft Visual C++ Redistrib-
utable from the machine to fix the issue.
4. How to get list of all packages which are present on a machine?
The command “Get-AppvClientPackage –All” lists all the packages which are present on a machine.
5. How to remove a package which is present on a machine?
The command “Remove-AppvClientPackage” removes a package from a machine. “Remove-
AppvClientPackage” supports the following inputs for the package.
• Name
• PackageID
• Version
• VersionID
6. Why do we need to run “Set-ExecutionPolicy”?
The “Set-ExecutionPolicy” cmdlet enables you to determine which Windows PowerShell scripts (if
any) will be allowed to run on your computer. Windows PowerShell has four different execution
policies:
• Restricted - No scripts can be run. Windows PowerShell can be used only in interactive mode.
• AllSigned - Only scripts signed by a trusted publisher can be run.
• RemoteSigned - Downloaded scripts must be signed by a trusted publisher before they can be run
• Unrestricted - No restrictions; all Windows PowerShell scripts can be run.
