
2019
232 EXCLUSION PORTAL:
Public Data Extract Guide

1 | Page
TABLE OF CONTENTS
Extracting Data From the 232 Exclusions Portal .......................................................................................................... 2
Step 1: Download the Data ................................................................................................................................... 2
Step 2: Load Data into Excel ................................................................................................................................. 2
Step 3: Expanding form data column .................................................................................................................... 5
Step 4: Refreshing the Data .................................................................................................................................. 6
Step 5: Loading the Data for Older versions of Excel ............................................................................................ 7
2 | Page
EXTRACTING DATA FROM THE 232 EXCLUSIONS PORTAL
The following instructions explain how to import the data from the 232 Exclusions Portal into Excel.
These instructions replace previous guidance in the 232 Exclusions Portal guide. The instructions below outline
how to extract data from the Portal.
STEP 1: DOWNLOAD THE DATA
1a. Navigate to https://232app.azurewebsites.net/data/BIS232Data.zip. This will prompt a .zip
file to download.
1b. Once downloaded, extract the contents of the .zip file by right-clicking on the file and
selecting ‘Extract’. This should be a file titled BIS232DataExtract.json. Save this file on your
computer.
STEP 2: LOAD DATA INTO EXCEL
2a. Open Excel. If you are using Office 365 Products, continue following Step 2. If you are using
a version of Excel prior to Office 365, please go to Step 5.
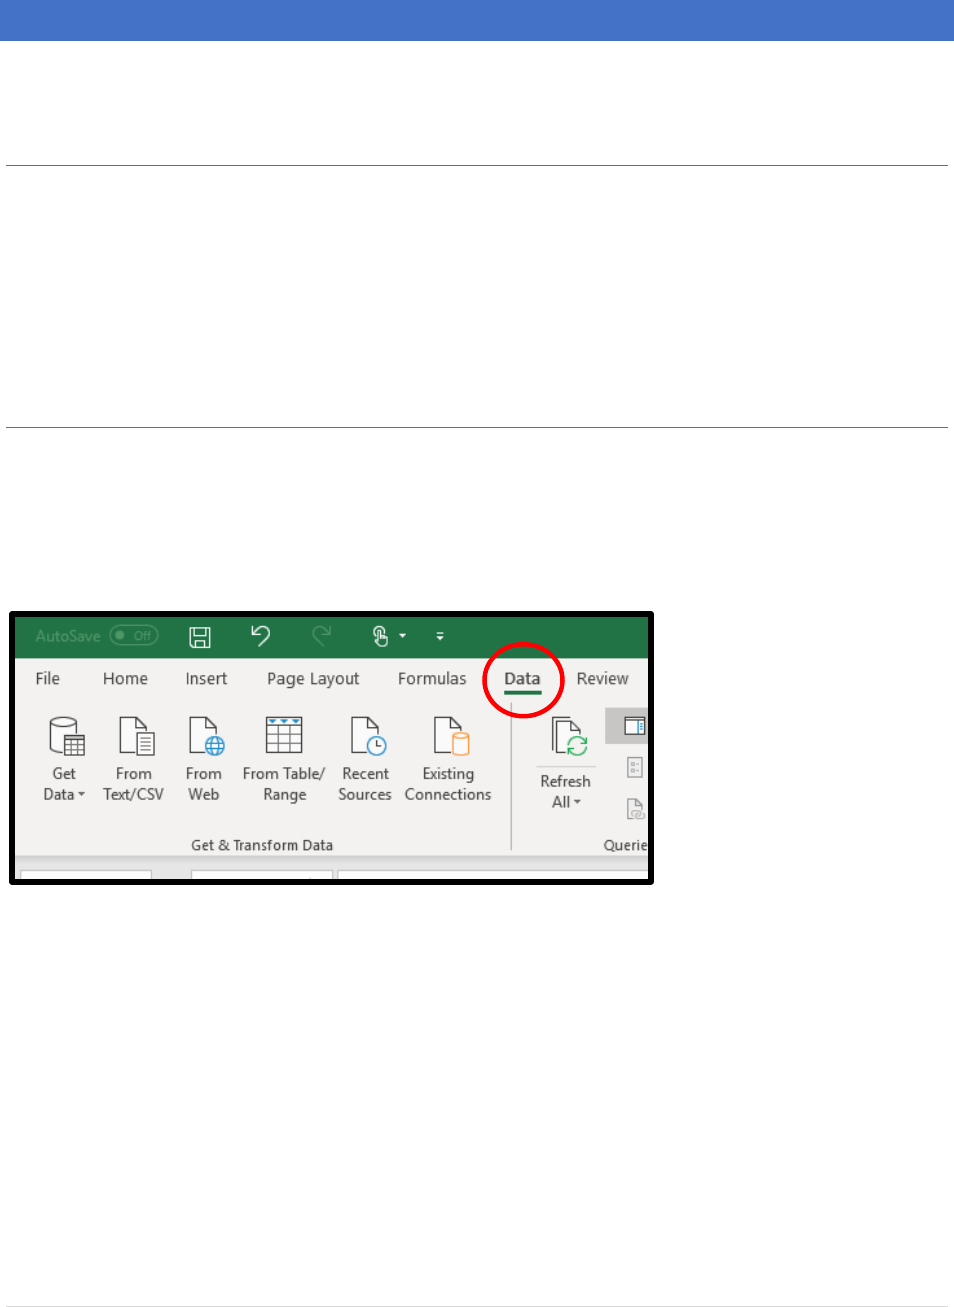
2b. Select the ‘Data’ tab.
3 | Page
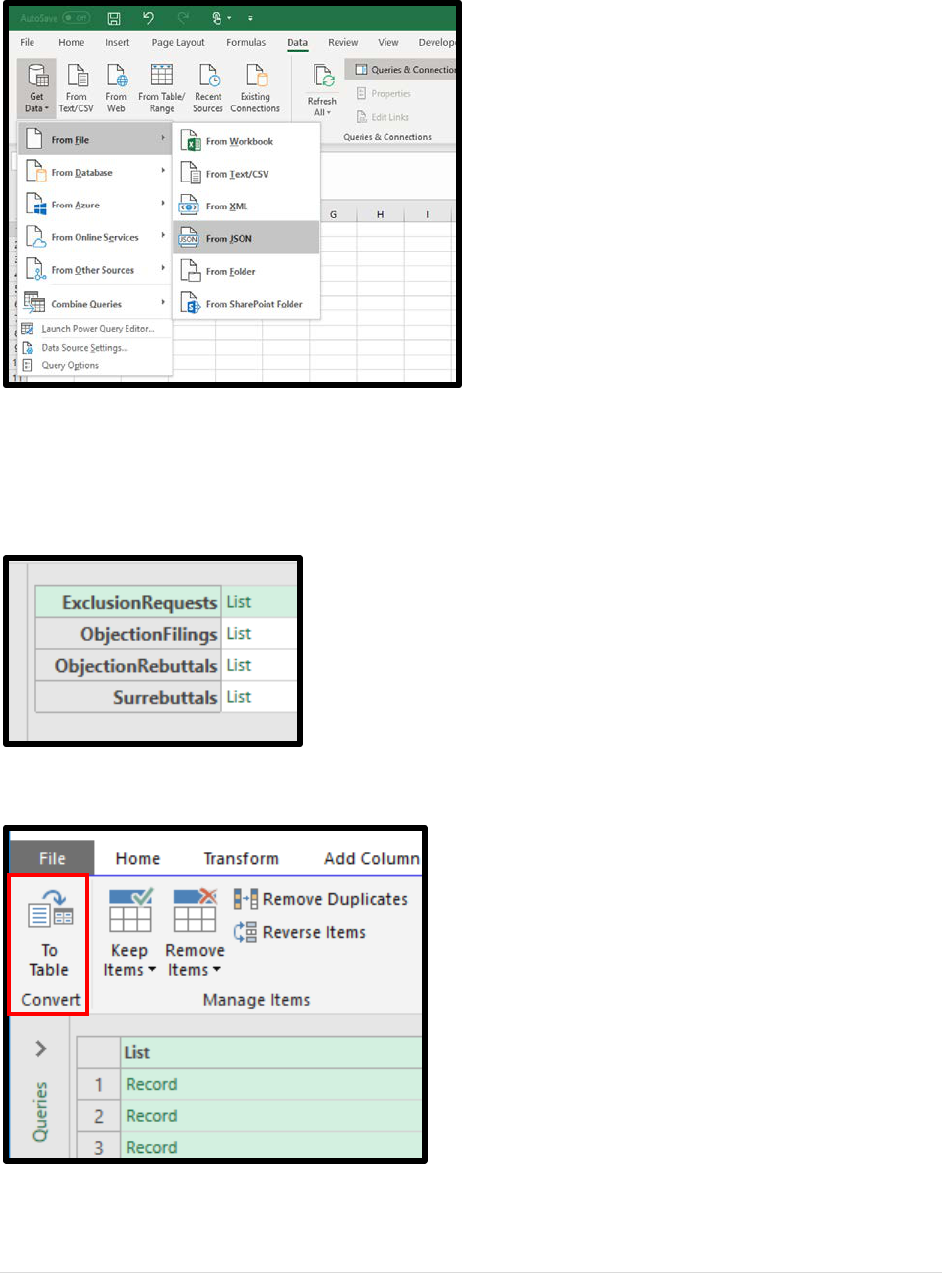
2c. Select ‘Get Data’, then ‘From File’, and then ‘From JSON’.
2d. A dialogue box will open. Browse through your computer directory to locate the saved
BIS232DataExtract.json file and select it.
2e. A new table will appear. Select ‘List’ next to the type of filing you want to extract.
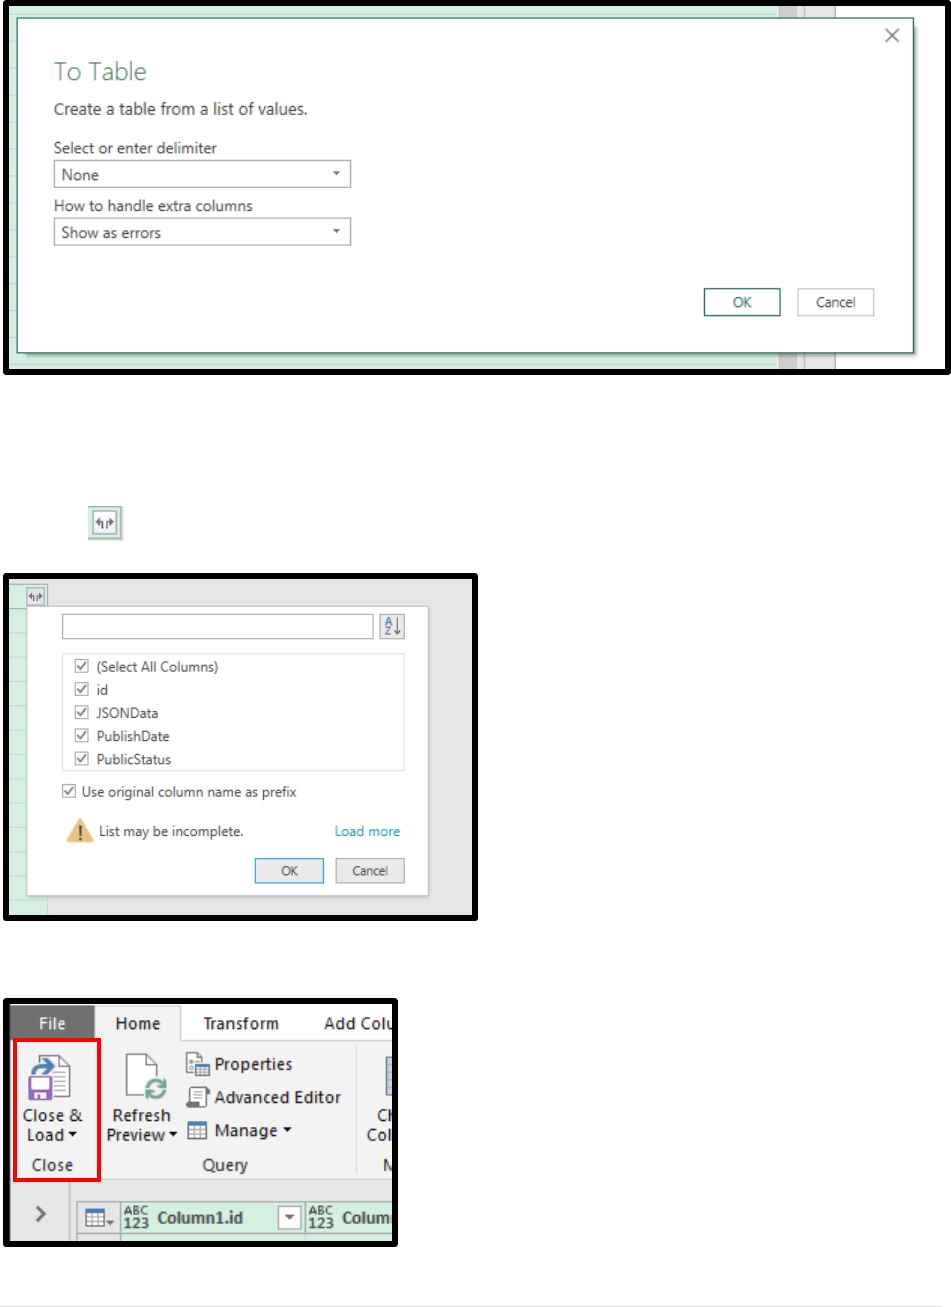
2f. After selecting the ‘List’ that you want to extract, click ‘To Table’. And then ‘Ok’.
4 | Page
2g. Click , and then ‘Ok’ when prompted.
2f. Click ‘Close & Load’. This will load the full table into your Excel Spreadsheet.
5 | Page
Now your data will be loaded into you Excel Spreadsheet. The ID number is in Column A, the
Form data is in Column B, the Publish Date is in Column C, and the Public Status is in Column D.
For instructions on how to further expand the Form data, continue reading.
STEP 3: EXPANDING FORM DATA COLUMN
3a. To expand data columns, open the Power Query Editor by selecting the ‘Data’ tab, then
‘Queries and Connections’ (or ‘Show Queries’ on older versions of Excel) and then double click
on the BIS232DataExtract Query that shows up on the right-hand side of the screen) and select
the second column (Column.JSONData).
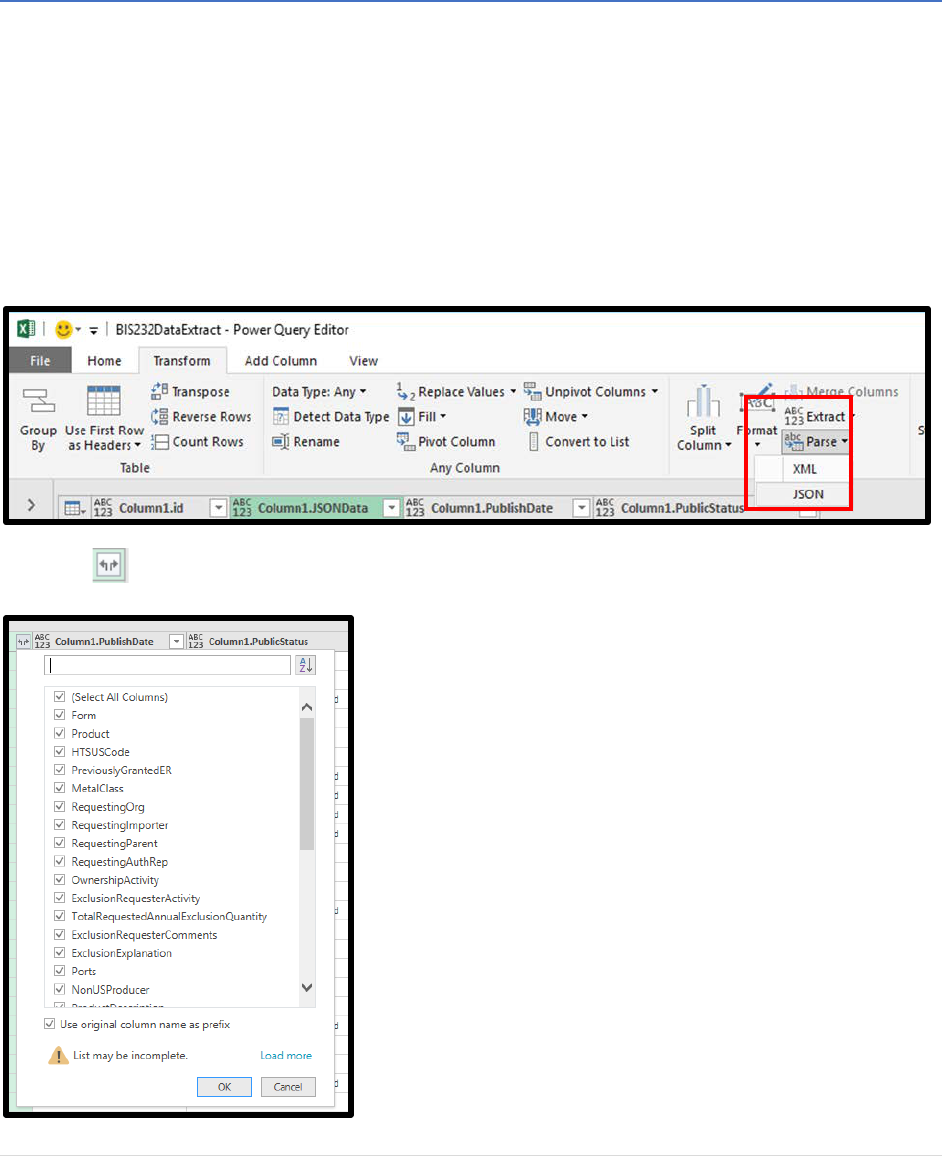
3b. Select the ‘Transform’ tab and then click on ‘Parse’. In the dropdown menu click ‘JSON’.
3c. Click , and then ‘Ok’ when prompted.
6 | Page
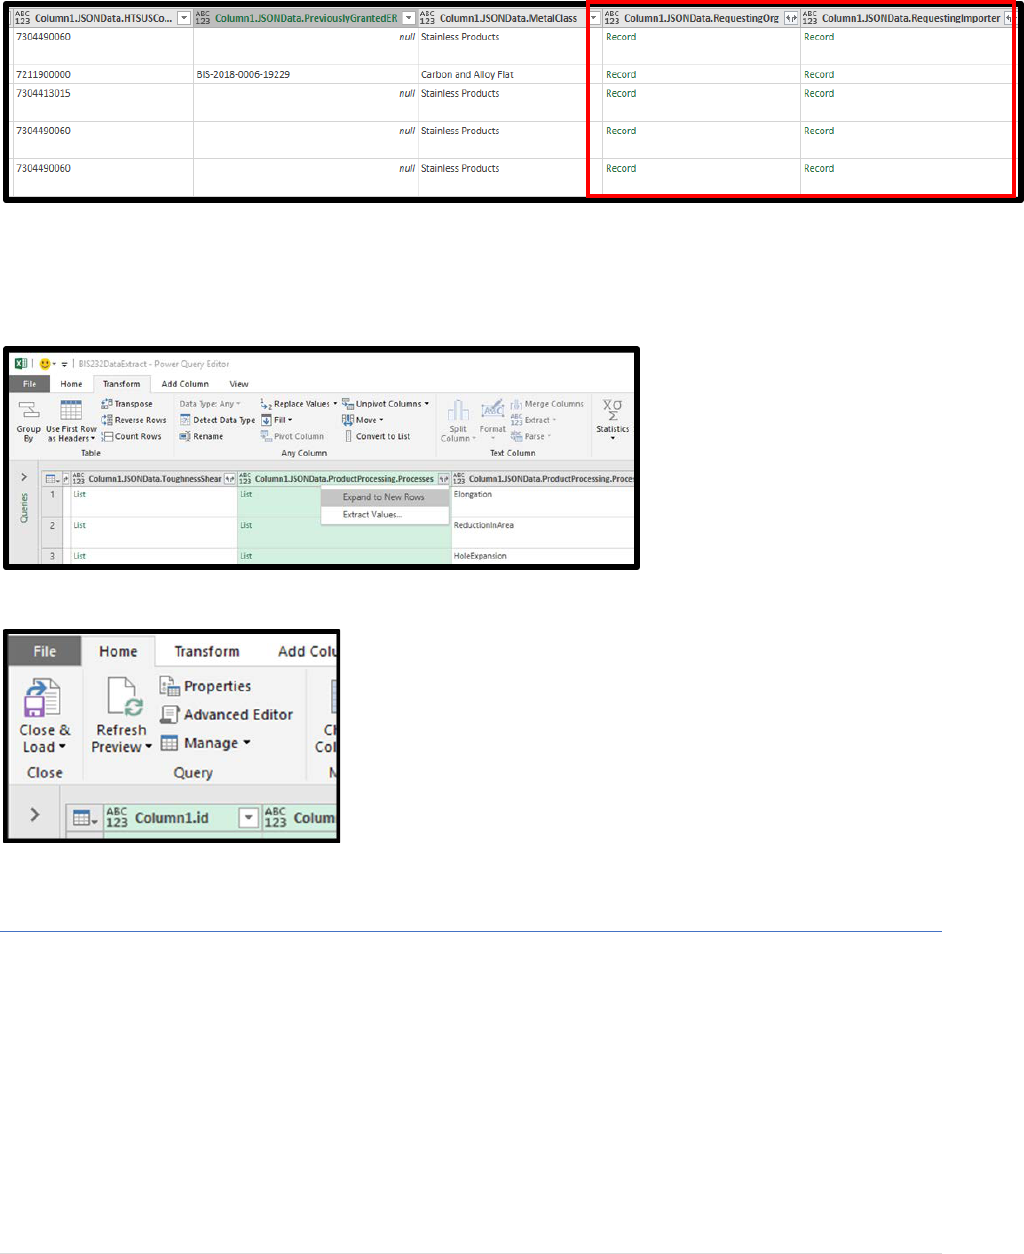
3d. Repeat this process for all columns that contain the word ‘Record’ as shown below.
3e. Some columns will contain ‘List’ entries. These can be expanded however it is not
recommended to attempt to expand all these columns. If necessary, you can expand these on
an entry by entry basis.
3f. Click ‘Close & Load’. This will load the full table into your Excel Spreadsheet.
STEP 4: REFRESHING THE DATA
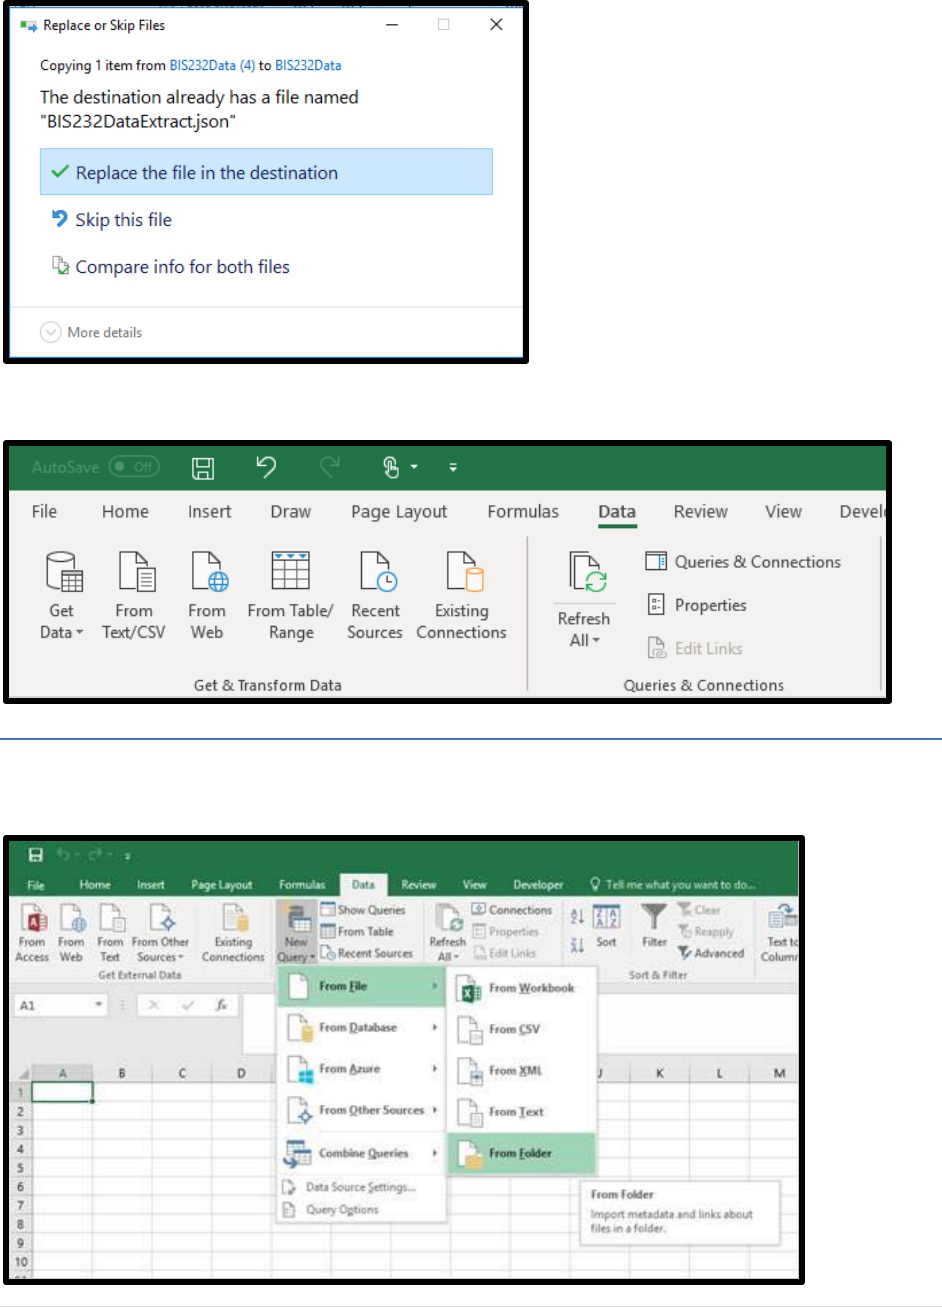
4a. Repeat Step 1, saving the new .json file in the same location and under the same name as
the original file. If prompted to replace existing file, click ‘Replace the file in the destination’.
7 | Page
4b. Under the Data tab, click ‘Refresh All’. This will update your Data.
STEP 5: LOADING THE DATA FOR OLDER VERSIONS OF EXCEL
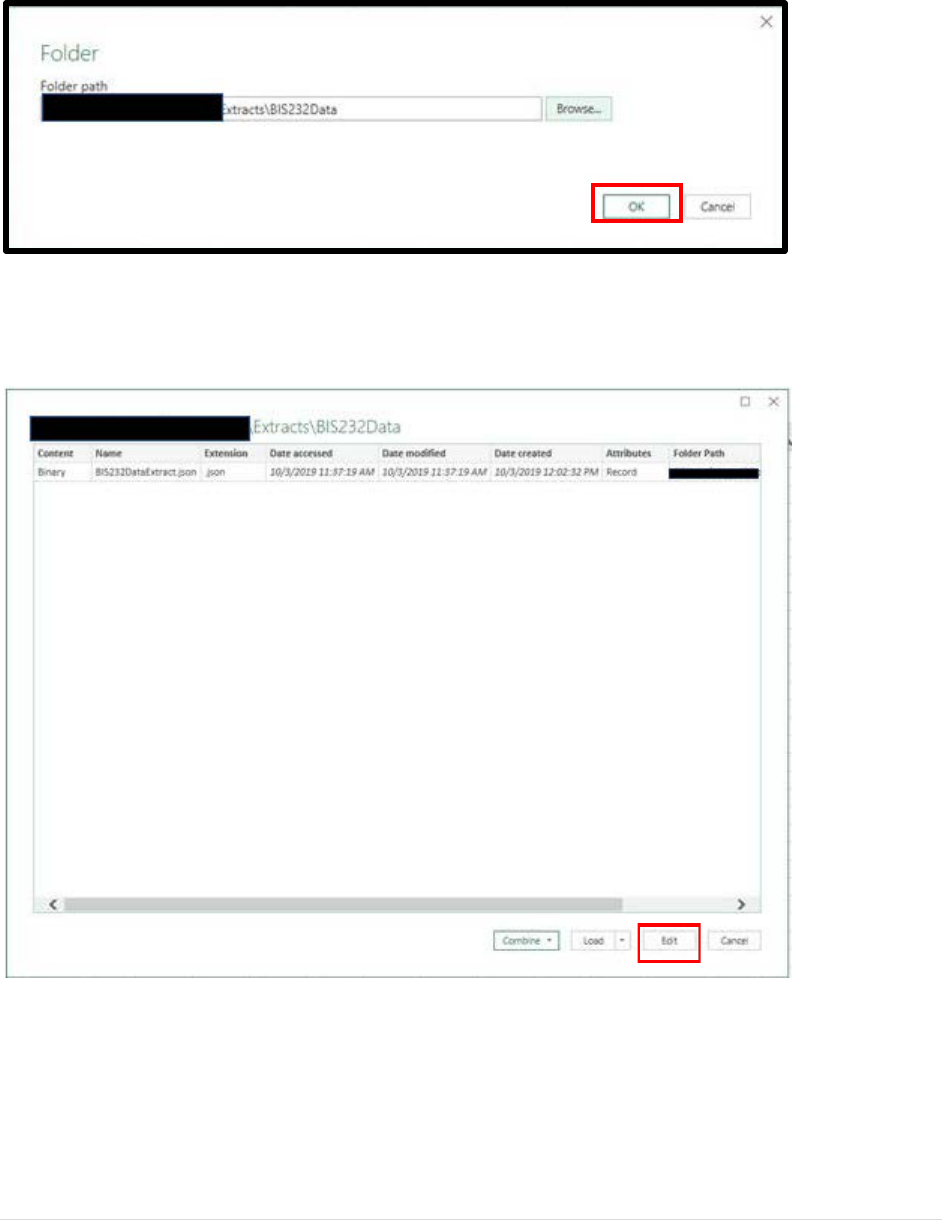
5a. Under the Data tab, select ‘New Query’, then ‘From File’ and then ‘From Folder’
8 | Page
5b. Click ‘Browse’ and select the folder in your file directory where you saved the
BIS232DataExtract.json file and click ‘Ok’. Click ‘Ok’ again once the folder path has loaded.
5c. Click ‘Edit’
5d. Click ‘Binary’

9 | Page
5e. From this point on, the method of loading the data is the same as the newer version of
Excel. Please resume the instructions starting at Step 2e.
