
Section 1: Connecting to the server
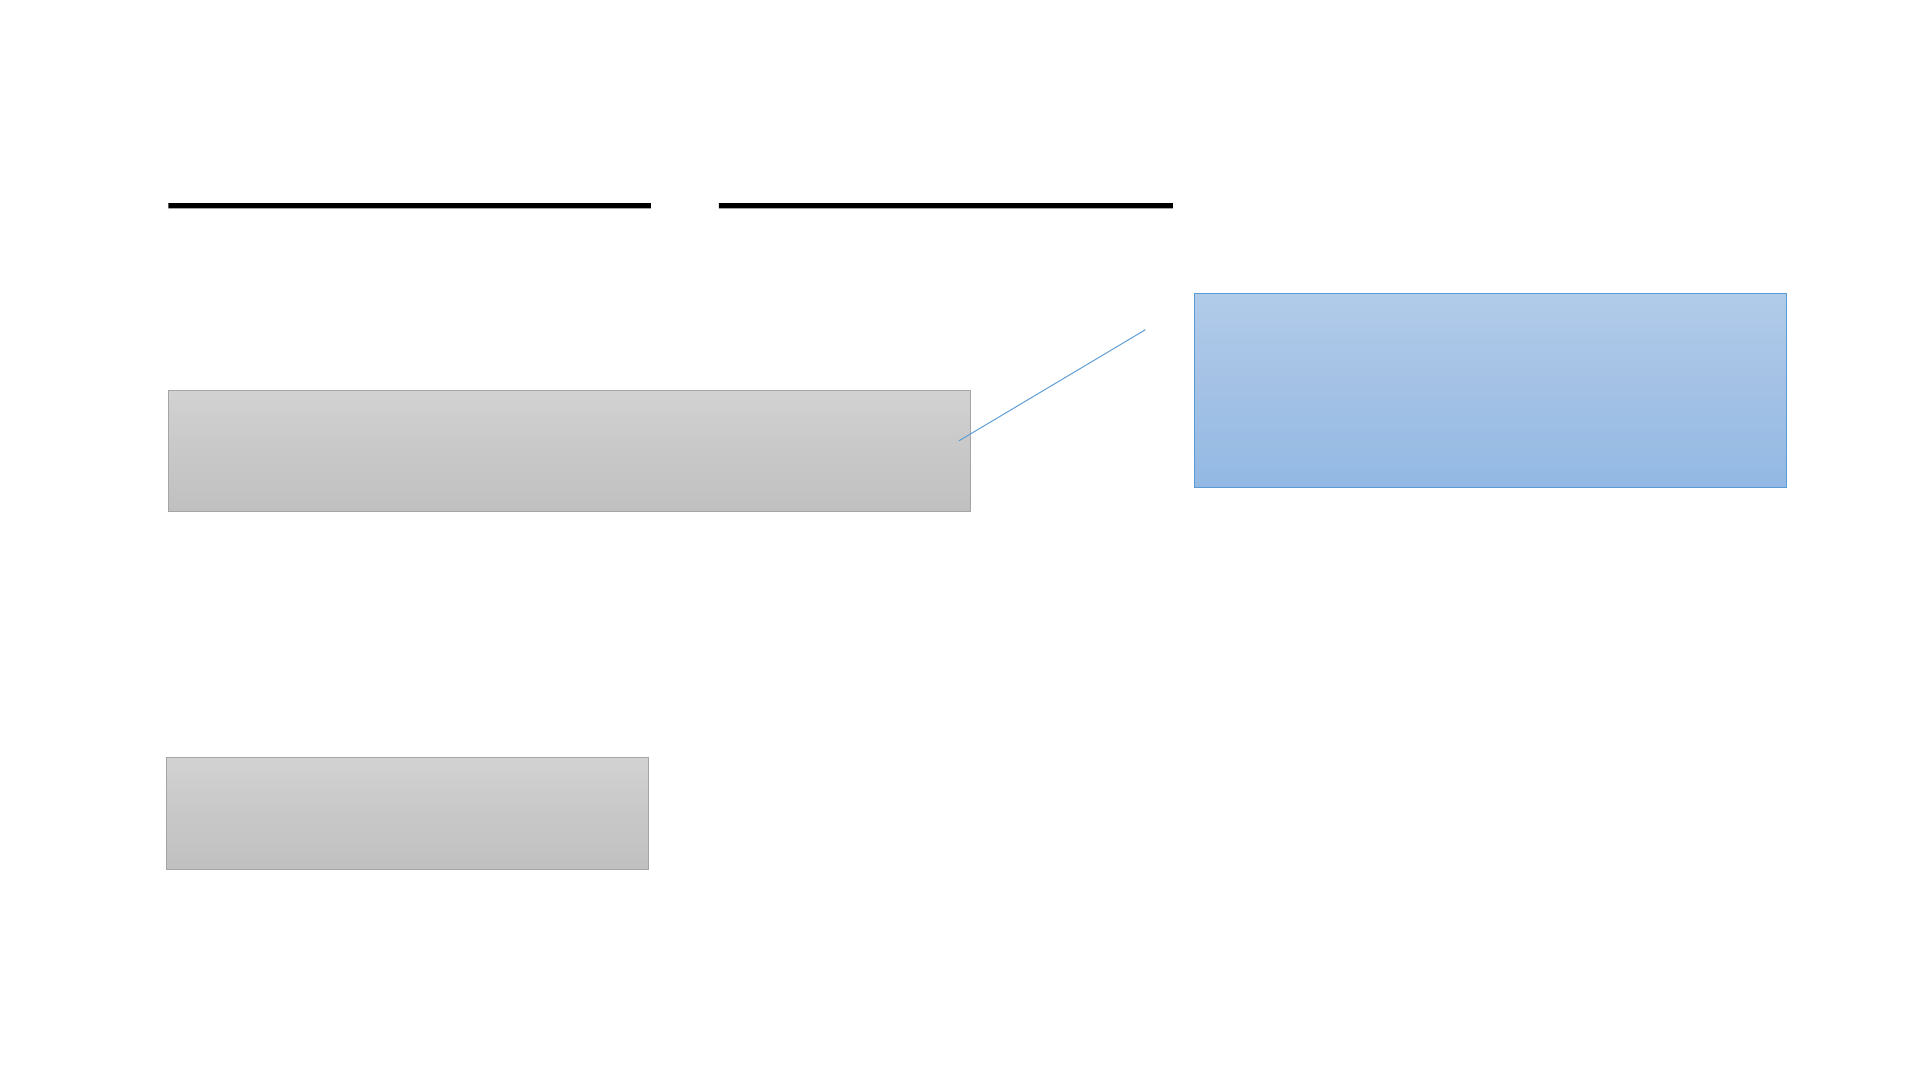
Installing the following software on your laptop
Windows user
Putty
Filezilla client
VNC viewer
Mac user
Filezilla client
VNC viewer
• Putty: https://www.chiark.greenend.org.uk/~sgtatham/putty/latest.html
• Filezilla client: https://filezilla-project.org/download.php?show_all=1
• VNC viwer: https://www.realvnc.com/en/connect/download/viewer/
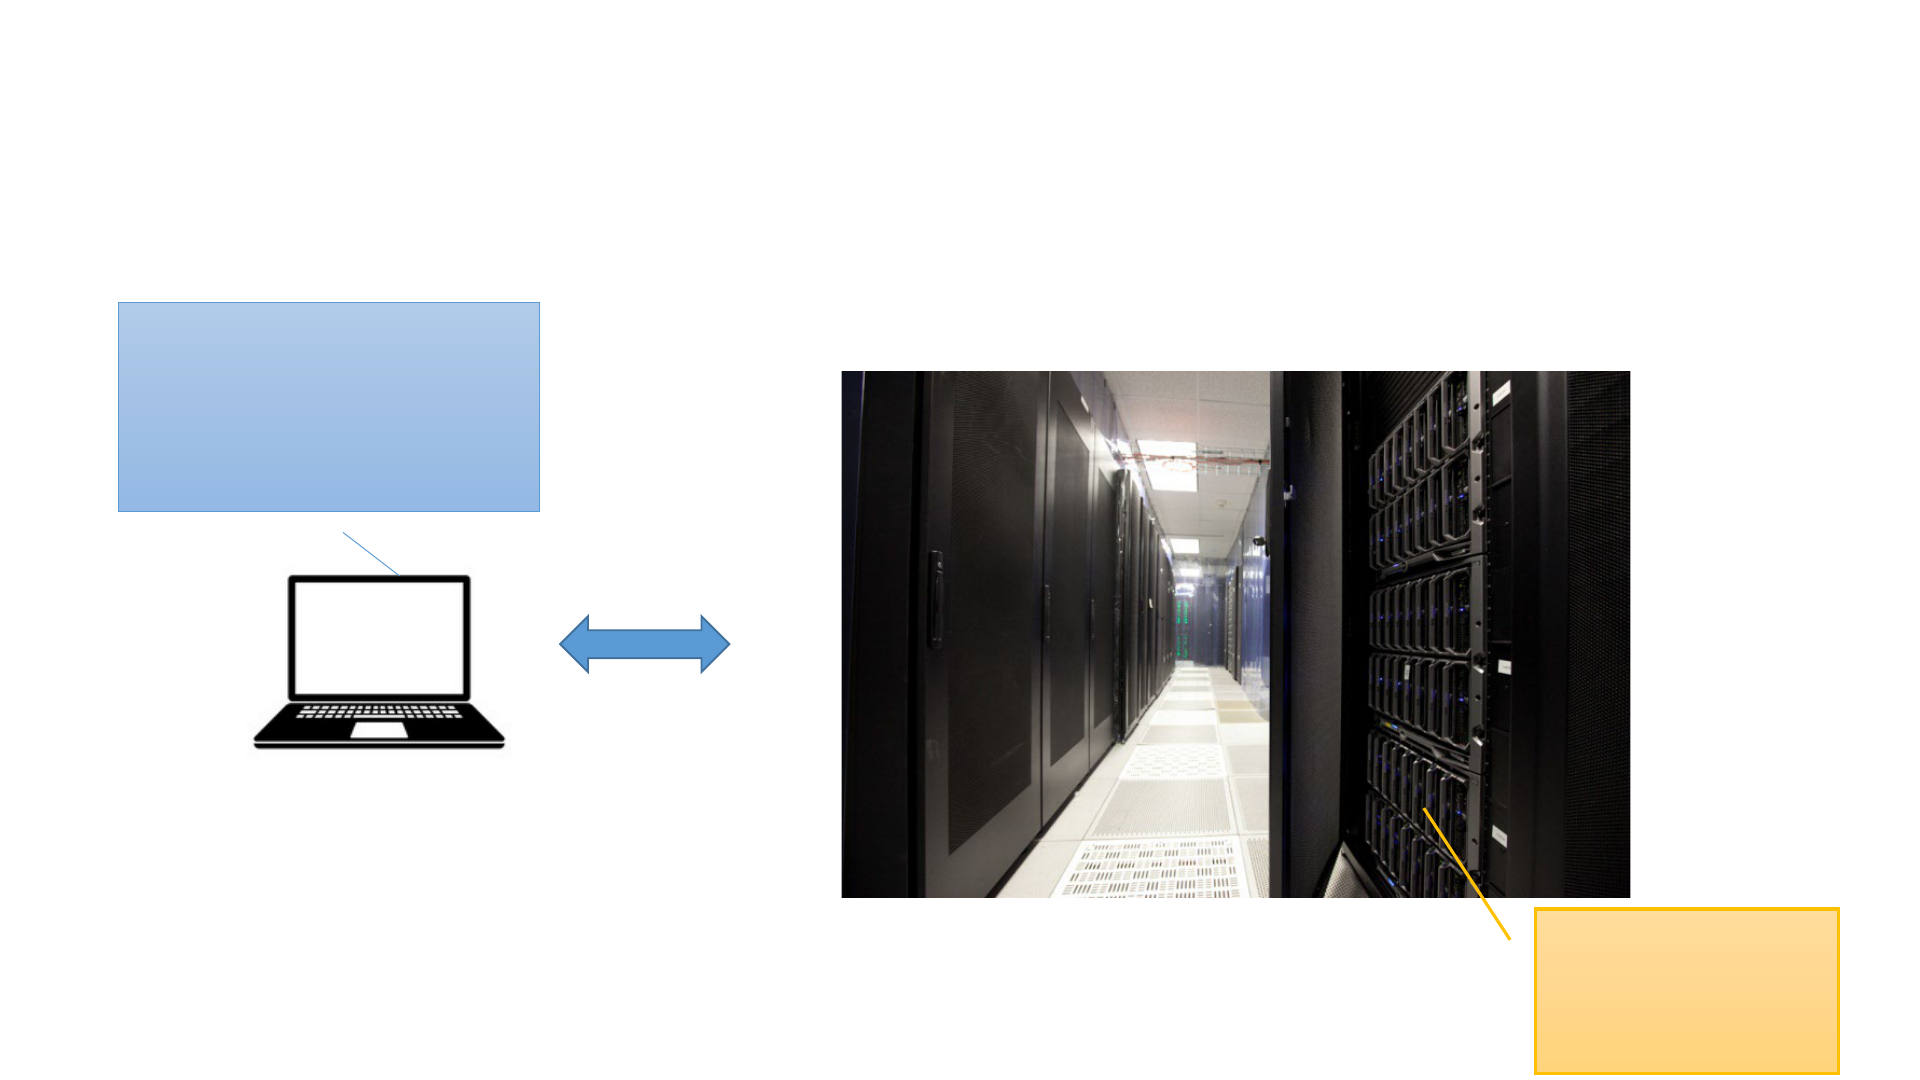
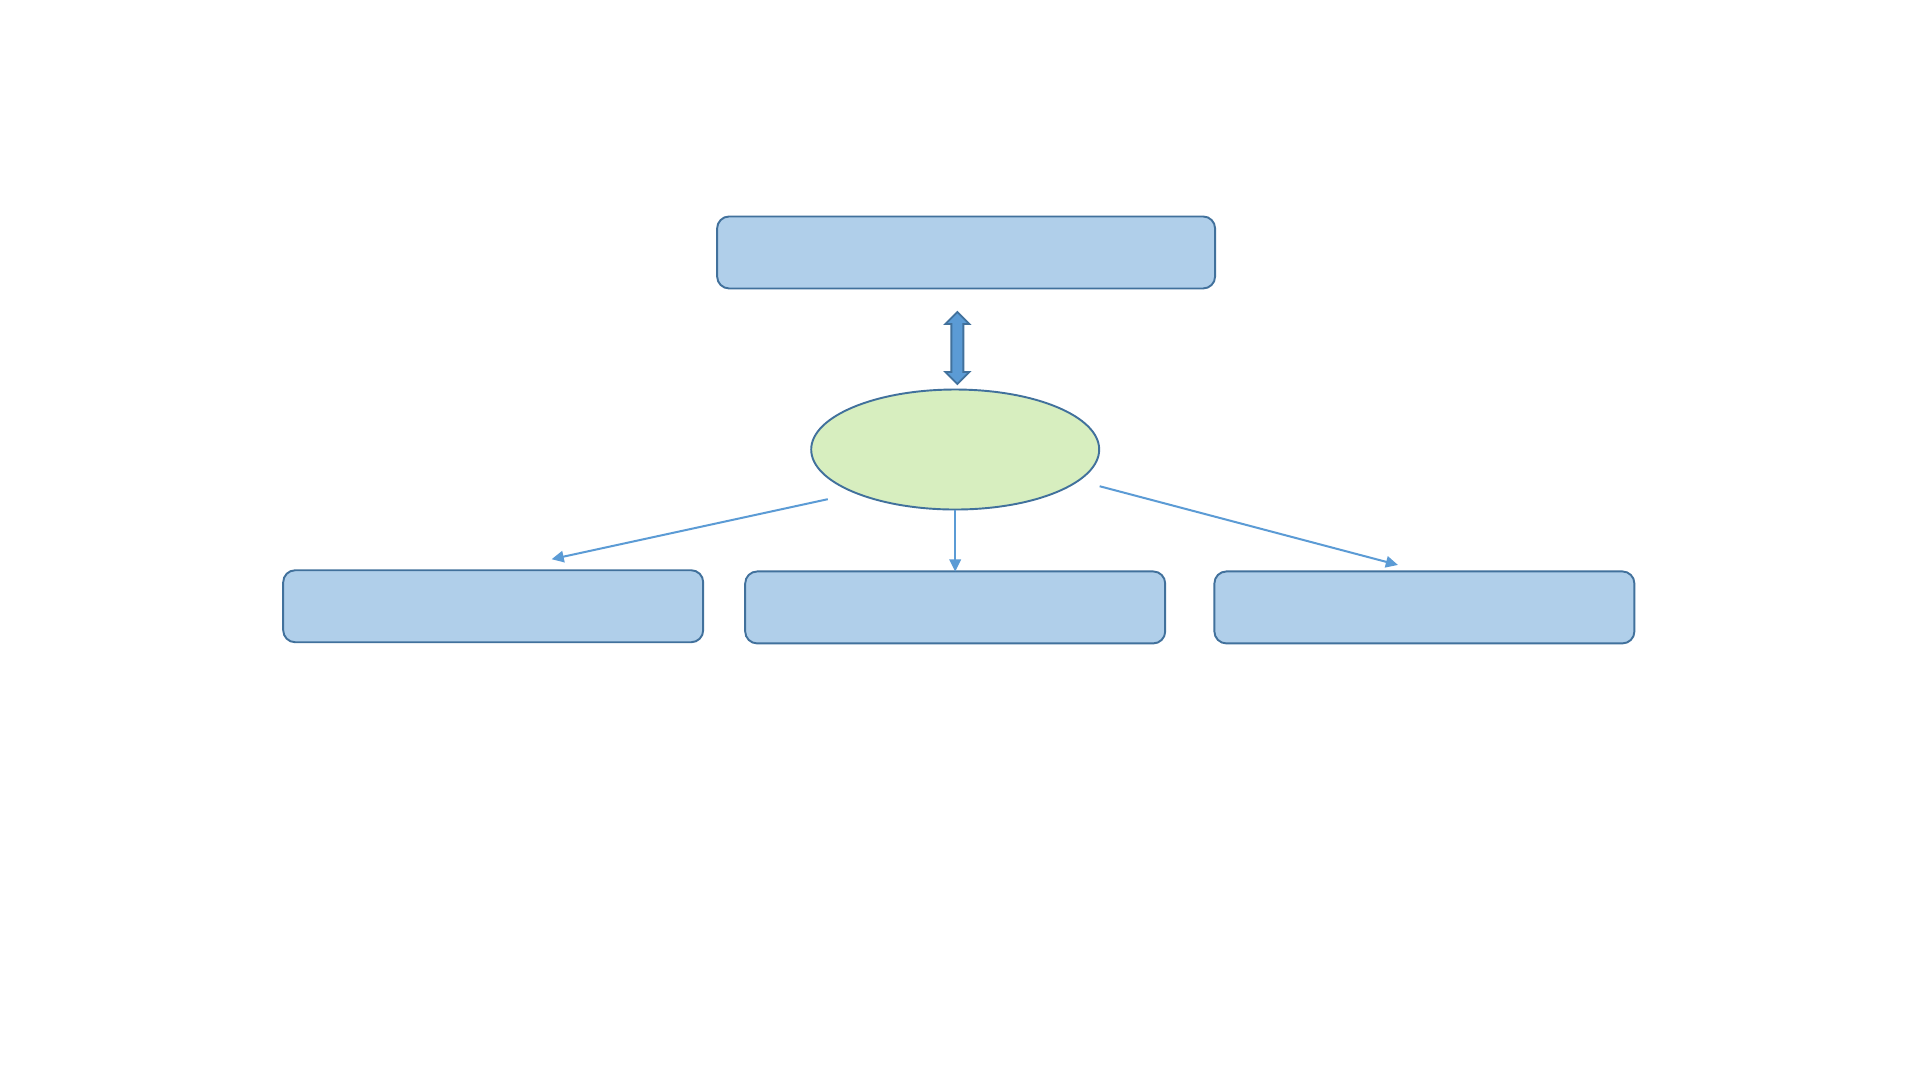
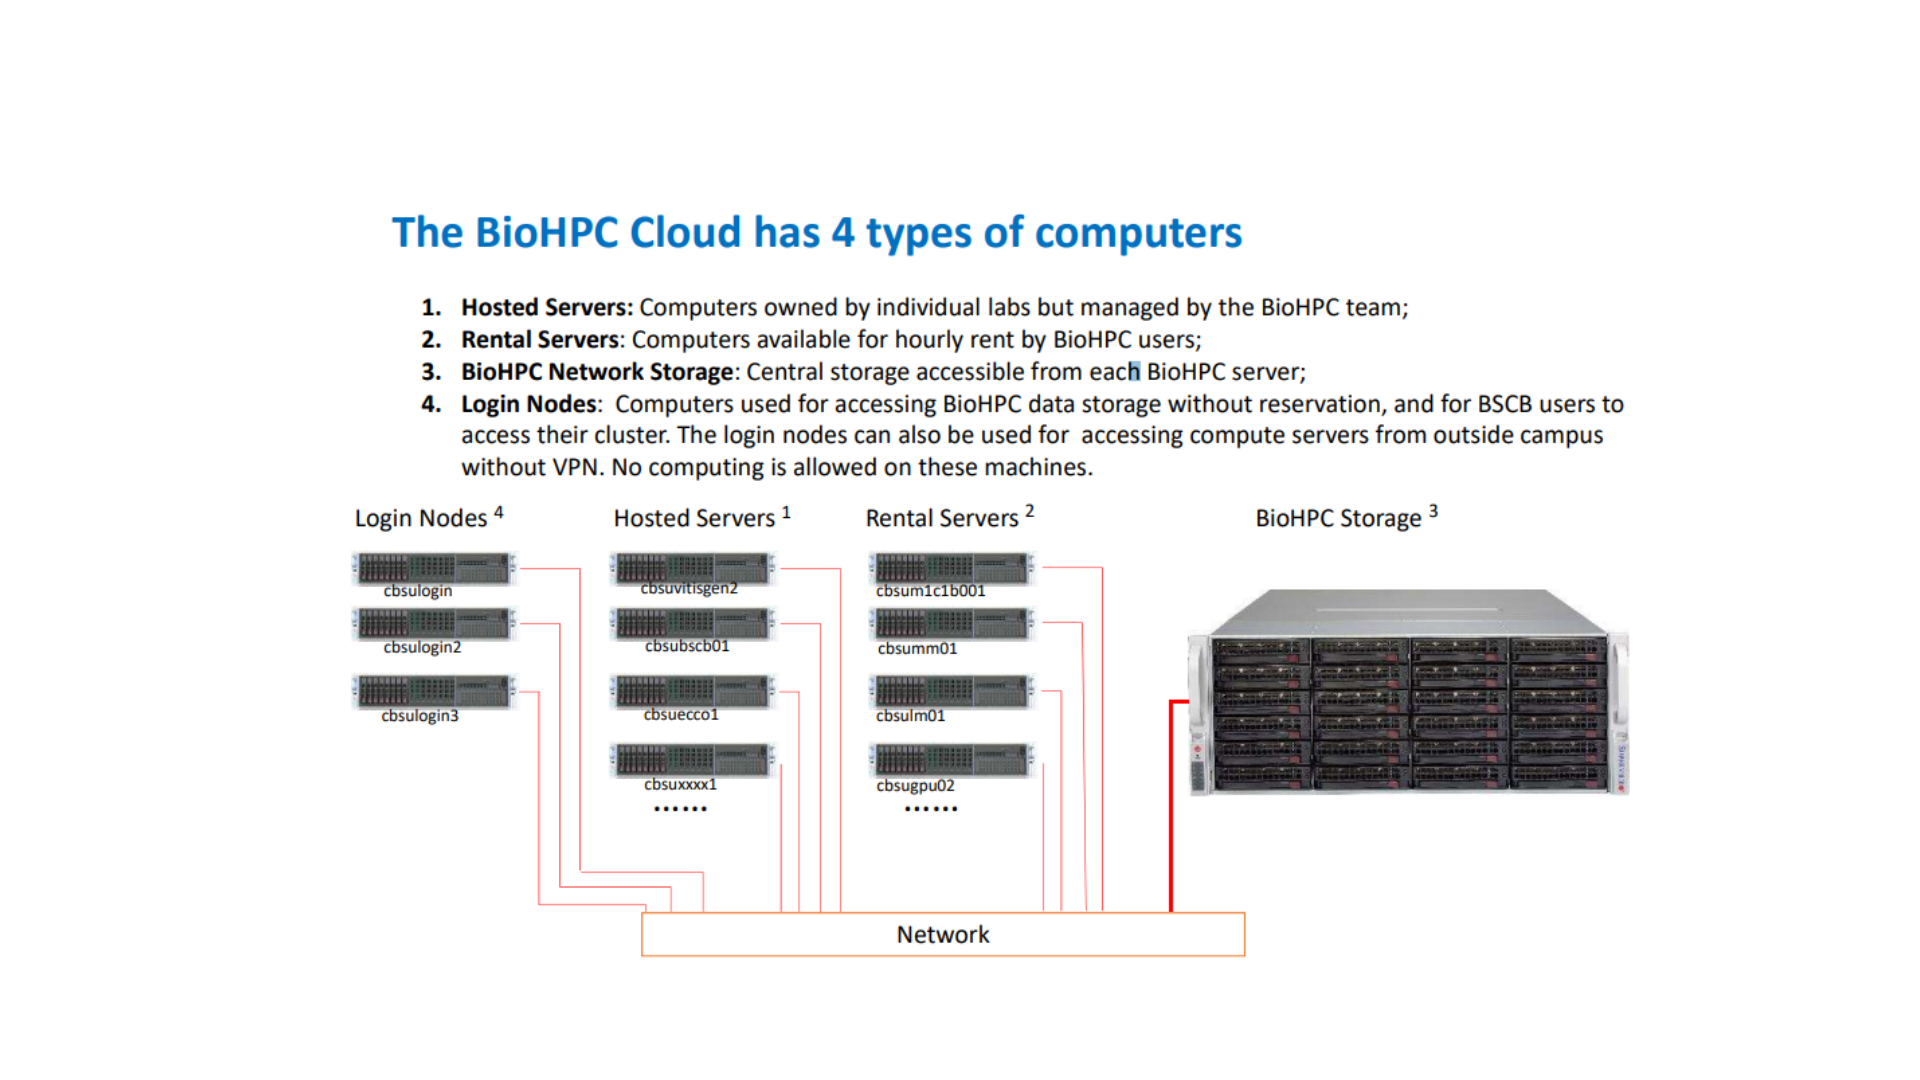
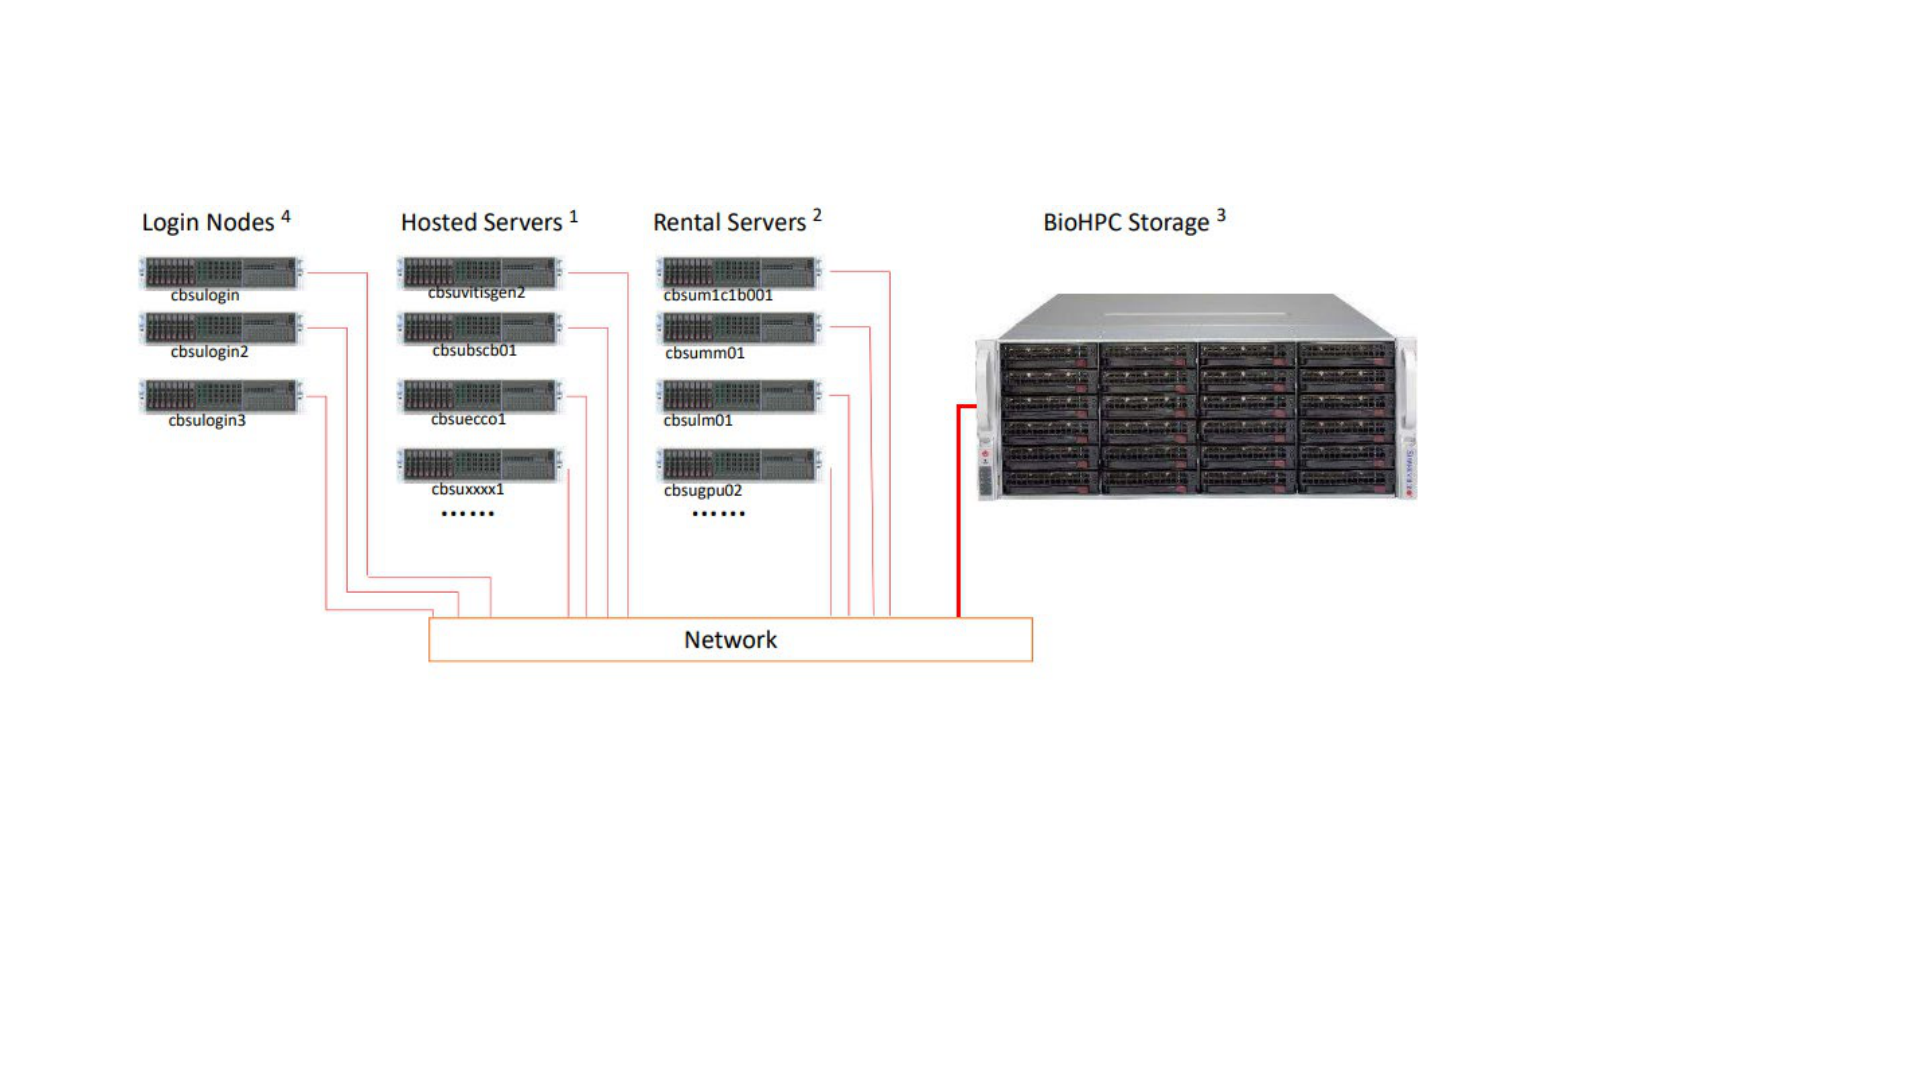
Running software on the BioHPC server
Data analysis
happens on one of
the BioHPC cloud
servers
You run Putty (or other
client software) on your
laptop to access the server
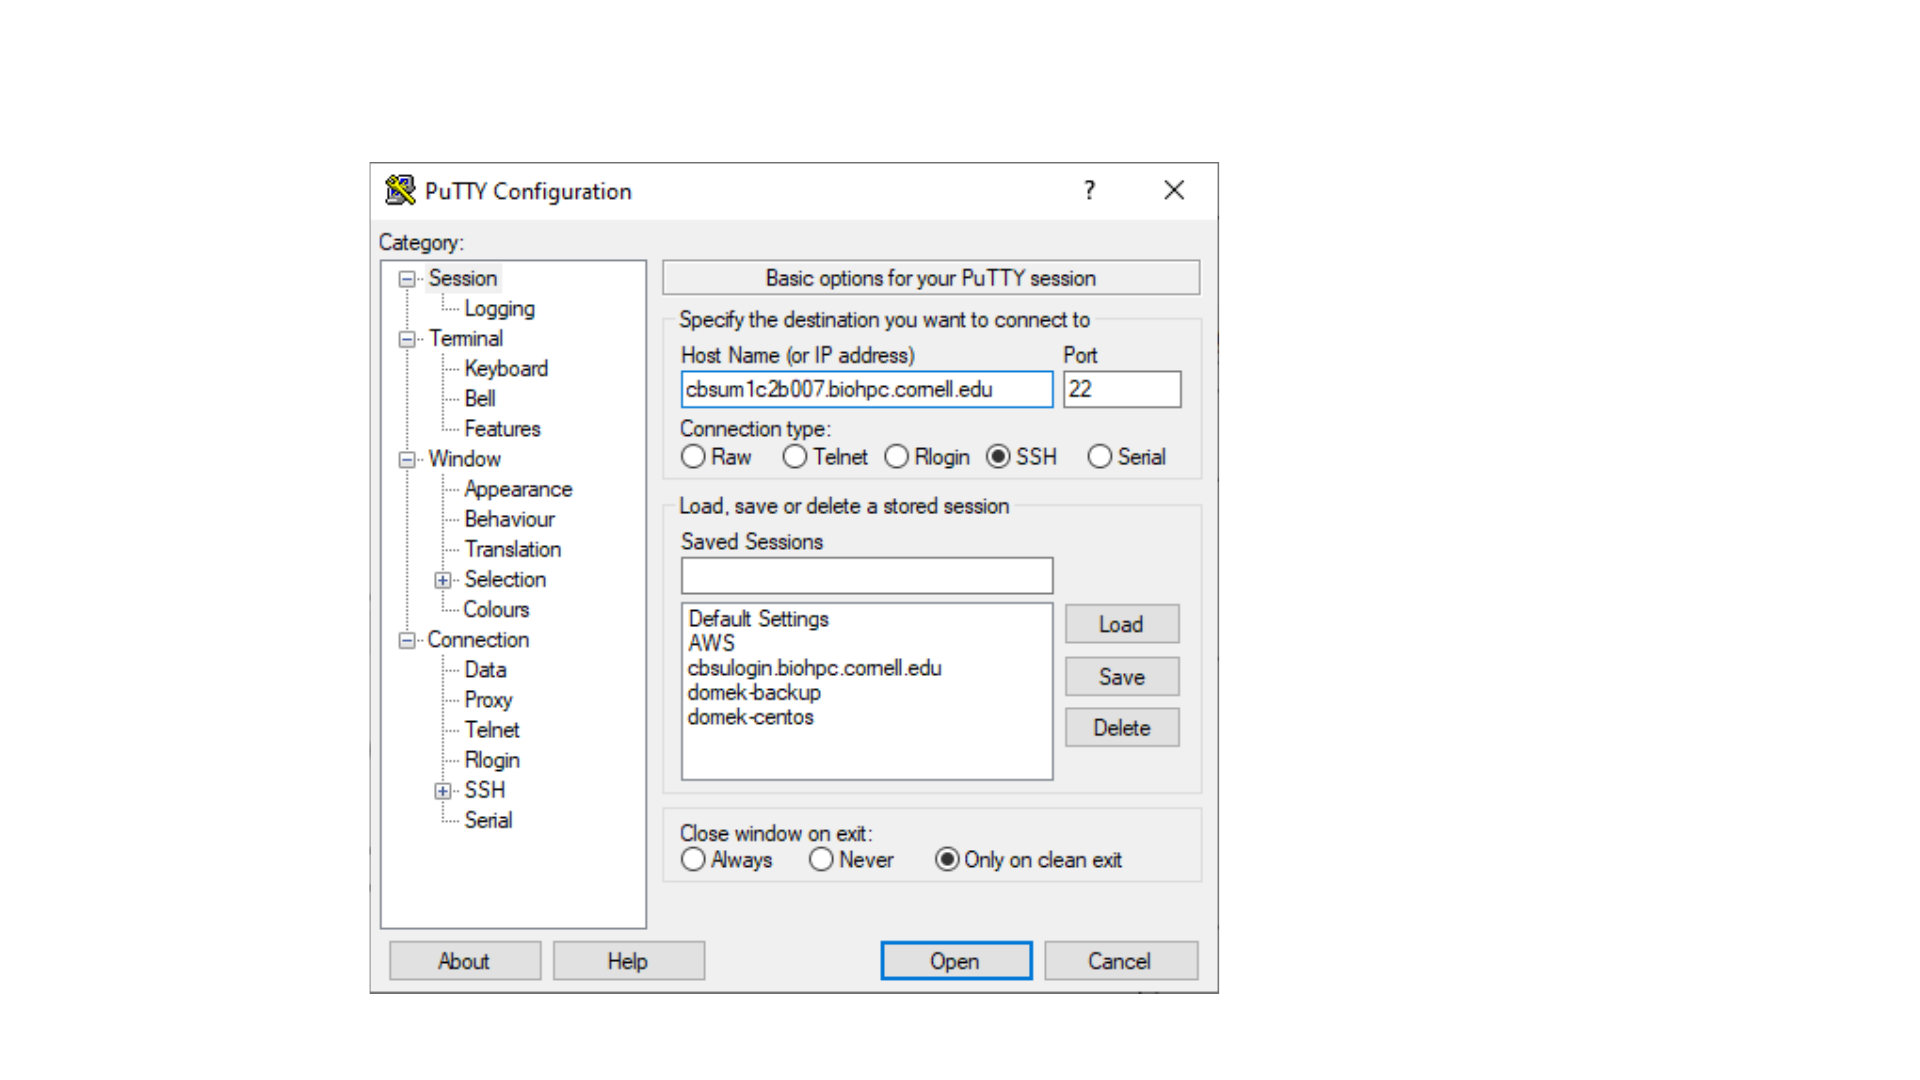
From Windows Laptop, using Putty

ssh qs24@cbsumm11.biohpc.cornell.edu
From Mac, use Mac Terminal (no need to install)
Type the command:
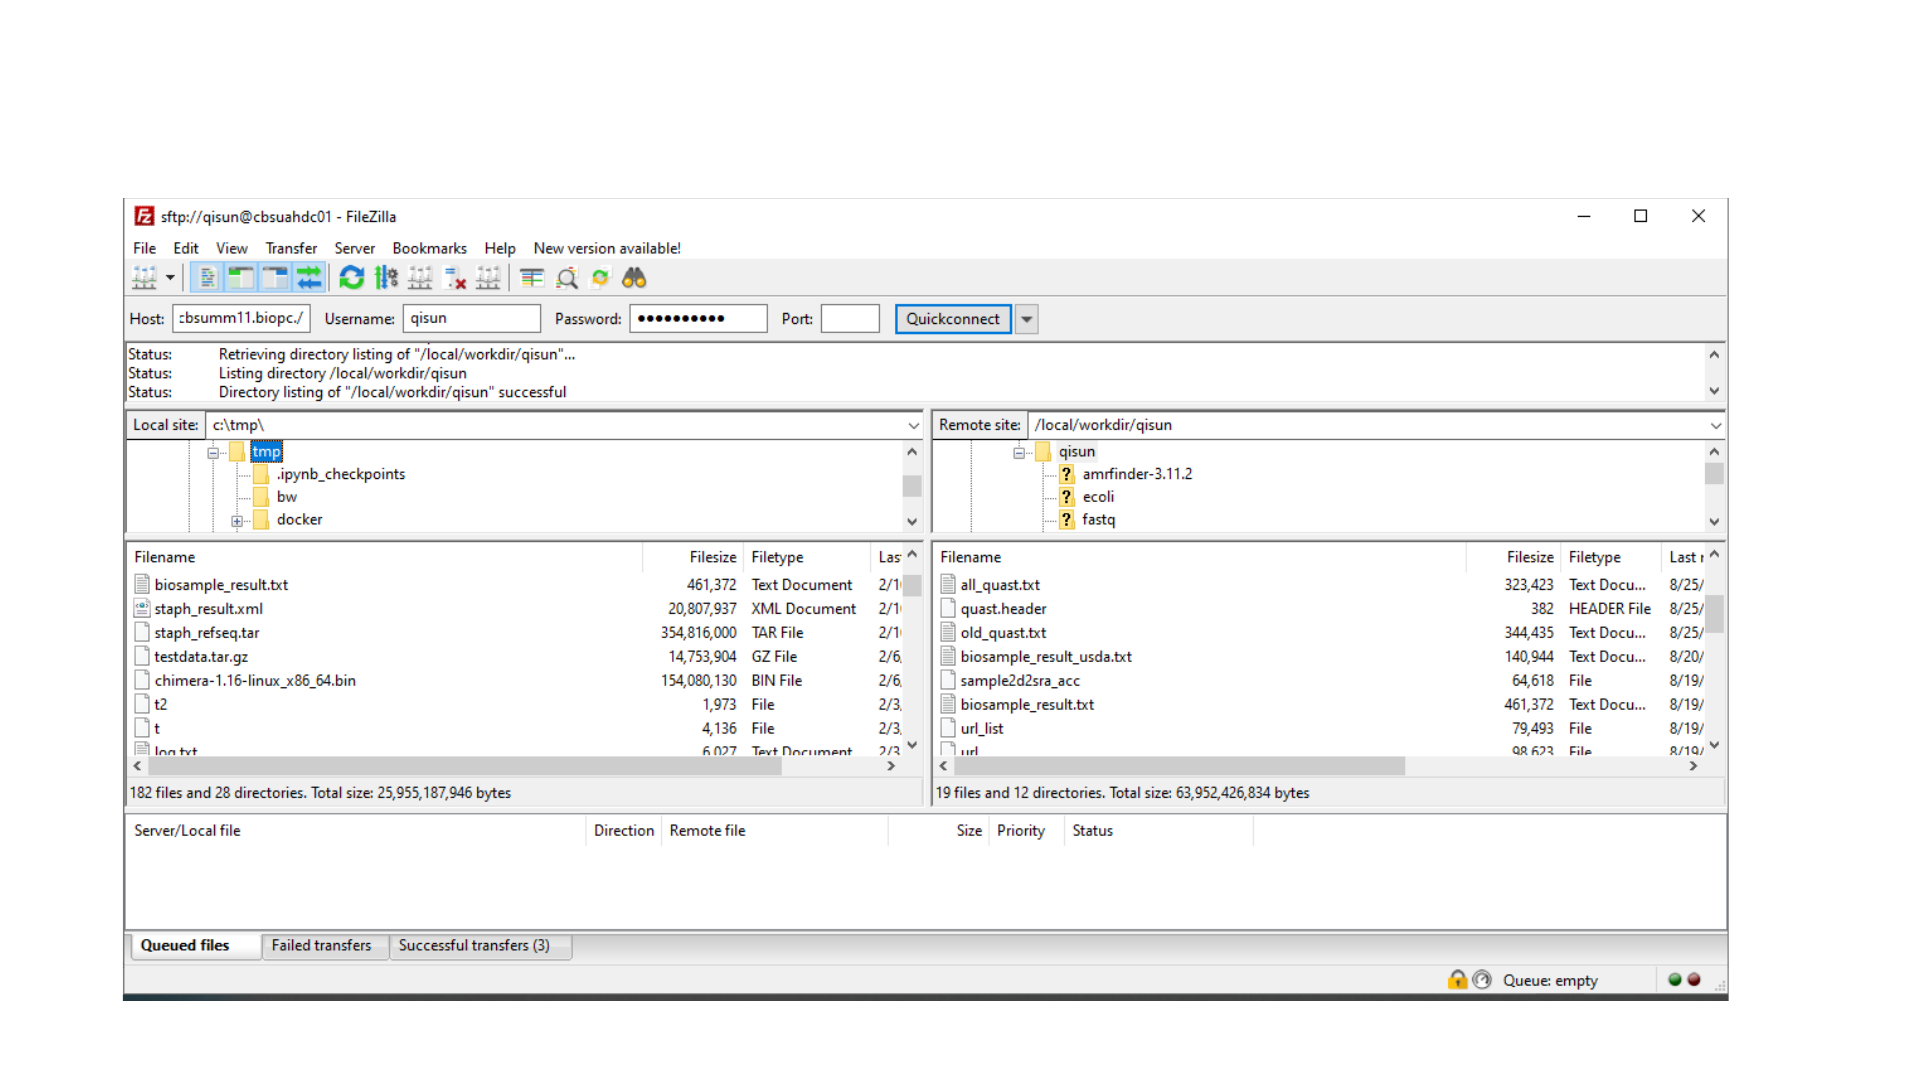
Upload and download files, using FileZilla

Section 2: Files and Directories
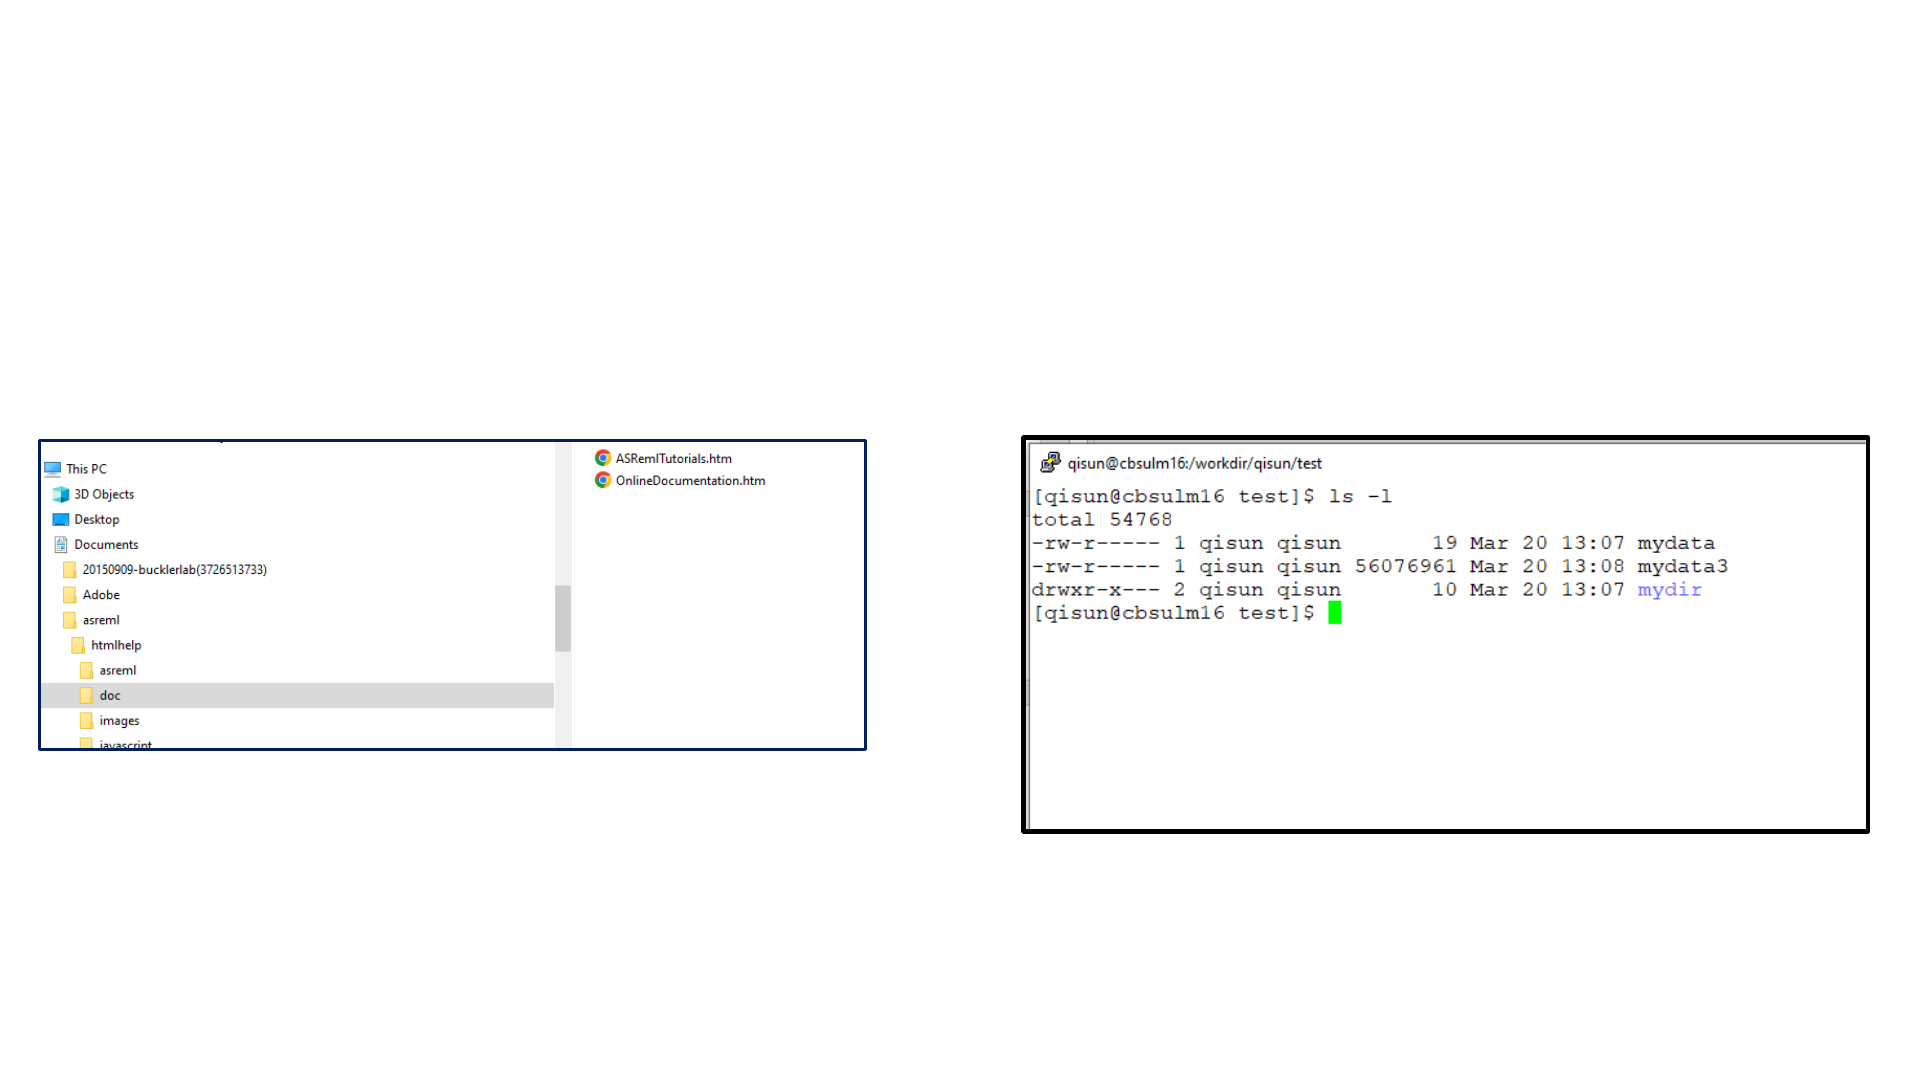
C:\Users\qs24\Documents\asreml\html
help\doc\ASRemlTutorials.htm
Path of a file or a directory on Windows computer
/workdir/qisun/test/mydata
Path of a file or a directory on Linux computer
What is Path?
Absolute Path vs Relative Path of a file or a directory
/workdir/qisun/mydata
Absolute path:
qisun/mydata
Relative path:
#relative to /workdir
Start with “/”. The first “/”
refers to ROOT of the file
system.
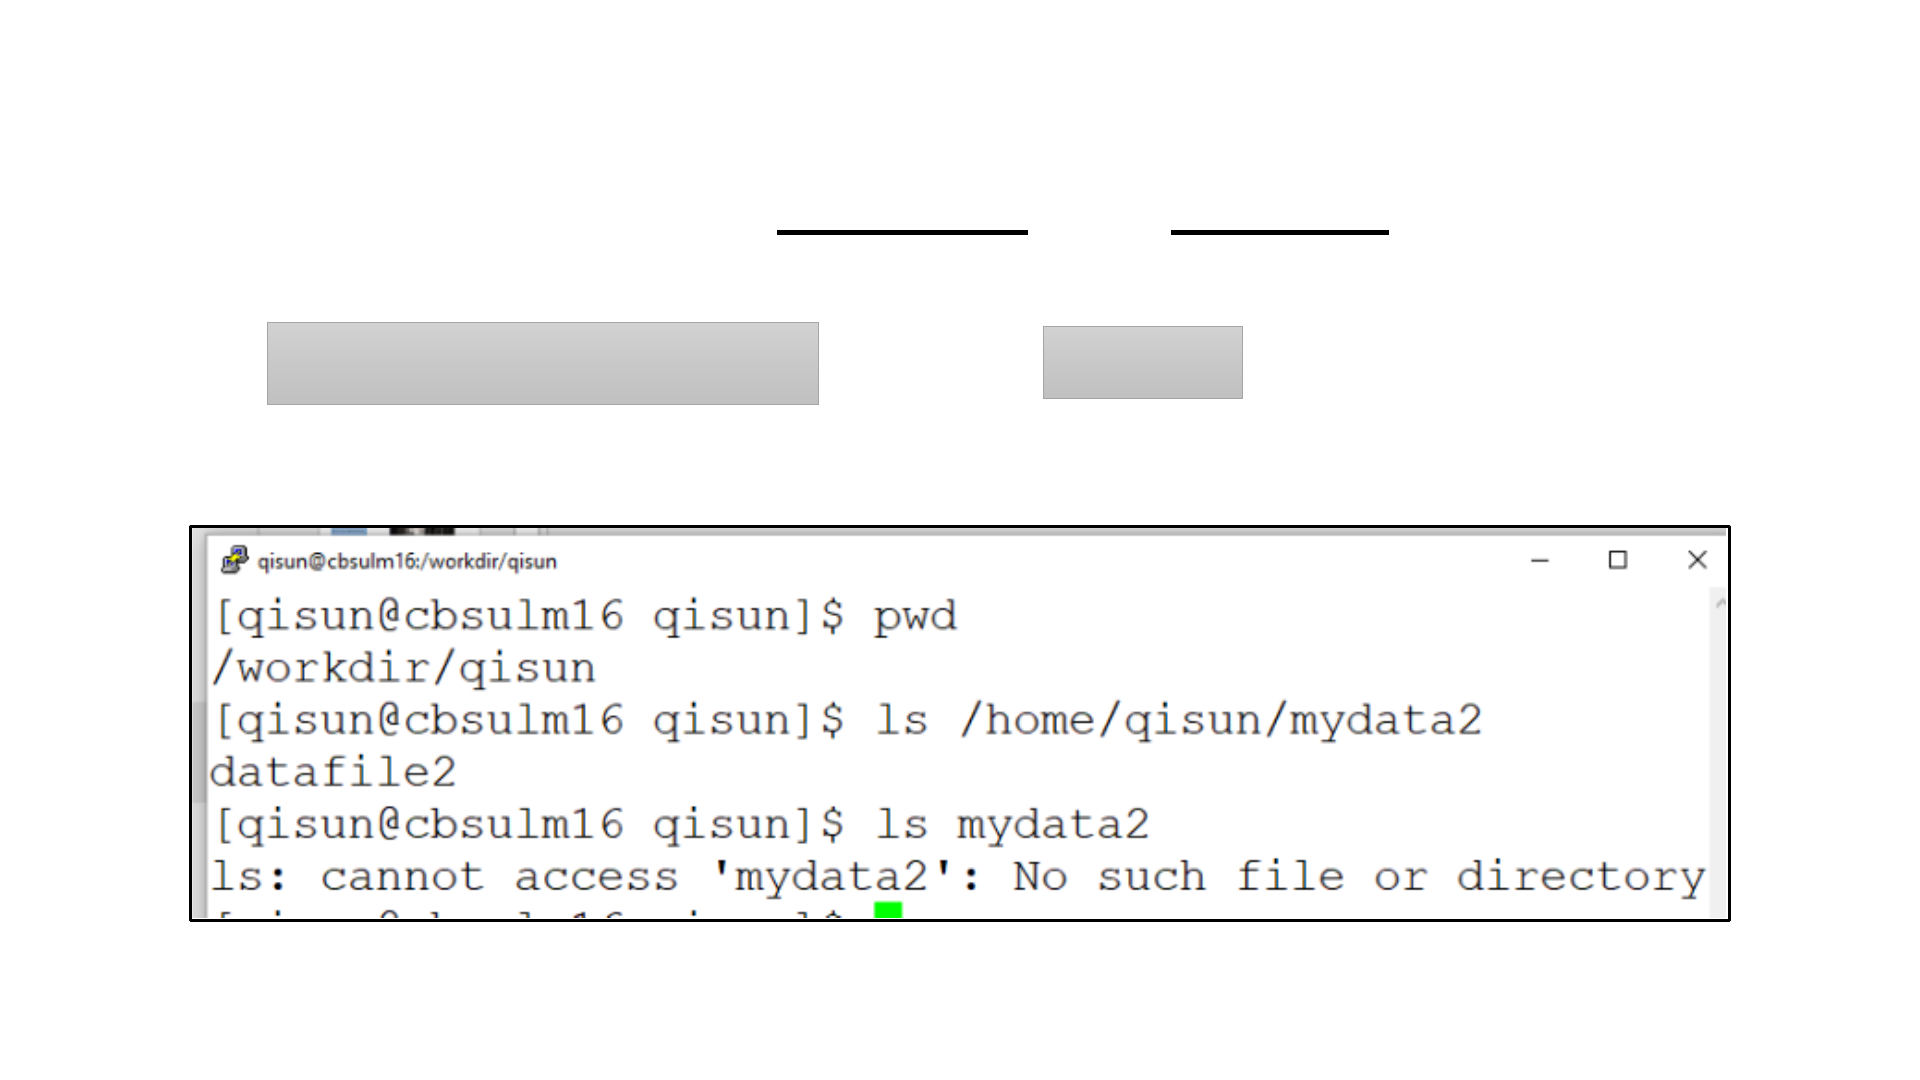
Distinguish between absolute and relative Path?
/home/qisun/mydata2
mydata2
vs

ls
ls –l
ls –al
ls –l /workdir/
ls: List contents of a directory
Section 3: Basic Linux commands

Commands to navigate around the Linux file system
cd /home/qisun
pwd
cd mydata
cd ..
#change current directory to /home/qisun
#show current directory
#change current directory (using relative path)
#change to parent directory (short cuts in Linux: . Current .. Parent)

Create and delete directory
mkdir
rmdir
Copy files
cp mydatafile /workdir/qisun/tmp/mydatafile2
Commonly used commands
Delete files
rm mydatafile
rm -fr /workdir/qisun/tmp
#delete a directory including all contents

Move a file or a directroy
mv ./mydata1 tmp/mydata1
Rename a file or a directory
mv mydata1 mydata3
Commonly used commands
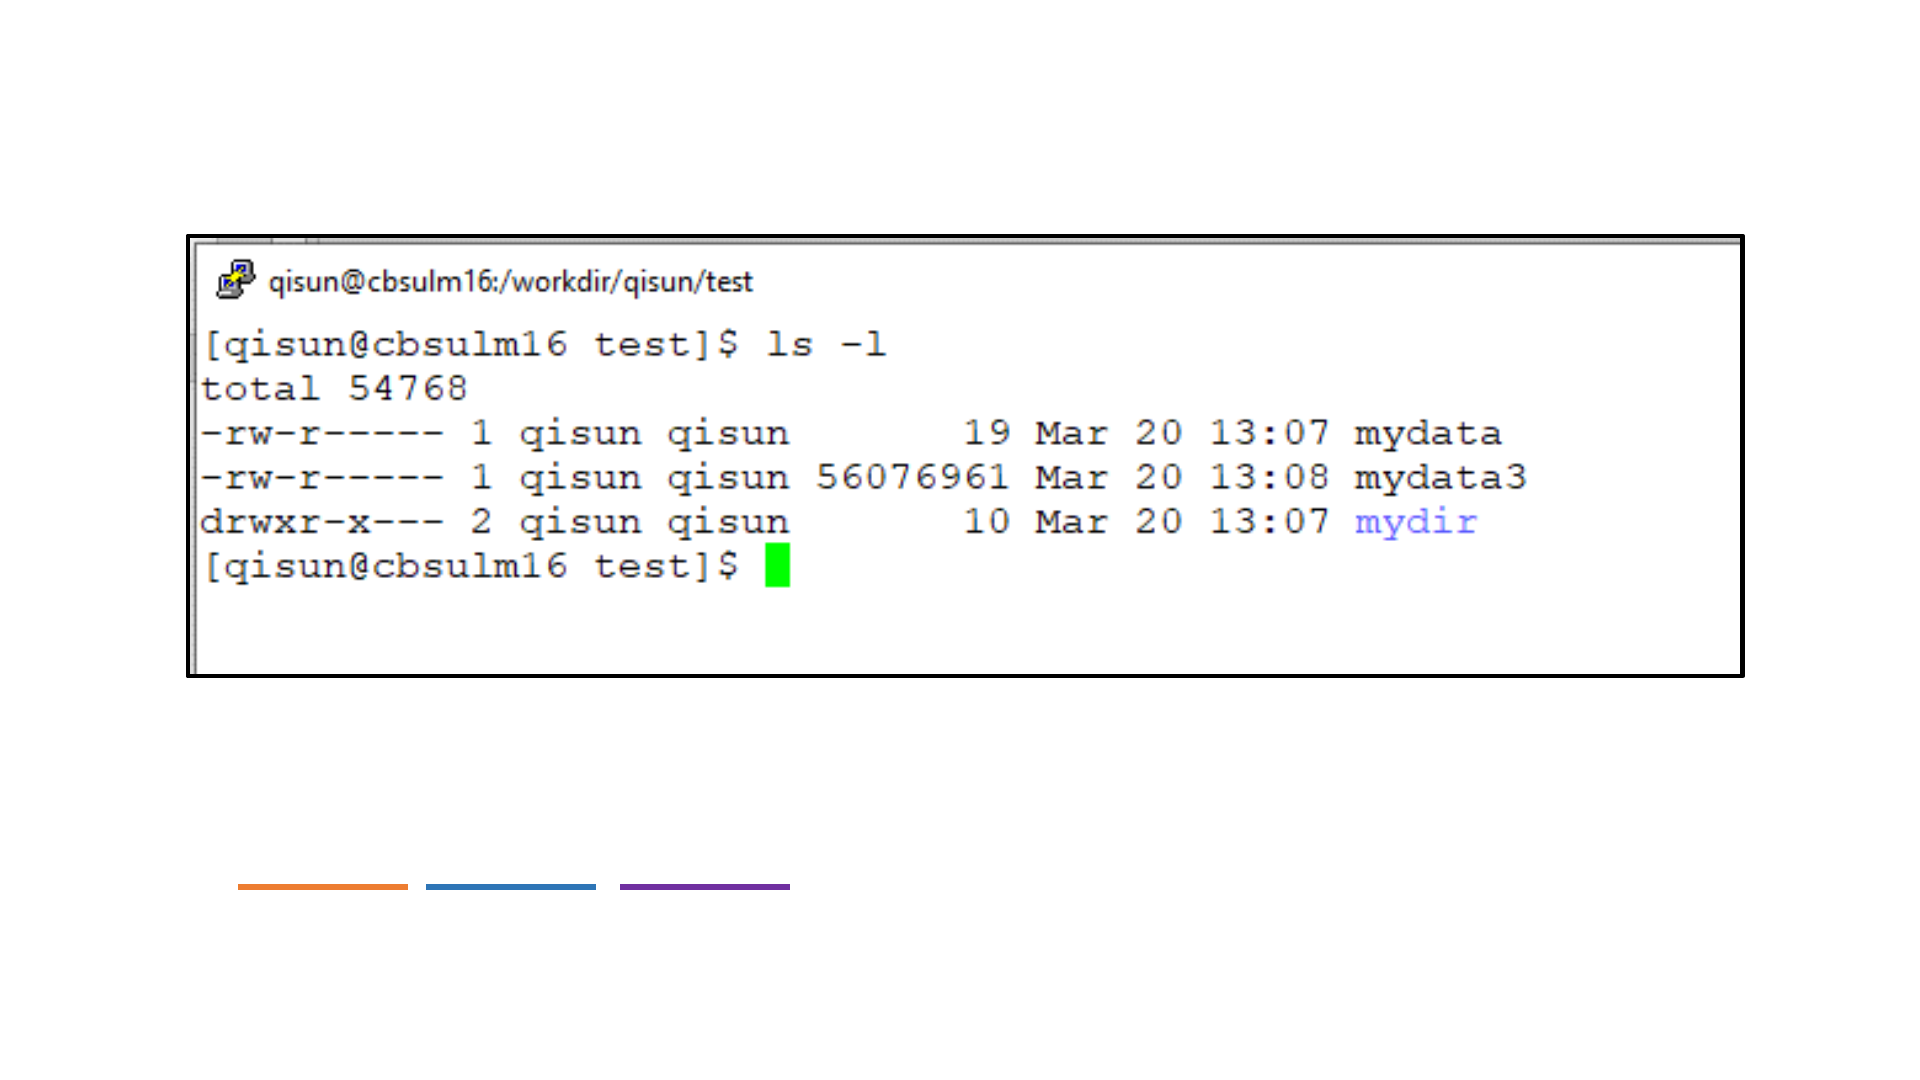
rwxrwxrwx
Owner Group Others
(use chmod command to change)
File permissions:

chmod g+rw myfile
chmod a-rwx myfile
chmod -R g-w mydir
Chmod -R o+rX mydir
chmod: change file permissions
-R: recursively to the directory;
+: add
-: remove
u g a: user, group, all
r w x: readable, writable, executable
Capital X: executable if applicable

Run software on Linux
/programs/STAR-2.7.10b/STAR --genomeDir genome --readFilesIn
ERR458493.fastq.gz --outFileNamePrefix wt1_
export PATH=/programs/STAR-2.7.10b:$PATH
STAR --genomeDir genome --readFilesIn ERR458493.fastq.gz --
outFileNamePrefix wt1_
or
• A software is a file

Check whether a software is still running:
top
top –u qs24
ps –u qs24

Stop a running software:
• Press Ctrl-C
• kill pid-number
(use ps -u qs24 command to get the PID number)

Some short cuts
Tab key: auto-finish a command
Copy paste (on Putty): right click to copy and paste
Copy paste (on Mac Terminal) : standard Mac operation

Section 4. A little more advanced
A tutorial of “screen”
https://biohpc.cornell.edu/lab/doc/Linux_exercise_part2.pdf
1. “Screen” persistent session, why do we need it?
• When you connect to a Linux server and run software, you are in a connection
“session”, and all software running processes are associated with this “session”;
• If you close the laptop, or your internet connection is interrupted, the “session”
is closed. All the jobs running associated with the session would be terminiated.
• To avoid this problem, you can create “screen” persistent sessions, and running
software in these persistent sessions. These sessions are not killed even if you
close the laptop.
Using screen
cbsu1 ~$ screen
Linux shell (ssh session)
screen sessions
cbsu1 ~$ cd /dir1
cbsu1 ~$ blastn cbsu1 ~$ ls –al
Screen 0:
Screen 1:
Screen 2:
Ctrl-a + d: detach from “screen”;
Ctrl-a + c: create new session;
Ctrl-a + n: switch between sessions

screen: cheapsheet
After logging in, type screen
Screen command What it does
screen Start a new session
screen -list List all your screen sessions
screen -d -r
screen -d -r [sessionID]
Re-attach previously detached (or unintentionally
disconnected) session – can be done upon next login
Ctrl-a c Create a new window (shell) in a session; can be
repeated multiple times
Ctrl-a n Ctrl-a p Switch to next (n), previous (p) window within a session
Ctrl-a “ List all windows in a session, switch to one
Ctrl-a d Detach a session (all windows will continue running)
Ctrl-d Exit form current window (or from whole session, if in
last window)
screen -X -S [name] quit Kill session “name” (obtained from screen -list)
For more features/functionality – type screen –h or Ctrl-a ? (within session)
Sessions are persistent – will survive connection problems, turning off laptop, etc.
Most useful screen commands:

2. Run commands in batch:
STAR --genomeDir genome --readFilesIn ERR458491.fastq.gz --outFileNamePrefix wt1_
STAR --genomeDir genome --readFilesIn ERR458492.fastq.gz --outFileNamePrefix wt2_
STAR --genomeDir genome --readFilesIn ERR458493.fastq.gz --outFileNamePrefix wt3_
STAR --genomeDir genome --readFilesIn ERR458494.fastq.gz --outFileNamePrefix wt4_
Create a text file, give it a name, e.g. “myscript.sh”
Run batch script
sh myscript.sh
parallel -j 4 < myscript.sh
#run command one by one
#run command in parallel
# process 4 commands at a time
• use Notepad++ on Windows, BBEdit on Mac;
• Advanced users can use vi or nano;
• More advanced users can use xargs

3. Check file contents
head -n 20 myfile.txt
tail -n 20 myfile.txt
more myfile.txt
wc -l myfile.txt
zcat myfile.gz | more
zcat myfile.gz | grep ACGGGAT
#show first 20 lines
#show last 20 lines
#show file content page-by-page, press “space bar” to
continue, “q” to quit
#”wc -l” to count number of lines in a file
#show compressed by, pipe into more
#filter to lines containing “ACGGGAT”
Best Practice of using BioHPC
Best Practice of using BioHPC
/home/$USER: home directory, network drive, do not compute on large files in the directory
/home2/$USER: network drive, ok to compute large files in the directory
/workdir/: scratch disk on local computing node, you can compute large files in the directory

1.Upload data files to BioHPC
Filezilla to login nodes (cbsulogin, cbsulogin2, cbsulogin3)
2. Reserve a BioHPC server
• Make reservation through https://biohpc.cornell.edu
• You can share the reservation with other lab users
3. Run software on the computing nodes
• Make sure to copy large data files to /workdir, and
compute on files in /workdir
• After done, copy data files back to /home/$USER, and
cancel reservation
Using BioHPC

For support
• Email [email protected]
• Book an office hour https://biohpc.cornell.edu/lab/office1.aspx
