Microsoft Word 2010 - Level 2
© Watsonia Publishing Page 123 Headers And Footers
CHAPTER 13 HEADERS AND FOOTERS
A header is text that is placed at the top of a page, while a footer is
placed at the bottom, or foot, of a page. Typically these areas are
used for inserting document information, such as the name of the
document, the chapter heading, page numbers, creation date and
the like.
In this session you will:
gain an understanding of headers and footers
learn how to insert headers and footers into a document
learn how to insert a blank header
learn how to insert a blank footer
learn how to switch between headers and footers
learn how to edit headers and footers
learn how to add page numbering to a header or footer
learn how to add date information
learn how to add document information
learn how to format headers and footers.
INFOCUS
WPL_W829
Microsoft Word 2010 - Level 2
© Watsonia Publishing Page 124 Headers And Footers
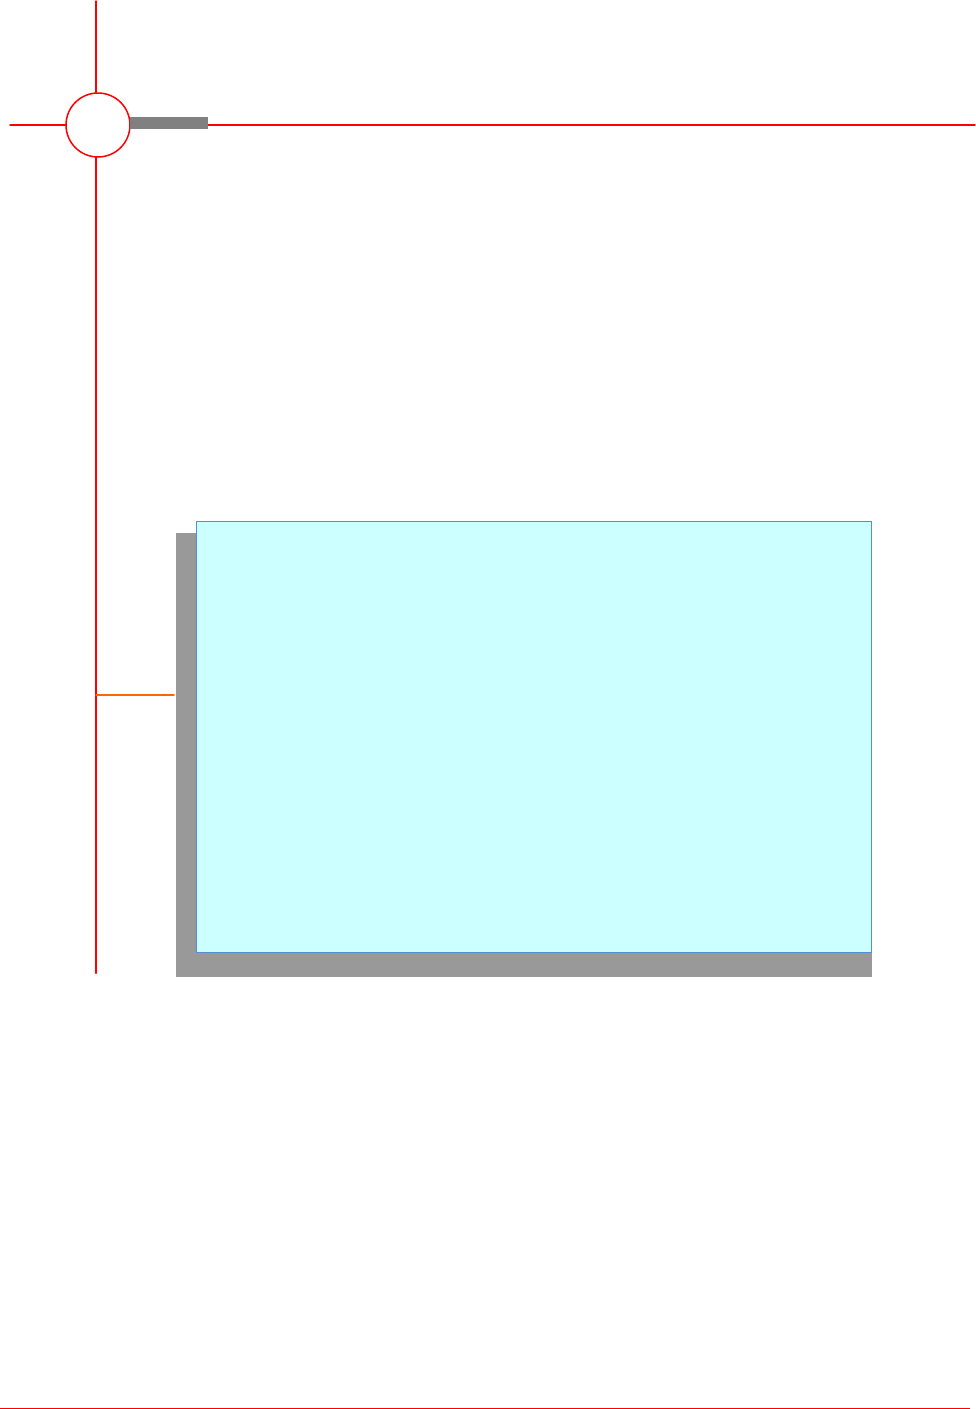
UNDERSTANDING HEADERS AND FOOTERS
Headers are located in the margin area at the top
of the page. Footers are located in the margin
area at the bottom of a page. Headers and
footers generally contain document information,
such as the file name, author, date created, page
numbering and the like. This information is
repeated on each page and thus enables the
reader to easily navigate the document.
Each and every document contains header and footer areas, but the areas are only visible when they
contain information. To enter information into a header or footer, you need to activate it. You can
double-click on either the header or footer area to edit the header or footer. Headers and footers are
only visible in Print Layout view and Print Preview.
To indicate when the headers and footers are not active, the information contained within them
appears greyed out or faded. To indicate when the headers and footers are active, a blue dashed line
appears on the edge of the margin and a small Header or Footer tab appears on the left side.
In multi-page documents, headers and footers will appear on every page. This is particularly useful
for information such as page numbering. If section breaks have been used in the document, then you
are able to change the headers and footers for each section. This may prove useful in a document with
chapters, enabling you to insert the name of each chapter in the relevant header or footer, for instance.
You are also able to insert special fields into the headers and footers, which display document
information, page numbers, the date or time and the like. The document information is drawn from the
data stored in the document’s Properties and may include data such as Author, Title or Subject. The
fields are automatically updated when the data they display changes. In the case of the date and time
fields, they can be set to not change.
By default, the header and footer areas contain three predefined text positions: text is automatically
positioned on the left margin; a centre aligned tab exists in the centre of the header/footer areas and; a
right aligned tab exists near the right margin. This enables you to accurately position text within the
header or footer.
Blue dashed line and
Header tab indicates
that the header is
active, or in edit mode
Blue dashed line and
Footer tab indicates
that the footer is active,
or in edit mode

Microsoft Word 2010 - Level 2
© Watsonia Publishing Page 125 Headers And Footers
INSERTING HEADERS AND FOOTERS
Try This Yourself:
Open
File
Before starting this exercise you
MUST open the file W829 Headers
And Footers_1.docx...
Click on the Insert tab, then click
on Header in the Header &
Footer group to display the Header
gallery
The Header gallery displays
previews of built-in headers that
you can choose from...
Scroll down and click on Sideline
to insert this header
Click on [Type the document title]
and type Initiatives – 2007
Double-click outside the header on
a blank part of the document or
press to exit the header
You will now insert a footer…
Click on Footer in the Header
& Footer group to display the
Footer gallery
Scroll down and click on Sideline
to insert this footer
A page number will be inserted,
with the same vertical line graphic
that was included in the header...
Double-click outside the footer on a
blank part of the document or press
to exit the footer
Save and close the document
For Your Reference…
To insert a header or footer:
1. Click on the Insert tab, then click on Header
or Footer in the Header & Footer
group and select a style from the gallery
Handy to Know…
You can save your own header or footer for
future use. To do this, select the header or
footer, then click on Header or Footer
in the Header & Footer group and
select Save Selection to Header Gallery or
Save Selection to Footer Gallery.
Complete the details and click on [OK].
2
3
Microsoft Word contains a number of built-in and
preformatted headers and footers that enable you
to add a stylish header and/or footer to your
document. These headers and footers can be
inserted and then edited to suit your needs. For
instance, you might need to insert a company logo
or edit the colours to ensure they align to the
corporate colours.
6

Microsoft Word 2010 - Level 2
© Watsonia Publishing Page 126 Headers And Footers
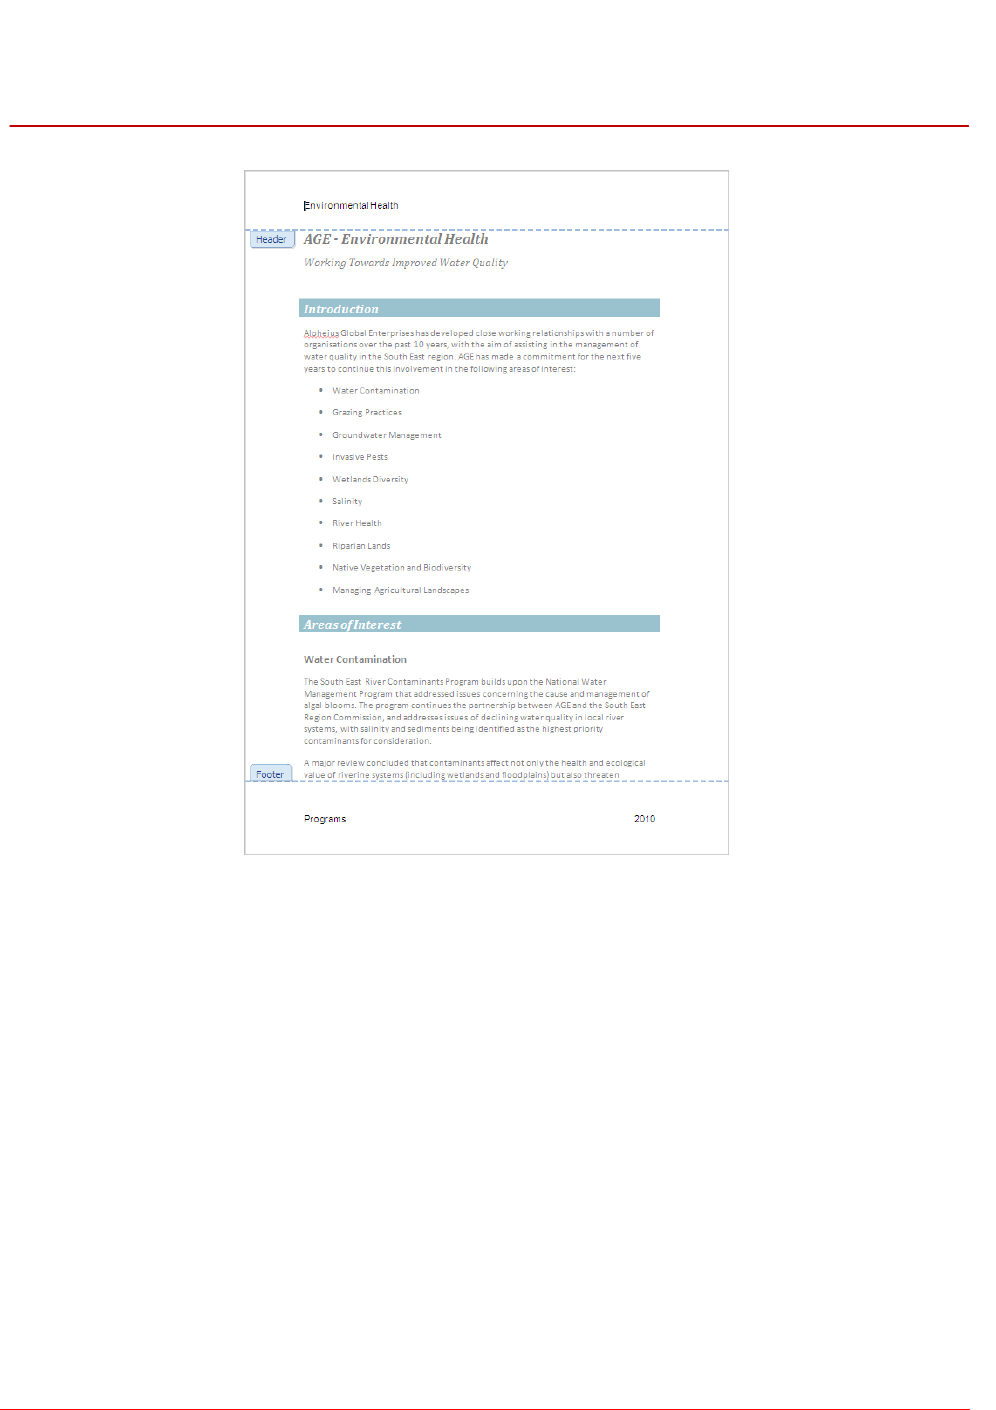
INSERTING A BLANK HEADER
Try This Yourself:
Open
File
Before starting this exercise
you MUST open the file W829
Headers And
Footers_2.docx...
Click on the Insert tab, then
click on Header in the
Header & Footer group to
display the Header gallery
Click on Blank to insert a
blank header
The header contains a single
text placeholder...
Type Environmental Health
in the text placeholder
Double-click outside the
header on a blank part of the
document or press to exit
the header
Notice that the text in an
inactive header is greyed out...
Click on the File tab, then click
on Print to preview the
document
Scroll through the document to
see that the header appears
on each page
Click on the Home tab to
return to the document, and
then save the document
For Your Reference…
To insert a blank header:
1. Click on the Insert tab, then click on Header
in the Header & Footer group
2. Click on Blank or Blank (Three Columns)
3. Type the required header text
Handy to Know…
Once you have inserted a header or footer,
the Design tab is displayed and active. This
tab also contains Header and
Footer , which means that you do not
have to switch back to the Insert tab to
access them.
2
3
To create your own header from scratch, you can
use the built-in Blank Header style and then edit
as required, such as formatting and adding
document information. You can insert a blank
header with a single text placeholder, or you can
insert a blank header with three text placeholders,
which are positioned to the left, the centre and to
the right of the header.
4
Microsoft Word 2010 - Level 2
© Watsonia Publishing Page 127 Headers And Footers
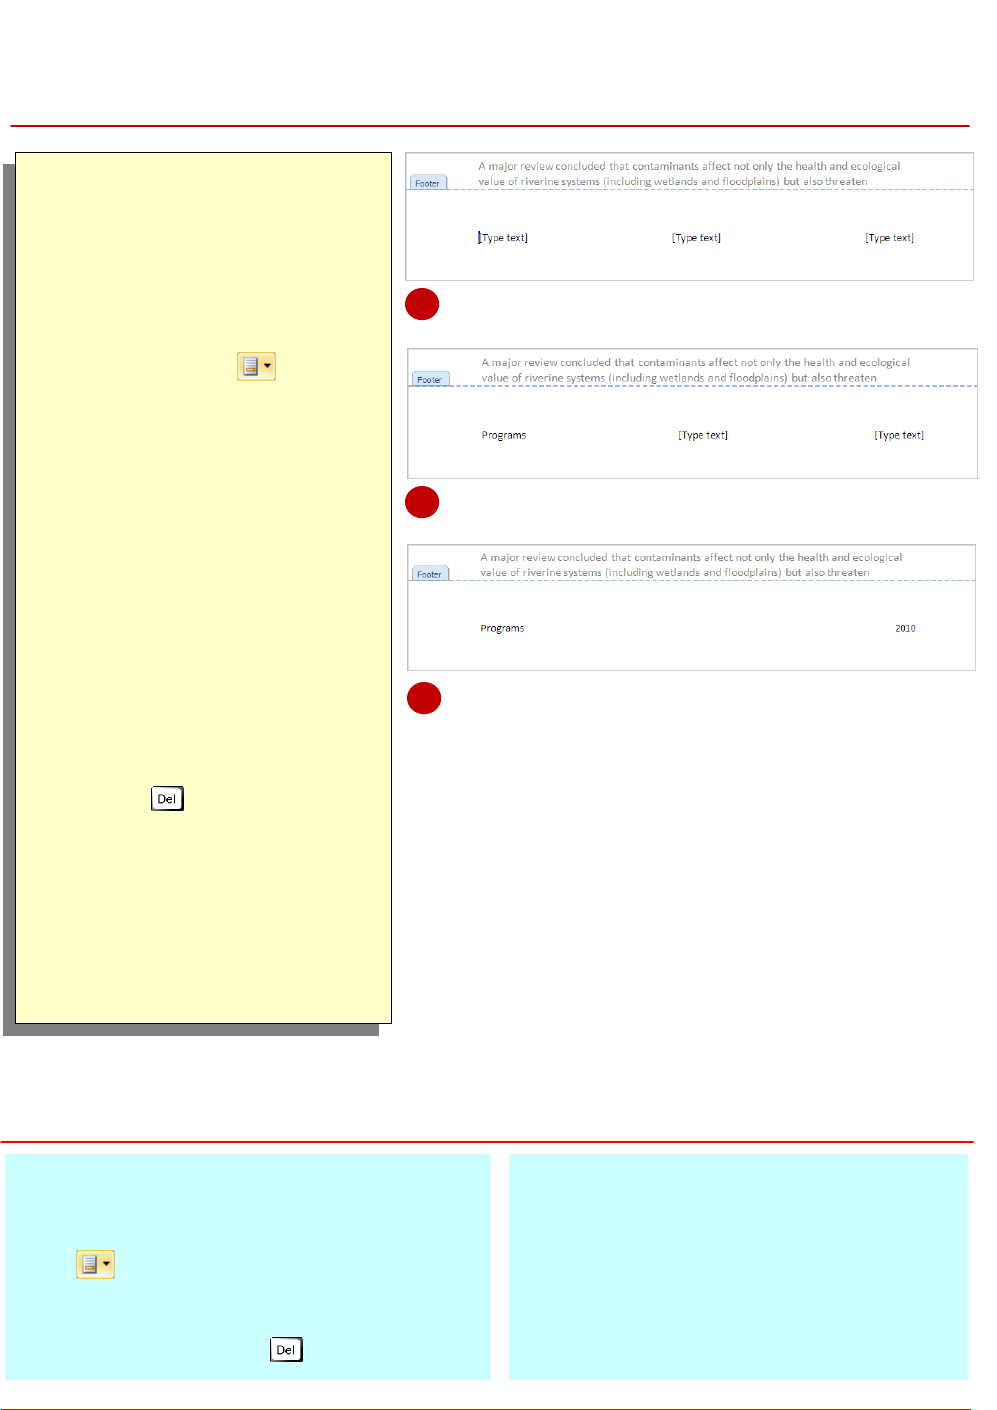
INSERTING A BLANK FOOTER
Try This Yourself:
Same
File
Continue using the previous
file with this exercise, or open
the file W829 Headers And
Footers_3.docx...
Click on the Insert tab, then
click on Footer in the
Header & Footer group to
display the Footer gallery
Click on Blank (Three
Columns) to insert a blank
footer
The footer contains three
placeholders, although we
really only need two of these...
Click on the first placeholder
and type Programs
We don’t want to use the
middle placeholder, so let’s
delete it...
Click on the middle
placeholder to select it, then
press to delete the
placeholder
The placeholder will no longer
appear in the footer...
Click on the last placeholder to
select it and type 2010
Save the document
For Your Reference…
To insert a blank footer:
1. Click on the Insert tab, then click on Footer
in the Header & Footer group
2. Click on Blank or Blank (Three Columns)
3. Click in each placeholder and type the
required text or press
Handy to Know…
Make sure to delete any unused text
placeholders in your headers and footers,
otherwise they will print.
2
3
To create your own footer from scratch, you can
use the built-in Blank Footer style and then edit
as required, such as formatting and adding
document information. You can insert a blank
footer with a single text placeholder, or you can
insert a blank footer with three text placeholders,
which are positioned to the left, in the centre, and
to the right of the footer.
5
Microsoft Word 2010 - Level 2
© Watsonia Publishing Page 128 Headers And Footers
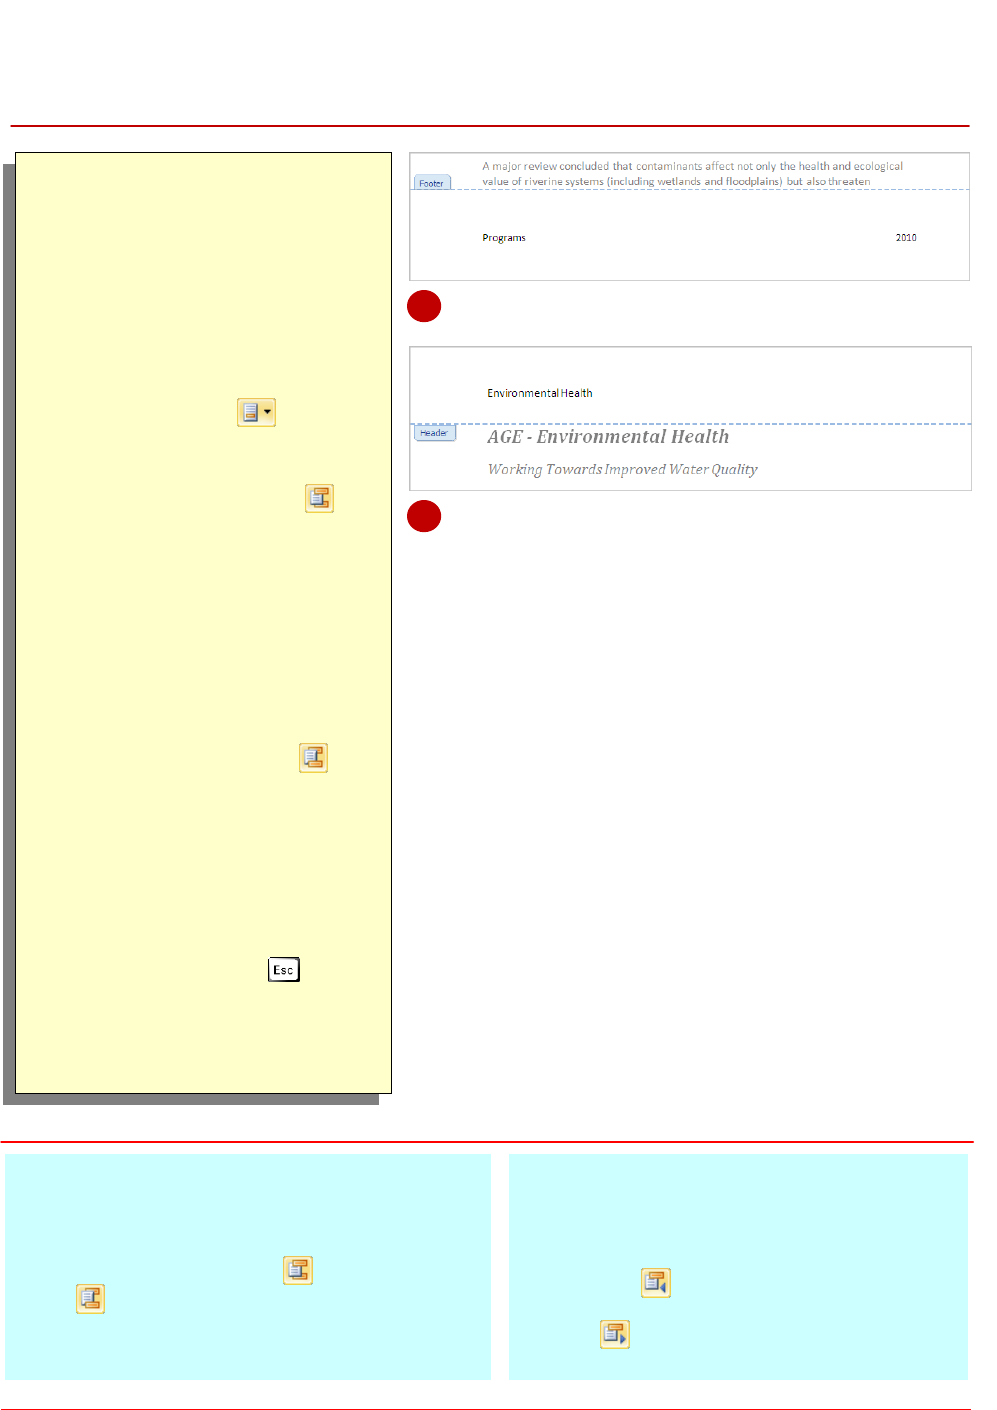
SWITCHING BETWEEN HEADERS AND FOOTERS
Try This Yourself:
Same
File
Continue using the previous
file with this exercise, or open
the file W829 Headers And
Footers_4.docx...
Activate the footer by double-
clicking on the footer area, or
click on the Insert tab, then
click on Footer in the
Header & Footer group and
select Edit Footer
Click on Go to Header in
the Navigation group
This option is found on the
Design tab which is
automatically displayed when
the header or footer is
activated. The header is now
visible and the insertion point
is repositioned to the left of the
header text...
Click on Go to Footer in
the Navigation group
The footer will now be visible
and the insertion point is
repositioned to the left of the
footer text...
Double-click outside the footer
area on a blank part of the
document or press to exit
the footer
Save the document
For Your Reference…
To switch between headers and footers:
1. Double-click on the header or footer area
2. Click on Go to Header or Go to Footer
in the Navigation group
Handy to Know…
To navigate headers and footers in a
document with multiple sections, activate the
header or footer, then click on Show
Previous to move to the header or footer
in the previous section, or click on Show
Next to move to the header or footer in
the next section.
1
2
When editing headers and footers, it is likely that
you’ll need to switch between them. Instead of
scrolling up and down the page from header to
footer and back again, Word provides a feature
that enables you to easily switch between headers
and footers.
Microsoft Word 2010 - Level 2
© Watsonia Publishing Page 129 Headers And Footers
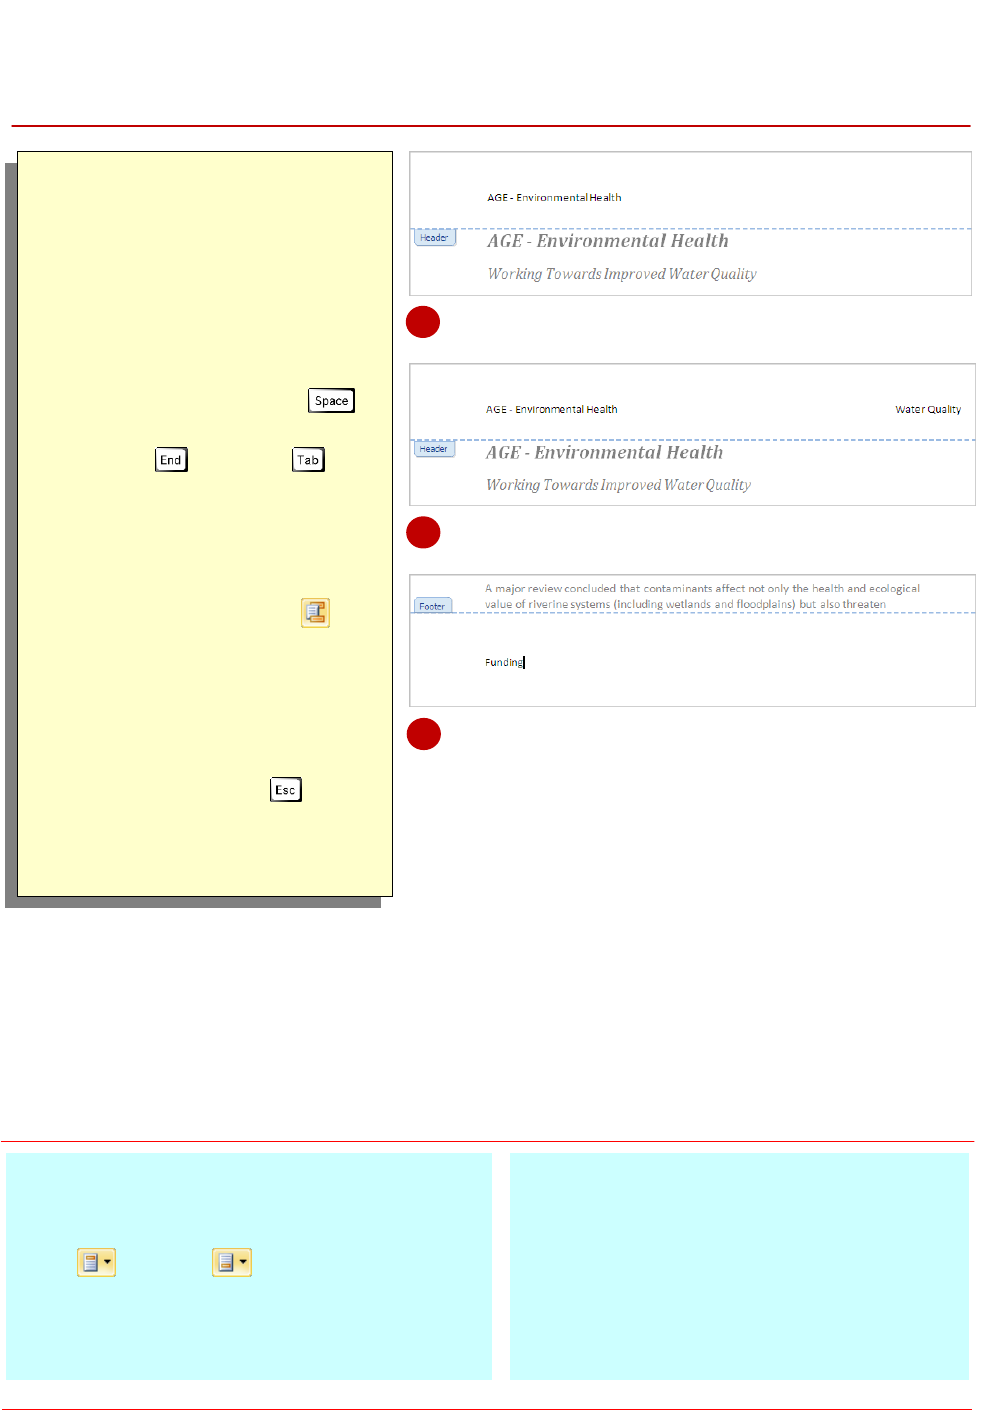
EDITING HEADERS AND FOOTERS
Try This Yourself:
Same
File
Continue using the previous
file with this exercise, or open
the file W829 Headers And
Footers_4.docx...
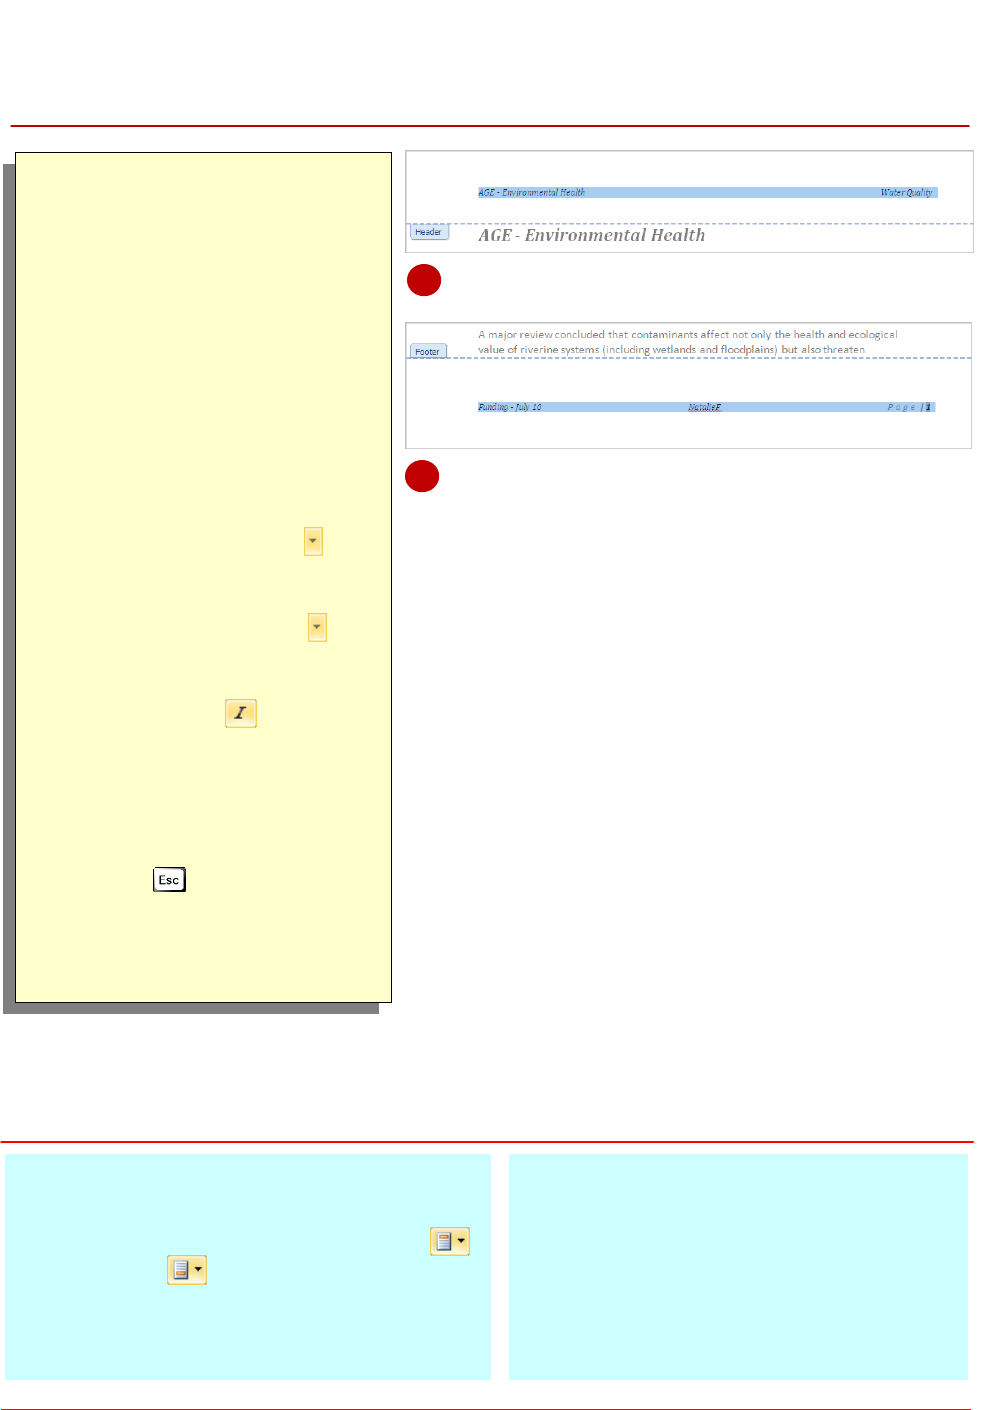
Double-click on the header
area to make the header active
Type AGE – and press
Press then press
twice to position the insertion
point at the right margin
Type Water Quality
Now let’s edit the footer...
Click on Go to Footer in
the Navigation group, then
double-click on Programs to
select the footer text and type
Funding
Double-click outside the footer
on a blank part of the
document or press to exit
the footer
Save the document
For Your Reference…
To edit headers and footers:
1. Click on the Insert tab, then click on Header
or Footer in the Header & Footer
group
2. Click on Edit Header or Edit Footer
3. Make the changes as required
Handy to Know…
As well as double-clicking on a header or
footer to activate the header or footer, you
can also right-click on the header or footer
area and select Edit Header or Edit Footer.
2
5
There will be many times when you will need to
edit the headers and footers in a document. This
might be necessary as document information
changes, or you want to add more information to
the header or footer, such as a date or the name of
an author. Either way, editing headers and footers
is simple.
4
Microsoft Word 2010 - Level 2
© Watsonia Publishing Page 130 Headers And Footers
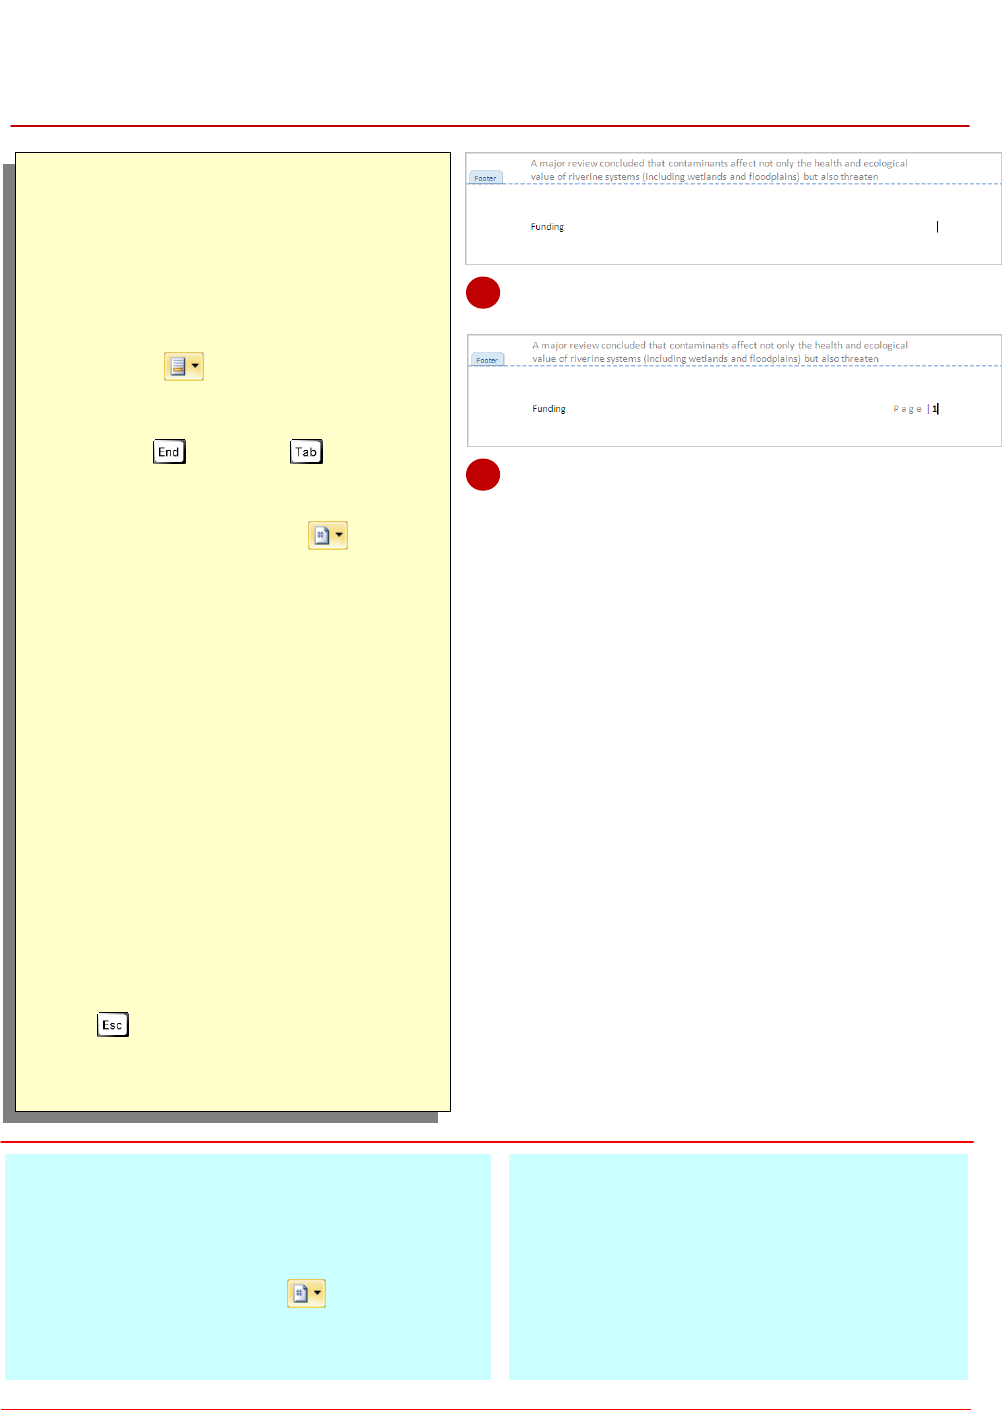
INSERTING PAGE NUMBERING
Try This Yourself:
Same
File
Continue using the previous file with
this exercise, or open the file W829
Headers And Footers_5.docx...
Double-click on the footer area, or
click on the Insert tab, then click on
Footer in the Header & Footer
group and select Edit Footer to
make the footer active
Press then press twice to
reposition the insertion point at the
right margin
Click on Page Number in the
Header & Footer group
There are several galleries here,
depending on whether you want to
insert the page numbering at the top
or bottom of the page, in the margin
or at the current position of the
insertion point…
Select Current Position
You will insert a page numbering
style where the insertion point is…
Click on Accent Bar 2 in Page X to
select it
A page number with this built-in style
will be inserted at the insertion
point...
Double-click outside the footer on a
blank part of the document or press
to exit the footer
Save the document
For Your Reference…
To insert page numbering:
1. Position the insertion point in the active
header or footer
2. Click on Page Number in the Header &
Footer group and select a location
3. Click on a style
Handy to Know…
To format a page number that you have
inserted into a header or footer, click on the
Insert tab, then click on Page Number and
select Format Page Number. You will be
able to change the numbering style, as well
as set the starting page number, if required.
2
5
One of the advantages of headers and footers is
that important information is repeated across
each page or section. This helps readers to
navigate a long document and find the
information they need quickly. Page numbering is
an example of this and is essential in any long
document. You can insert automatic page
numbering into your headers and footers.
Microsoft Word 2010 - Level 2
© Watsonia Publishing Page 131 Headers And Footers
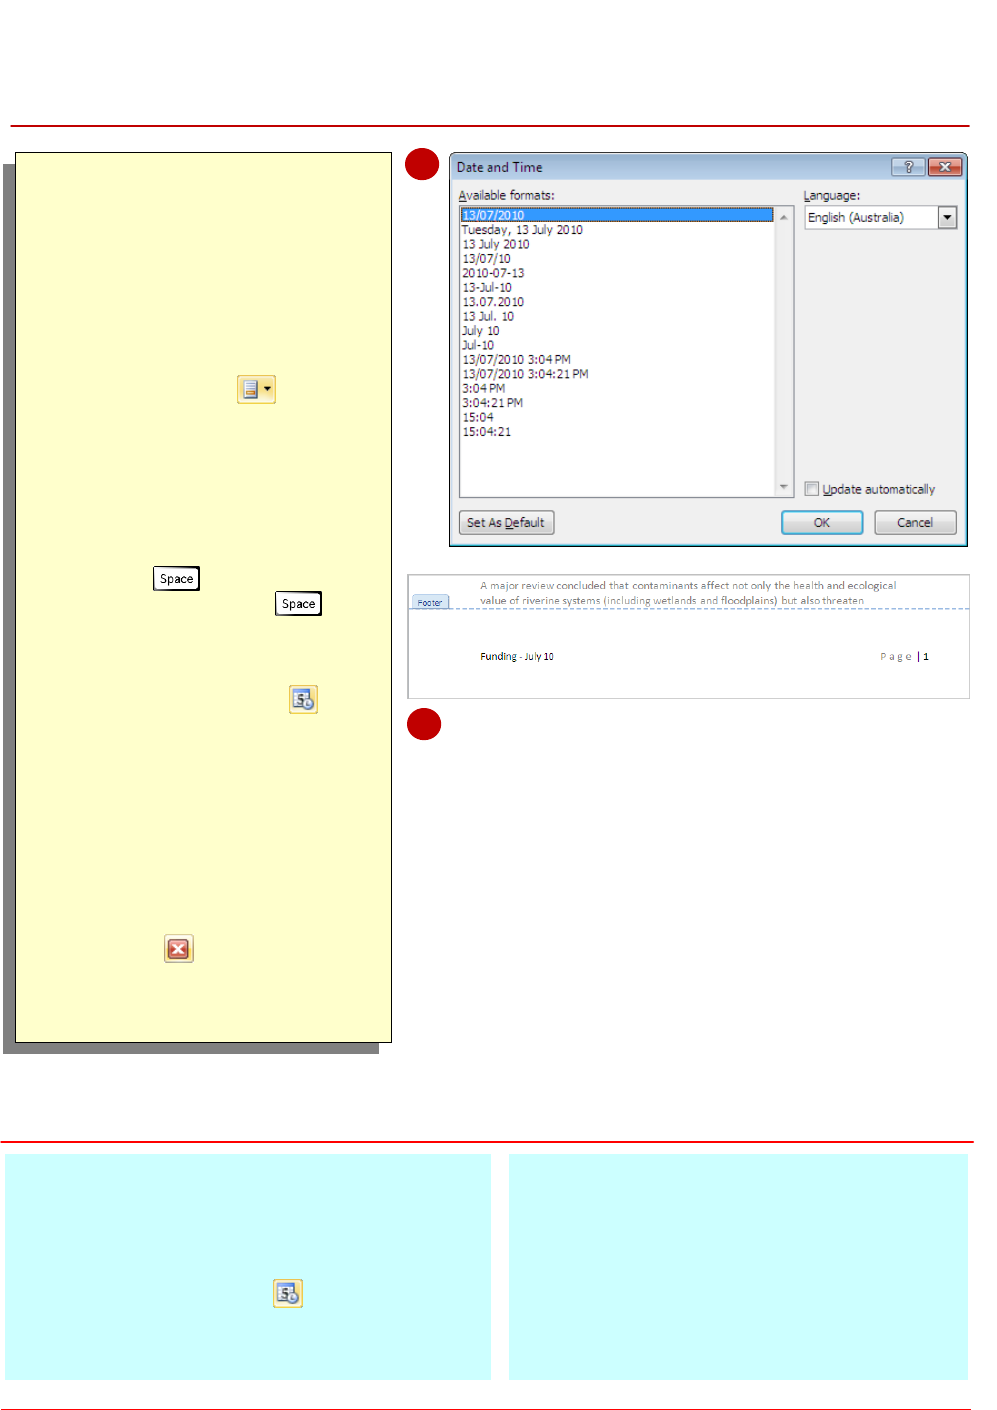
INSERTING DATE INFORMATION
Try This Yourself:
Same
File
Continue using the previous
file with this exercise, or open
the file W829 Headers And
Footers_7.docx...
Double-click on the footer area
or click on the Insert tab, then
click on Footer in the
Header & Footer group and
select Edit Footer to make the
footer active
Click at the end of the text
Funding to reposition the
insertion point
Press then type –
(hyphen) and press
Now we are ready to insert the
date...
Click on Date &Time in the
Insert group to display the
Date and Time dialog box
Click on the format that
displays the month and then
the year, such as July 10
Click on [OK] to insert the date
Click on Close Header and
Footer to exit the footer
Save the document
For Your Reference…
To insert date information:
1. Position the insertion point in the header or
footer
2. Click on Date & Time in the Insert group
3. Select a format
4. Click on [OK]
Handy to Know…
To make a date (or time) field update
automatically each time you open (or print)
the document, click on Update
automatically in the Date and Time dialog
box so that it appears with a tick. Click on
[OK].
4
6
You can insert date information into headers and
footers. You can also set the date to be updated
automatically each time the document is opened,
for example, which is particularly useful when
working with templates or maintaining version
control. You can also format the date style, such as
displaying the full date or just the month and year.
Microsoft Word 2010 - Level 2
© Watsonia Publishing Page 132 Headers And Footers
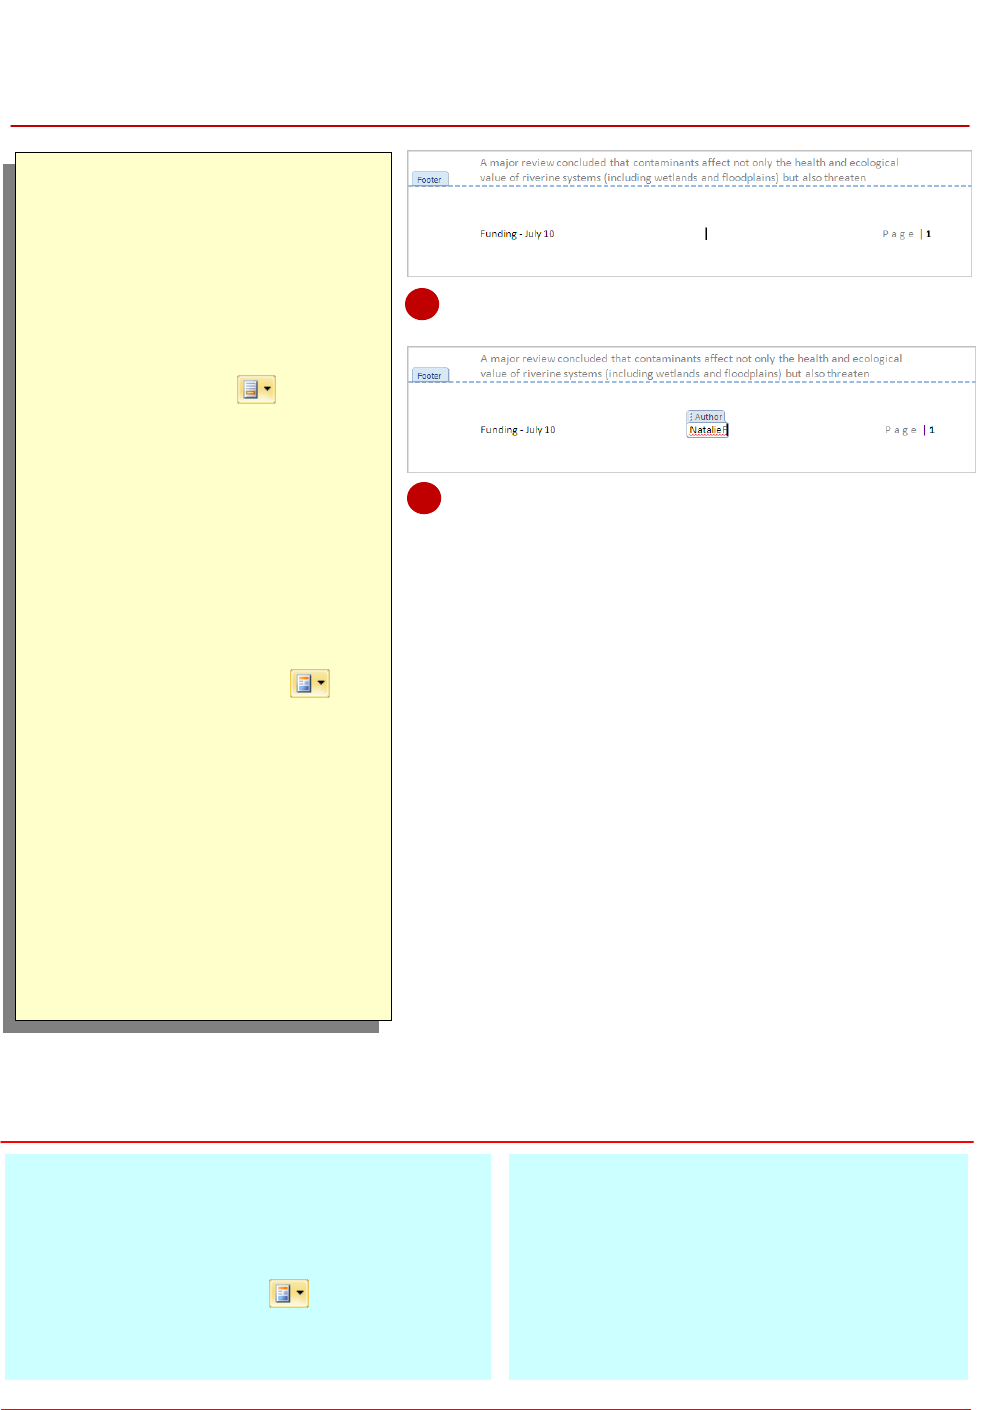
INSERTING DOCUMENT PROPERTIES
Try This Yourself:
Same
File
Continue using the previous
file with this exercise, or open
the file W829 Headers And
Footers_7.docx...
Double-click on the footer area
or click on the Insert tab, then
click on Footer in the
Header & Footer group and
select Edit Footer to activate
the footer
Click in the middle of the footer
area to position the insertion
point as shown
As you can see from the ruler,
there is a centre-aligned tab
stop applied here. You will now
insert the author’s name…
Click on Quick Parts in
the Insert group, then select
Document Property to display
the menu
Select Author
The name of the author will be
inserted into the Author field…
Double-click outside the footer
area to close the footer and
return to the document
Save the document
For Your Reference…
To insert document properties:
1. Position the insertion point in the header or
footer
2. Click on Quick Parts
3. Select Document Property, and then select
an option from the menu
Handy to Know…
To add or edit document properties for the
current document, click on the File tab, and
then click on Info. Click on More Properties
in the Preview pane to display all document
properties. Hover over the property to add or
edit, then click and type the required text.
2
4
A document property provides information
about an aspect of the document, such as the
author, subject or file name. To insert document
properties into a header or footer, you must insert
a document property field. The field will then look
at the corresponding information (if any) in the
document properties to insert. If no information
exists, the field will be blank.
Microsoft Word 2010 - Level 2
© Watsonia Publishing Page 133 Headers And Footers
FORMATTING HEADER AND FOOTER TEXT
Try This Yourself:
Open
File
Before starting this exercise
you MUST open the file W829
Headers And
Footers_8.docx...
Double-click on the header
area to activate the header
Select the text in the header
Changing the formatting for the
text in the header is the same
as for normal document text...
Click on the Home tab, then
click on the drop arrow for
Font, in the Font group, and
select Cambria
Click on the drop arrow for
Font Size, in the Font group,
and select 9pt
Click on Italic in the Font
group
Switch to the footer then
repeat steps 2 to 5 to format
the footer text the same as the
header
Press to exit the header
and footer
Save and close the document
For Your Reference…
To format headers and footers:
1. Click on the Insert tab, click on Header
or Footer in the Header & Footer
group and select Edit Header or Edit Footer
2. Select the text and format as required
Handy to Know…
By default, header text is based on the
Header style and footer text is based on the
Footer style. When working with documents
that contain multiple and non-linked sections,
it is advisable to select Automatically
update in the Modify Style dialog box if
making changes to these styles.
5
6
Once you have inserted headers and footers into
your document, you can then format the header
and footer text to suit the requirements of the
document. For instance, you might need to
change the font size, use a corporate font or apply
corporate colours. You can apply any font or
paragraph formatting to the header or footer, such
as adding borders and shading.

Microsoft Word 2010 - Level 2
© Watsonia Publishing Page 134 Headers And Footers
NOTES:
1
4
