
Operating Instructions – Hob Smeg SE2321TE2
Description of the appliance
The appliance has cooking zones with various diameters and power levels. The position and heat of the cooking
zones are limited to within the diameters of the circles traced on the glass. The cooking zones are of the high-light
type, they turn on after a few seconds and the heating is adjustable using the controls on the front panel.
The cooking zones within two or three concentric circles allow double or triple heating: either within the small circle
or on both circles.
Symbols
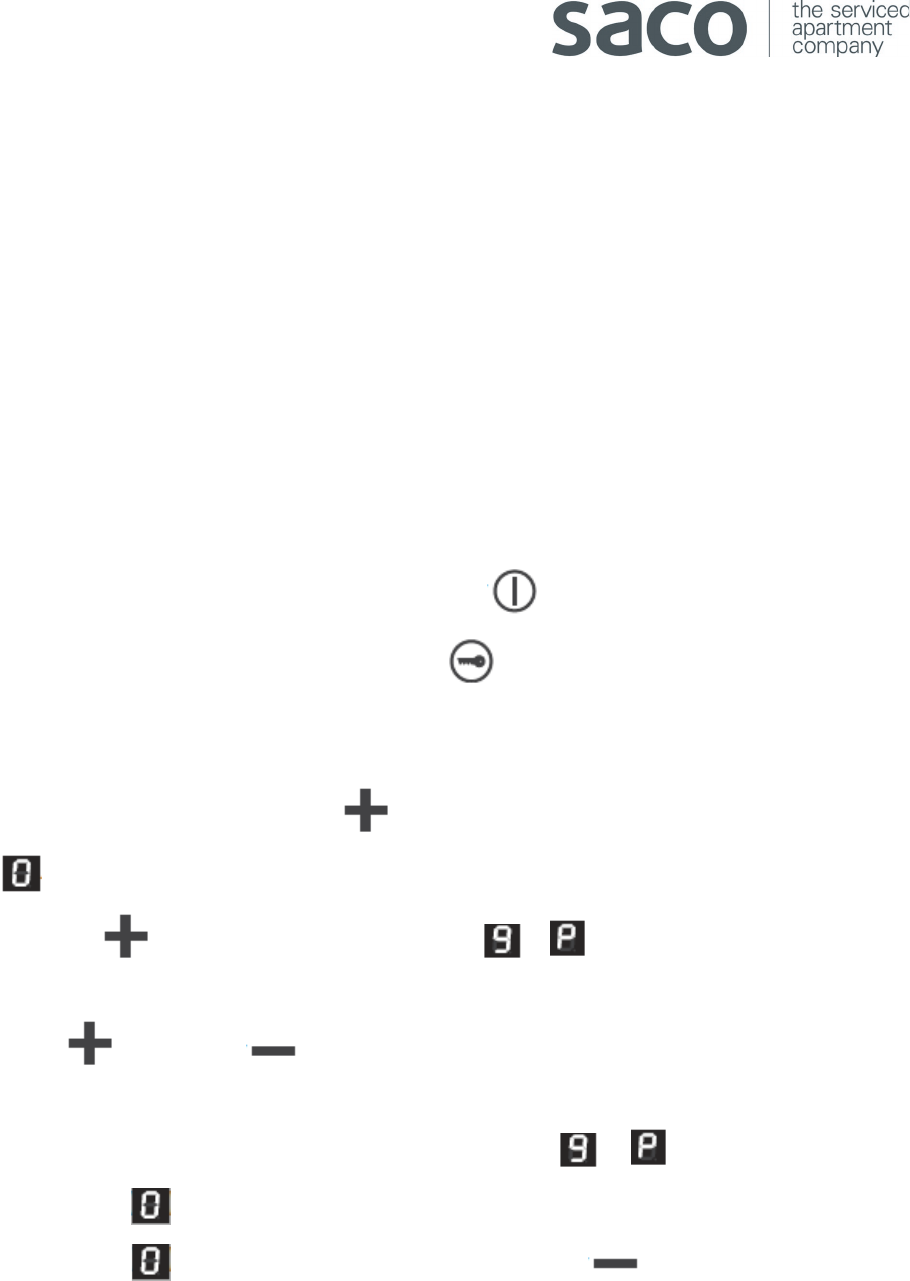
On/Off key Turns the hob on or off.
Control lock button Activates or deactivates the control lock if pressed for 3 seconds.
Increase Key Increases the power level or cooking time.
Decrease Key Reduces the power level or cooking tome.
Timer Key activates the timer for the automatic shut-down.
Cooking zones
Using the cooking hob
All the appliance’s control and monitoring devices are located together on the front panel. The hob is controlled by
means of the Touch Control sensor buttons. The power in the cooking zones can be adjusted to various levels. Lightly
touch a symbol on the glass ceramic surface. The buzzer will sound to confirm every effective touch.
Saucepans and other pans must not cover the sensor buttons as otherwise they could accidentally deactivate the
appliance.
Switching on the hob
To switch on the hob, hold down the On/Off key for at least 3 seconds. If no function is activated within 30 seconds
of switching on, the hob switches off automatically.
If the “control lock” function is activate, after pressing the On/Off key for 3 seconds the display shows the text
b l o c or b l (depending on the model). Press the control lock key for at least 3 seconds.
Switching on a single cooking zone
1. After switching on the hob, use the increase keys to activate the required cooking zone. The display shows
the symbol .
2. Press the Increase key again. The display shows the symbol or (depending on the model) to
indicate that the cooking zone is on at the maximum power.
3. Press the Increase and Decrease key to increase or decrease the required power level.
If the increase key is pressed with the cooking zone is at the maximum power or (depending on the model),
the cooking zone deactivates ( ).
When the cooking zone is off ( ), it cannot be activated pressing the Decrease key.
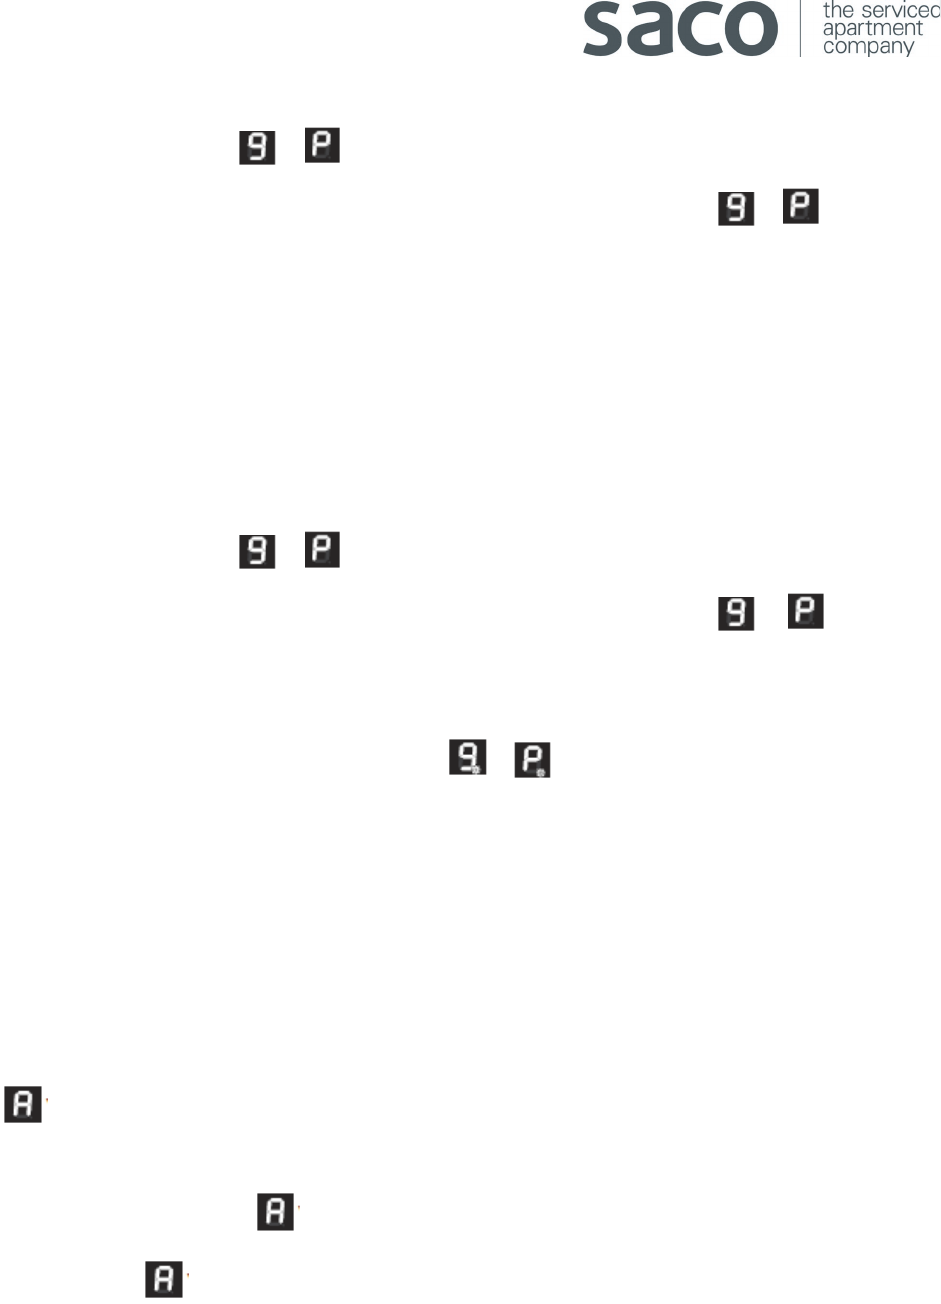
Switching on the double cooking zone
1. After setting the maximum power or (depending on the model), press the increase key. On the display a
lighted dot comes on beside the power setting to indicate that the double cooking zone or has switched
on (depending on the model).
2. Press the Increase and Decrease key to increase or decrease the required power level.
The upper basket is designed for plates, salad bowls, cups and glasses. Arrange items on and underneath the fold-
down cup racks so that water can reach all surfaces. Light items (plastic bowls etc) should be loaded in the upper
basket and arranged so they do not move.
Switching on the triple cooking zone
1. After setting the maximum power or (depending on the model), press the increase keys. On the display
a lighted dot comes on beside the power setting to indicate that the inner cooking zone or has
switched on (depending on the model).
2. Press the Increase key again to completely activate the cooking zone. On the display a lighted dot flashes beside
the power setting to indicate that the entire cooking zone or has switched on (depending on the
model).
3. Press the Increase and Decrease key to increase or decrease the required power level.
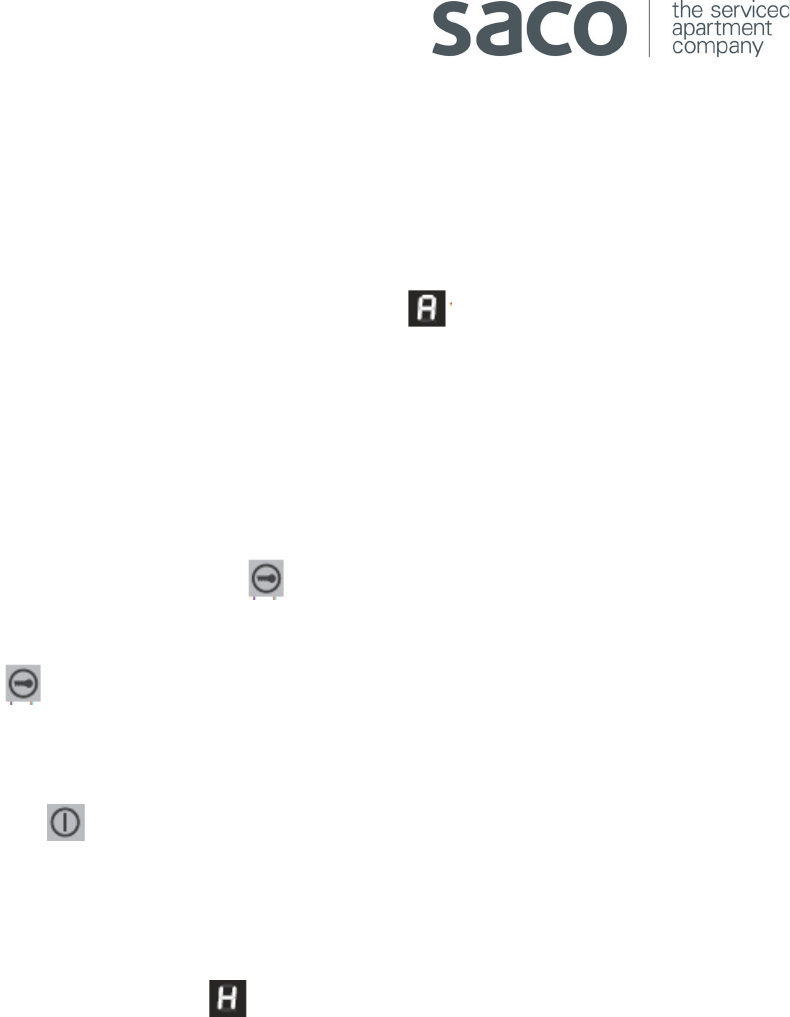
Accelerator
This function can be used to reach the selected heating level more quickly. The cooking zones will start at maximum
power. Once the selected power level is reached, power is reduced.
1. Press the Increase and Decrease keys simultaneously for the cooking zone to be heated using the accelerator
function. will flash on the display.
2. Using the Increase and Decrease keys select a power level ranging between 1 and 9 (also in double or triple
mode). The display alternately shows and the power level just selected.
Heating times with activate function:
Power level 1: 2 minutes
Power level 2: 3 minutes
Power level 3: 4 minutes
Power level 4: 5 minutes
Power level 5: 6 minutes
Power level 6: 7 minutes
Power level 7: 8 minutes
Power level 8: 9 10 minutes
Power level 9: 12 minutes
If no power level is selected within 5 seconds of activating the accelerator function, the cooking zone returns to
normal status.
Control lock
The control lock is a device that protects the appliance from accidental or inappropriate use. It’s useful for
preventing accidental changes to set cooking values, the lock can be activated while the hob is on or off.
1. After switching on the hob, press the Control lock key for at least 2 seconds. A lighted dot appears on the key
to indicate that the controls are locked. Pressing any key, b l o c or b l is displayed (depending on the model).
2. Press the Control lock key for at least 2 seconds. The lighted dot above the symbol switches off to indicate
that the controls have been unlocked and any key can be pressed.
For safety reasons the On/Off key stays active with at least one switched on cooking zone. The entire hob can be
switched off at any time, even if the control lock is active.
Residual heat
After switching off the cooking zone, if it is still hot, is displayed.
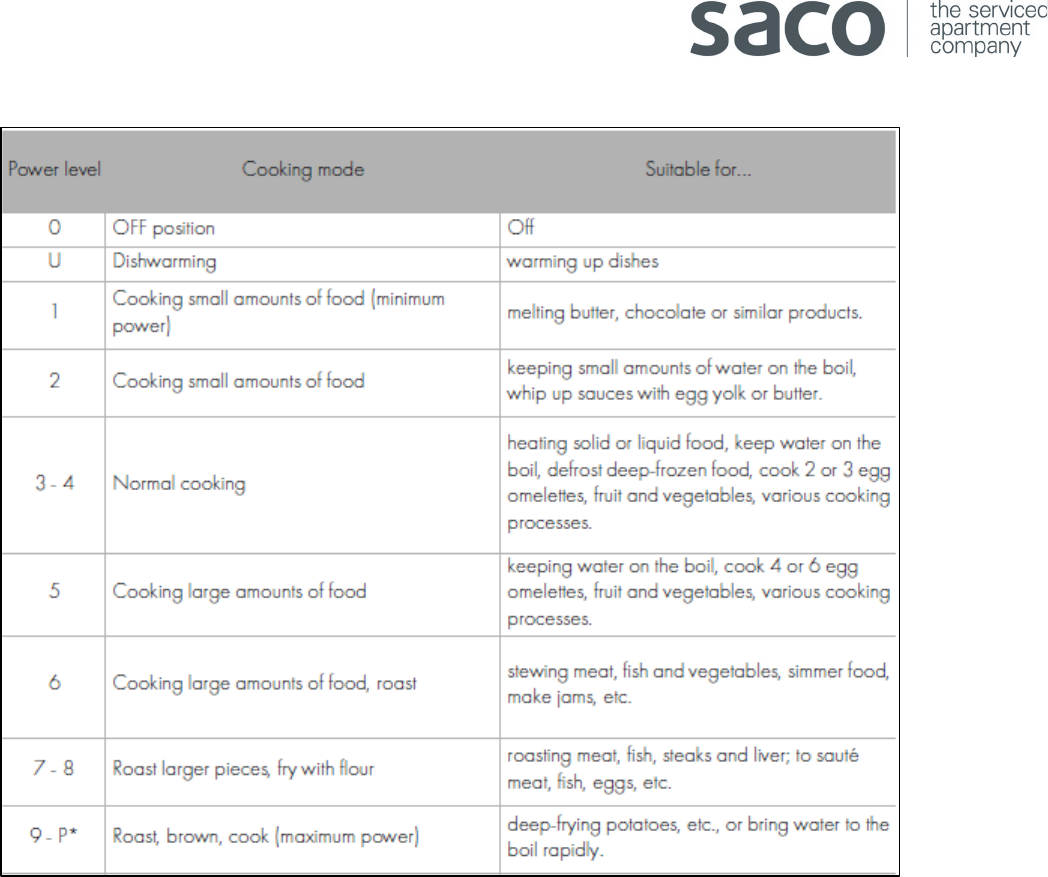
Cooking information table
