
SUMMARY
Electrical circuits are the foundation of our modern,
technology-driven lives. Everything from simple light bulbs
to complex devices like the iPhone depend on electrical
circuits in order to function. The basic structure of each of
these devices is the same: there is a power source, which is
connected to some wires, which are connected to a device
that uses the power to do something useful (like lighting up
a room or displaying a Facebook message from your friend).
In this lesson, the students will create a functioning
electrical circuit using a battery pack, LEDs, and conductive
and insulating playdough. By completing student-led
experiments, groups of two to three students will work
together to attempt to light their LED up using various
materials.
Squishy Circuits
®
were created in the Playful Learning Lab
at the University of St. Thomas. They are a design tool that
allows everyone, from young children through adults, to
create circuits and explore energy using playdough.
LESSON OBJECTIVES
Upon completing this lesson the students will:
• Develop models to illustrate and explain that energy
can be transferred from place to place by electric
currents and that electric currents owing through a
simple circuit can be used to produce light;
• Understand the difference between series, and parallel
circuits;
• Construct explanations of how some materials allow
electricity to ow through a circuit and some do not;
and
• Understand the difference between conductive material
and insulating material.
Squishy Circuits
Grades 4, 6, & 7
LESSON PLAN
GRADE 4
STANDARD
4-PS3-2. Make observations to provide evidence that energy can be transferred from place to place by sound, light, heat, and
electric currents.
DISCIPLINARY CORE IDEA (DCI)
PS3.B: Conservation of Energy and Energy Transfer
Energy is present whenever there are moving objects, sound, light, or heat. When objects collide, energy can be transferred from one
object to another, thereby changing their motion. In such collisions, some energy is typically also transferred to the surrounding air; as a
result, the air gets heated and sound is produced.
Light also transfers energy from place to place.
Energy can also be transferred from place to place by electric currents, which can then be used locally to produce motion, sound, heat, or
light.
CROSS-CUTTING CONCEPTS (CCC)
Energy and Matter
Energy can be transferred in various ways and between objects
COLLEGE & CAREER-READY SCIENCE STANDARDS 2021

GRADE 6
STANDARD
6-PS3-4. Plan an investigation to determine the relationships among the energy transferred, the type of matter, the mass,and the
change in the average kinetic energy of the particles as measured by the temperature of the sample.
DISCIPLINARY CORE IDEA (DCI)
PS3.B: Conservation of Energy and Energy Transfer
The amount of energy transfer needed to change the temperature of a matter sample by a given amount depends on the nature of the
matter, the size of the sample, and the environment.
CROSS-CUTTING CONCEPTS (CCC)
Scale, Proportion, and Quantity Proportional relationships (e.g. speed as the ratio of distance traveled to time taken) among different
types of quantities provide information about the magnitude of properties and processes.
GRADE 7
STANDARD
7-PS3-5. Construct, use, and present arguments to support the claim that when the kinetic energy of an object changes, energy is
transferred to or from the object.
DISCIPLINARY CORE IDEA (DCI)
PS3.B: Conservation of Energy and Energy Transfer
When the motion energy of an object changes, there is inevitably some other change in energy at the same time.
CROSS-CUTTING CONCEPTS (CCC)
Energy and Matter
Energy may take different forms (e.g. energy in elds, thermal energy, energy of motion).
57
MATERIALS
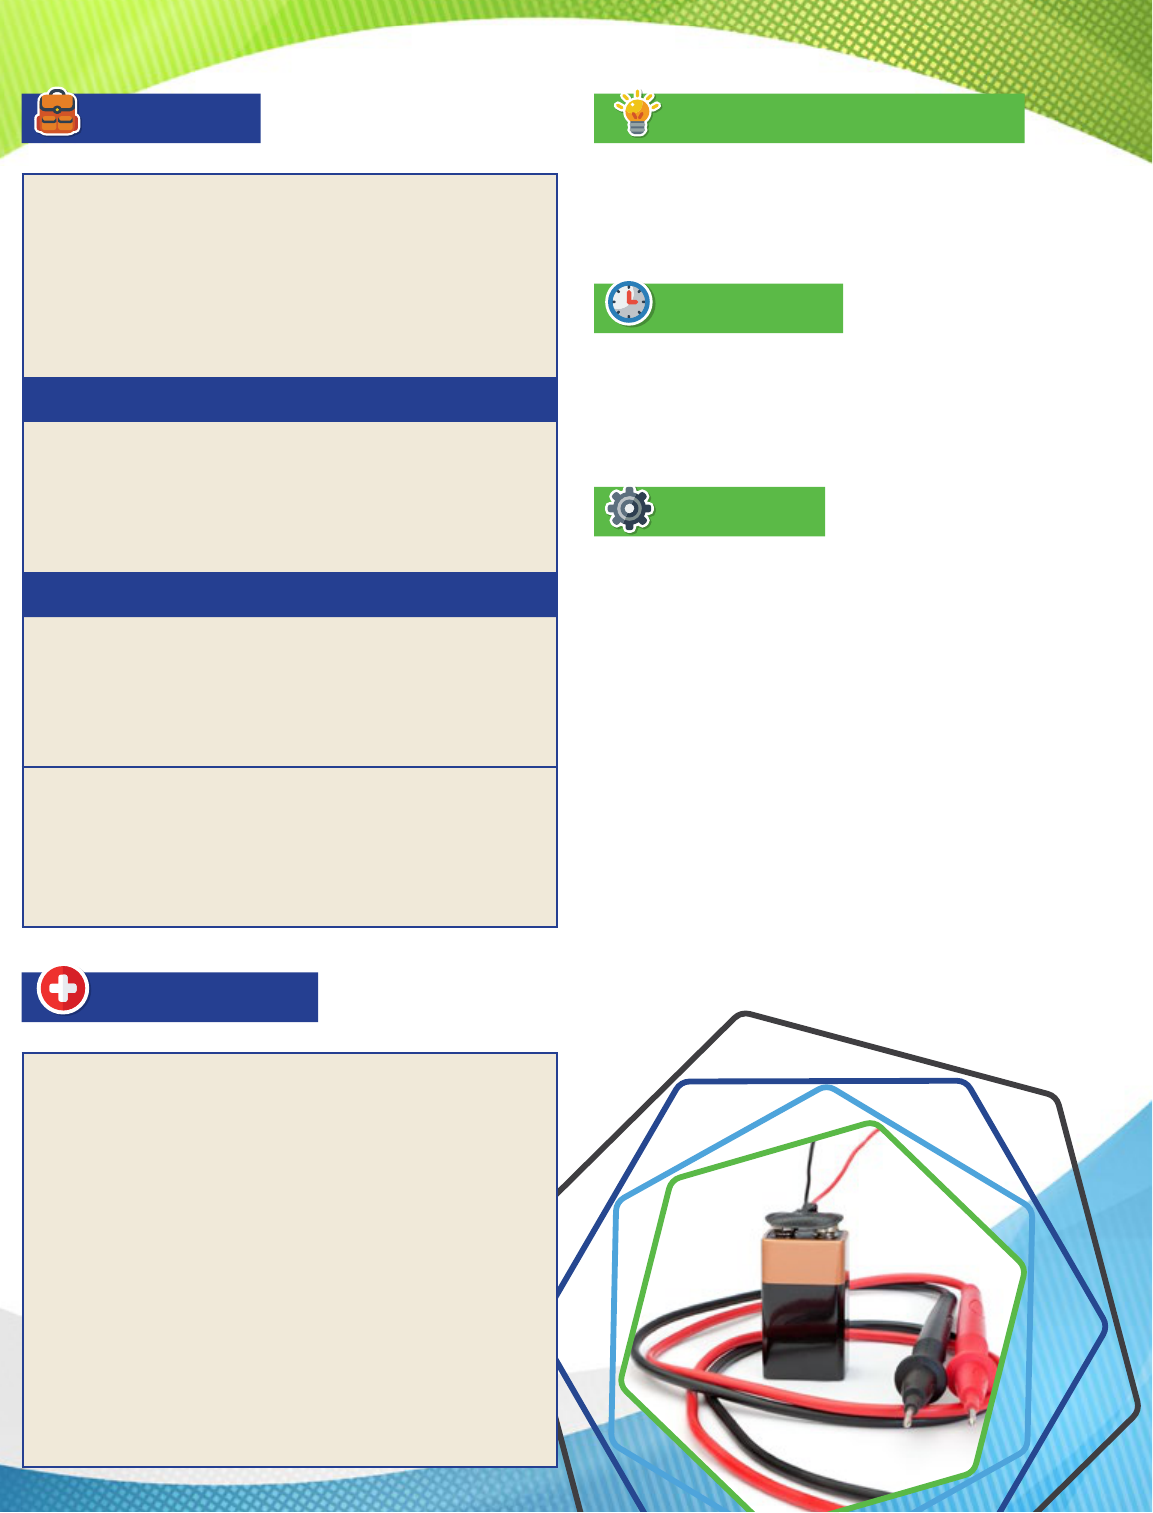
• Battery Packs and Batteries with Leads
• Conductive Dough
• Insulating Dough
• LEDs (should be appropriate for the source voltage)
Optional, but recommended:
• Buzzer
• Motor
CONDUCTIVE DOUGH RECIPE – http://youtu.be/cpUFL5LZpv4
• 1 Cup Water (tap)
• 1 1/2 Cups of Flour
• 1/4 Cup of Salt
• 3 Tbsp. of Cream of Tartar
• 1 Tbsp. Vegetable Oil Food Coloring (optional)
INSULATING DOUGH RECIPE – http://youtu.be/Wz8rGNt-iEQ
• 1 1/2 Cup of Flour
• 1/2 Cup of Sugar
• 3 Tbsp. of Vegetable Oil
• 1/2 Cup of De-Ionized (or distilled) Water
• 1 tsp. of Granulated Alum (optional)
TEACHERS PLEASE NOTE: The materials can be purchased for under
$100 and most are highly reusable. Note that the dough is perishable
and has a limited shelf life. Refrigerating the dough in sealed
containers can extend its life considerably. You can nd these materials
in retail stores or at https://squishycircuits.com/collections/all. If
making the dough, you may want to complete that part a few days
before the lesson. Keep the dough in an air-tight container.
SAFETY NOTE
In general, Squishy Circuits is a very safe activity. However, some
safety notes should be addressed.
• The battery packs should never be shorted out (letting the wire/
terminals touch each other directly). Some battery holders may
have safety features that prevent overheating, but with other
battery holders, they will quickly warm up and could cause burns
if shorted. When doing any electrical project, batteries should
never be shorted directly.
• LEDs should not be hooked directly to the battery packs. They
will burn out and may pop. LEDs require a resistor to limit the
amount of power owing through them. With Squishy Circuits,
the conductive dough acts as the wire and a resistor, so they’re
safe to use with the dough.
• Batteries should always be removed from the battery packs
before they are stored to avoid risk of re. It is also important
that the students do not ingest the dough because it may be
contaminated.
• Also note that LEDs are easily bent to the point where they break.
ESSENTIAL QUESTIONS
1. How are electrical circuits created?
2. What does it mean for a material to be conductive?
Insulating?
DURATION
The activity, as is, requires at least 25 to 35 minutes,
although this doesn’t leave much time for exploration and
experimentation. It can easily be extended to 50 or 60
minutes.
ENGAGE
Begin the class by sharing this TED Talk video about
squishy circuits. Watch the video at www.ted.com/talks/
annmarie_thomas_hands_on_science_with_squishy_
circuits?language=en#t-221869.
After the students have been divided into pairs or trios,
provide each student with the materials listed.
Next, provide the students with the following directions:
1. With your partner, discuss different ways to make
the LED light up. (Use this time to investigate your
materials, but don’t hook anything up yet)
2. Draw in your Science journal how you will attempt to
solve this challenge: “Make your LED light up using
only the materials in front of you.” Have the students
share their ideas on how they would like to solve this
challenge.

58
EXPLORE
1. Using the materials, work with your partner as a team
to create a working circuit. The students will use
the attached worksheet to build simple circuits to
understand the fundamental concepts of circuits.
2. Spend time wandering the classroom to identify student
misunderstandings, comprehension, and answer
questions as well as ask questions. Provide guidance as
you see t.
3. Encourage the students to plan and document in their
journals as a way of emphasizing the engineering
design process.
EXPLAIN
1. Discuss which types of circuits worked and which
didn’t. Allow students the opportunity to construct
explanations on why certain types of circuits worked
and other types didn’t.
2. Ask the 3rd-grade students, Why does one dough
conduct electricity and the other doesn’t? (Some
materials allow electricity to ow through a circuit and
some do not.) Ask the 6th-grade students, What is the
difference between a series and a parallel circuit?
3. Discuss why the ingredients in each dough affects how
easily electricity can ow through each of them. (Guide
the students toward explanations about conductors
and insulators.) Discuss the concept of conductors and
insulators.
4. Have students create a list of materials
that are good conductors of electricity
and good insulators. (conductors =
metal, water, citrus fruit; insulators = wood, plastic)
5. Show the students images of items that may be
good conductors and insulators. Show images of
disassembled electronic devices (e.g., laptops,
tablets, cell phones) to give the students a real-world
representation of how circuits work.
6. Have the students think of different real-world
applications for series and parallel circuits. If you have
many lights in a room, typically they are connected in
series with the switch – that way one switch can control
all of the lights at once. Christmas lights are a good
example of parallel circuits because if one bulb burns
out, the rest continue to glow. Older sets of these lights
actually were in series so if one burnt out, you had to try
every single bulb to nd the bad one and replace it to
make the rest turn on!
ELABORATE
The students can design and build their own circuits.
Provide students with another challenge – Can you design
both series and parallel circuits? For example, they can
build circuit sculptures.
First, have the students sketch their designs on paper.
Then, they can build and test their designs. Encourage the
students to plan and document in their journals as a way of
emphasizing the engineering design process.
MORE FUN
Turn your body into a human conductor of electricity.
Create a giant circuit using an Energy Stick® (or similar device) –
provided by the S.C. Energy Ofce (while supplies last) or available
for purchase online. Have the students form a circle and hold hands.
Explain how the circle compares to a circuit. Open the circuit by
letting go of one student’s hand while everyone else hangs on.
Grab a silver ring on one end of the Energy Stick® while the person
next to you grabs the other one. The Energy Stick® ashes and
buzzes because the circuit is complete again. Should anyone break
the circuit, the detector stops. Explain that switches and breakers are
nothing more than devices that either connect conductors to turn
something “on” or separate them to turn something “off.” Have
students wash hands after this activity.
Try adding other elements to the closed circuit to search for
electrical conductors and insulators. Conductors allow electricity
to ow through them while insulators resist current ow. Test some
conductors and insulators by bringing them into contact with
both electrodes, simultaneously. Try items such as metals, woods,
rubber, graphite, paper, plastic, etc. Does the connection work? An
additional method of teaching circuits is SCRAPY CIRCUITS. This
method uses objects such as tea lights and binder clips to create
circuits. More information is available at https://www.scrappycircuits.
com.

59
EVALUATE
Have the students to respond in writing to the following
evaluation questions. Suggested answers are provided.
• What is electricity? (Electrical energy is the energy
owing in an electric circuit.)
• What is a conductor? (Conductors facilitate, or
conduct, the transfer of heat energy.)
• What is an insulator? (Insulators inhibit, or insulate, the
transfer of heat energy.)
Draw an electrical circuit with the following components:
battery, wire, and Light Emitting Diode (LED). (Allow for
student responses.)
• What is a series circuit? (Parts of the circuit are in a
row.)
• What is a parallel circuit? (Independent paths of
multiple rows.)
• How can you tell that energy is moving (transferred)
from the battery pack and through the dough? (The
light turns on.)
• When is there energy present in the circuit? How
could you prove this? (Allow for student responses.)
• What components (parts) are needed to make a
circuit work? (power source, wire connectors, switch)
• What congurations of insulating and conductive
dough work to construct a functioning circuit? (Allow
for student responses.)
E-LEARNING ACTIVITY
Use this Webquest activity will guide students through
electricity basics, understanding circuits and the
components needed to make a circuit work. Please visit
www.madison-schools.com/cms/lib/MS01001041/
Centricity/Domain/3318/Electric%20Circuits%20
webquest.pdf.
This activity can also be used as an additional
evaluation tool or an alternative to the ELABORATE
Activity.
VIRTUAL LAB ACTIVITY
Students can access this BrainPOP activity – Circuit
Construction Kit – to investigate how to construct
a circuit. Visit www.brainpop.com/games/
circuitconstructionkitdc/.
TIPS, TRICKS & SAFETY
It is best to always do these activities with adult
supervision.
• Don’t connect the battery directly to the LED, it may
burn the LED out.
• Try not to mash the two types of dough into each
other. This makes it difcult to separate them for future
classes.
• The LED only works in one direction. This is called
polarity.
• Notice how one “leg” of the LED is slightly longer
than the other one. The longer leg should always be
attached to the positive (red) wire from the battery.
• Sometimes, thin strands of insulating dough will still
conduct some electricity, and the LED will become
dimly lit. If this happens, use it as an opportunity to
discuss resistance!
• Don’t cross the wires on the battery connectors – this
will short out the battery! It may heat up and explode.
• Warn students to always be careful when experimenting
with electricity. High voltages and high currents can
be deadly. For example, they should never stick wires
or other objects into wall sockets.
SOURCES
• Squishy Circuits Activity – http://gk12.cs.ksu.edu/uploads/
lesson_material/le/26/squishy-lessonplan.pdf
• Lesson Plan for Squishy Circuits – https://pdst.ie/sites/default/
les/Lesson%20plan%20for%20Squishy_Circuits.pdf
• Squishy Circuits NGSS Curricula and Educator’s Guide – https://
cdn.shopify.com/s/les/1/2640/3158/les/Squishy-Circuits-
NGSS-Curricula-and-Educators-Guide.pdf?12

STUDENT WORKSHEET NAME: ___________________________________
SQUISHY CIRCUITS WORKSHEET
1. Begin with two lumps of the conductive dough. Plug one wire from the battery pack into each piece and bridge the
gap with a LED.
• Does the LED light up? (circle one) YES NO
• Take the LED out and ip it around so that each “leg” is in the opposite piece of conductive dough. Does the
LED light up? (circle one) YES NO
• The LED only works in one direction. The longer terminal should be attached to the positive (red) wire from the
battery pack. This is called a CLOSED CIRCUIT.
2. Next, pull one of the LED legs out of the dough.
• Does the LED light up? (circle one) YES NO
• In the last step, the LED went out because we broke the loop of electricity. This is called an OPEN CIRCUIT.
3. Put the LED leg back in so your LED is on. Now, push the two pieces of conductive dough together.
• Does the LED light up? (circle one) YES NO
• In the last step, the LED went out. This is called a SHORT CIRCUIT.
4. Separate the two pieces. The LED should again light up because the electricity must go through the LED to
complete the circuit. Now create a “sandwich” with the insulating dough between two pieces of conducting dough.
• Does the LED light up? (circle one) YES NO
• The insulating dough does not let electricity ow through it easily. It acts like a wall to the electricity. The
electricity has to go around the insulating dough and through the LED that lights up!
• There is one continuous path for the electricity to ow through. This is a SERIES CIRCUIT.
5. Now we can create Squishy Circuits that do not have to be separated – like “sushi circuits!” There are multiple paths
for the electricity to ow through. This is a PARALLEL CIRCUIT.
6. Now you can design your own circuit. Draw your design below.
